
Automator for Mac is one of the most amazing tools we just wish to have to simplify our daily lives. This tool in Mac is known to lesser people but serves huge benefits. For a novice, it takes a bit of time to understand and believe it works, but once you get to know how it works, you’ll keep using it frequently.
Automator, as the name says, can help you automate your regular tasks saving you time and efforts (a lot of time). A lot of people keep seeking answers to ‘How to use Automator Mac’? We have created this guide to help novice Mac users to automate their useful tasks. Mac Automator can automate from opening URLs to downloading images and videos.
The Automator for Mac is often used with its browser commands, adding some ease to your browsing experience. Yes, you use an Automator app on Mac with Safari, Chrome or any other web browser of your choice. Here’s what you can do by using the Automator app on Mac.
How To Use Automator On Mac With A Web Browser?
1. Open A Webpage Or Specific Set Of Web Pages At A Specified Time
The Internet is a part of our daily life and our work life doesn’t start before we open a set of fixed websites/webpages every day. What if this task can be automated to save your time. Follow the steps below to let Mac Automator open a webpage or a group of webpages at a specific time for you:
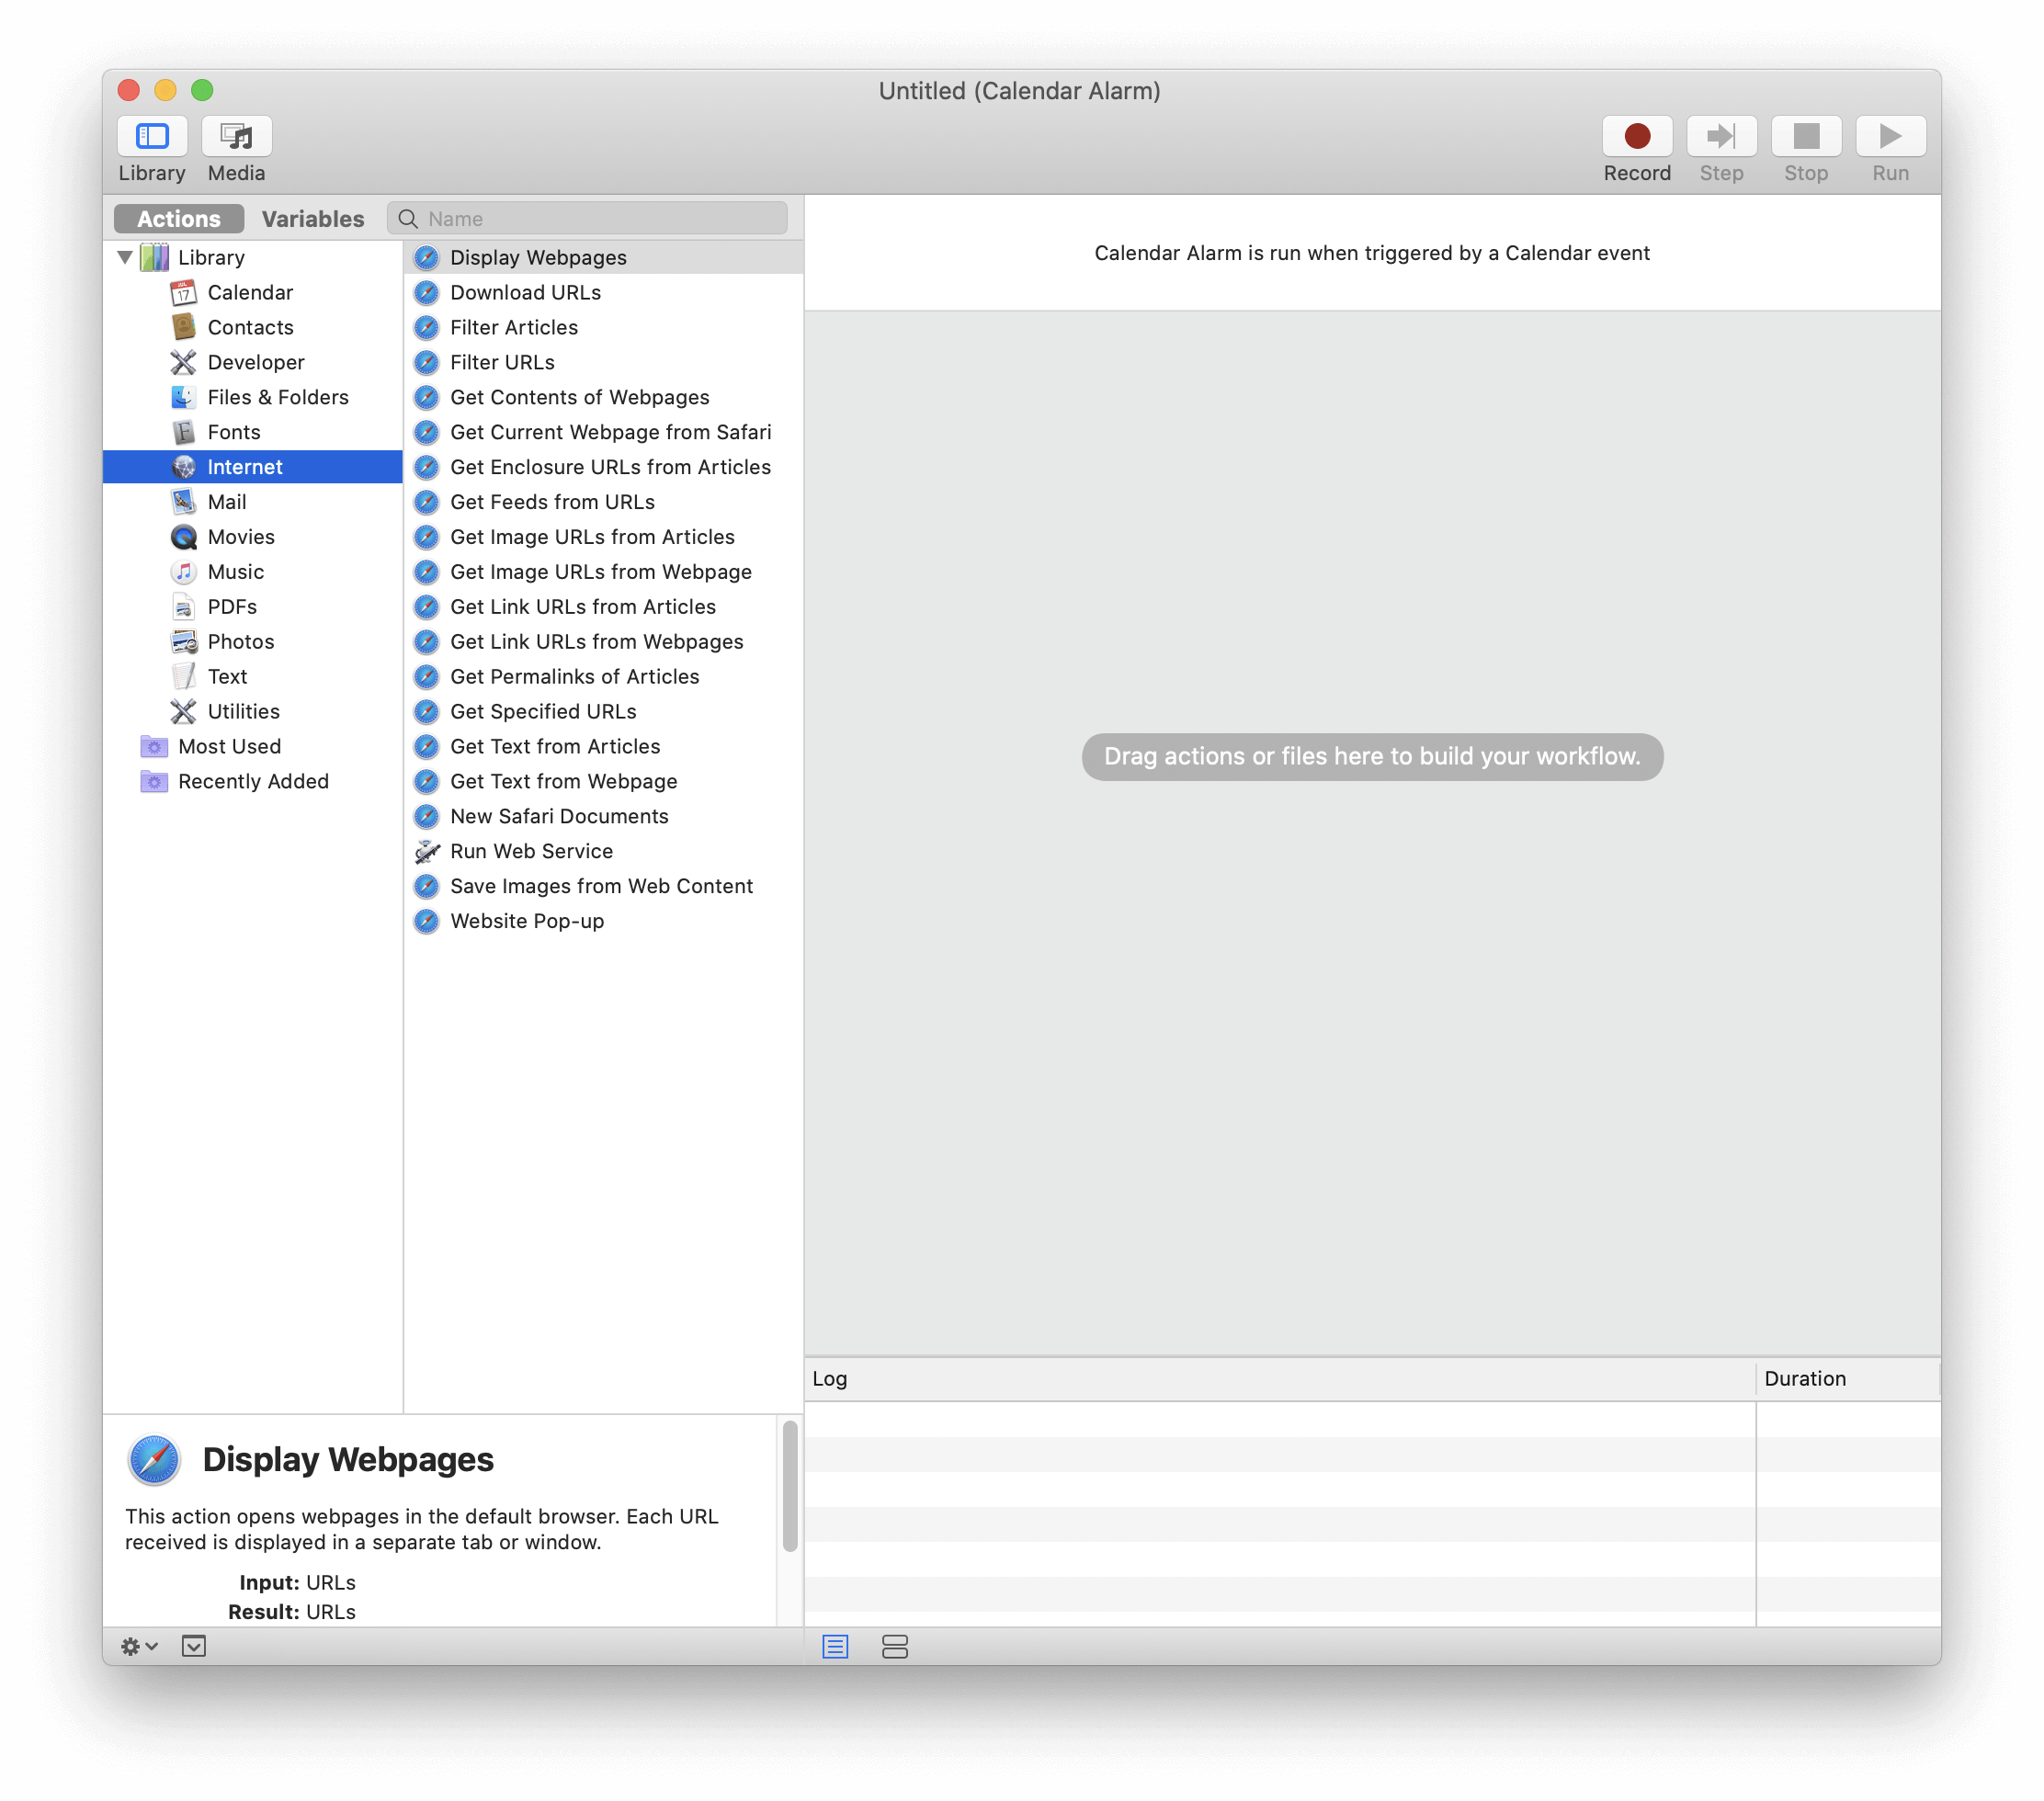
- In Applications, go to Utilities and locate Automator. Or you can directly search it with Spotlight.
- Now, go to File and click New.
- A dialog box will open asking you to ‘Choose a type of your document’. Select ‘Calendar Alarm’.

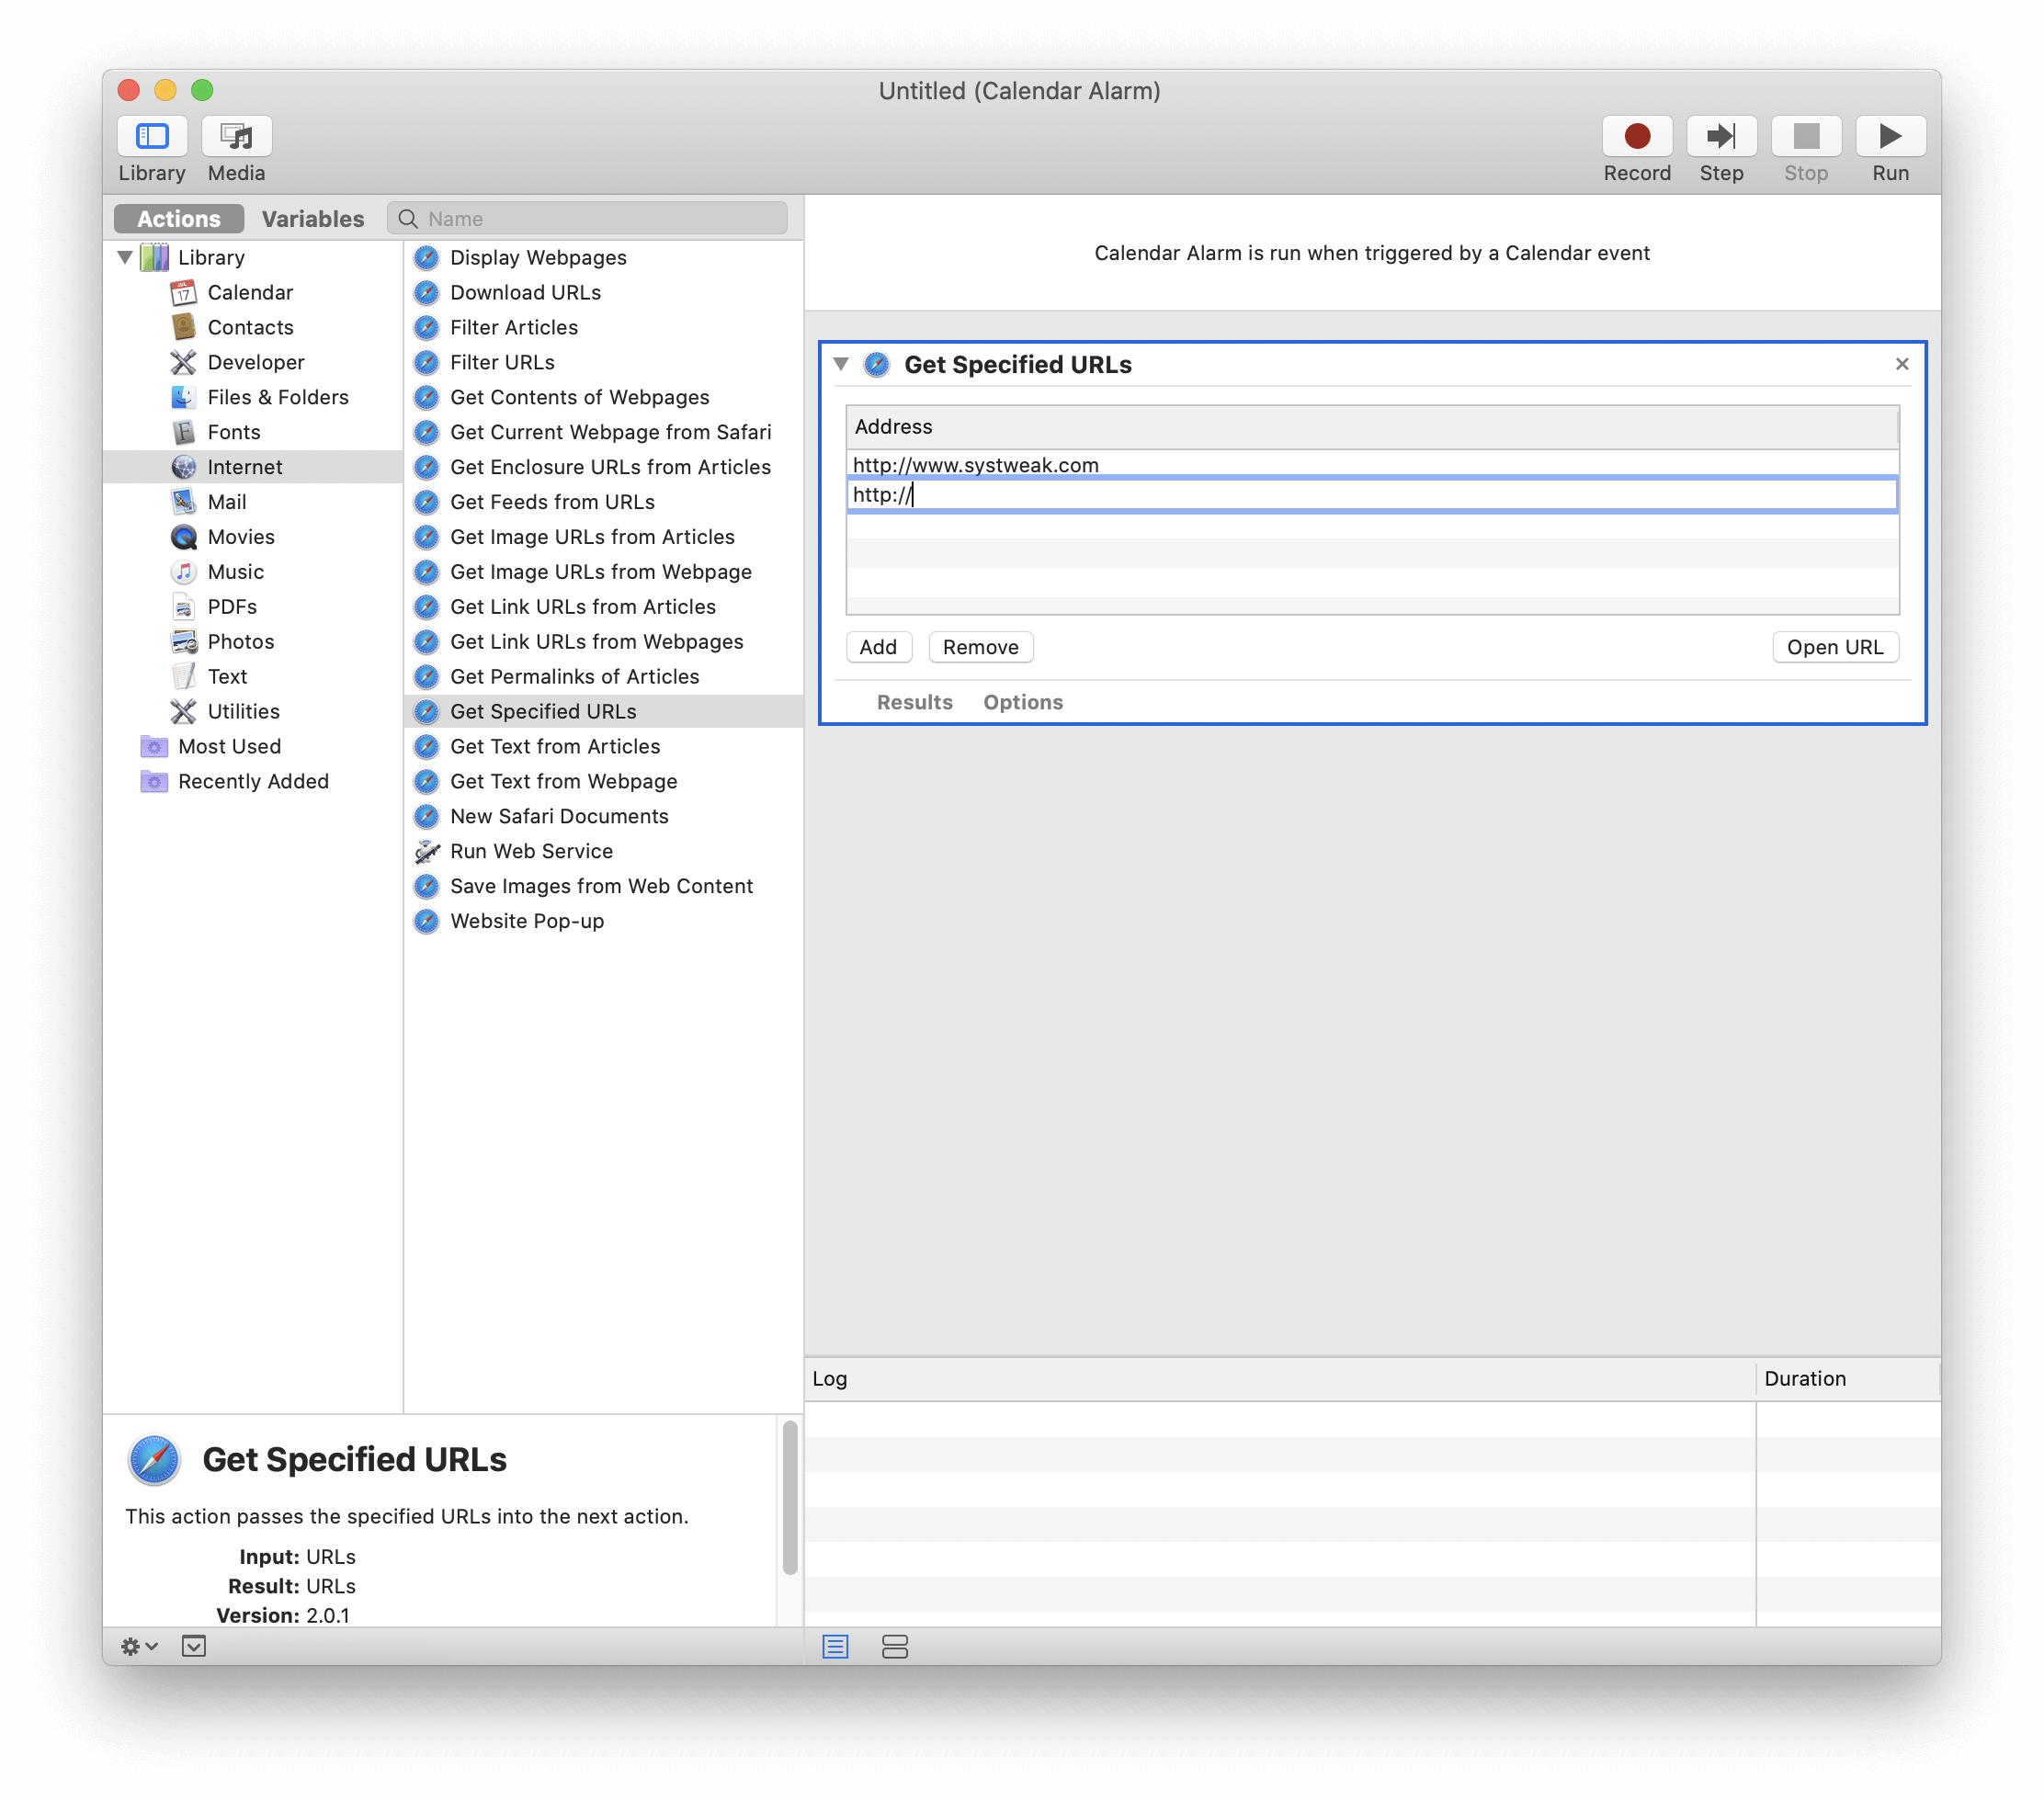
- Now, from the next window that opens, select Internet from the left-side panel and find Get Specified URLs. then, drag it to the workflow on the right-side of the window.
- In the next window, remove default URL and add the webpage(s) URL you want to open using Mac Automator.
- Then, drag Display Web Pages into the workflow and place it below.
- Once done, hit the Run button from the top right corner of the window. This will let you test the alarm you have created. If the webpage opens, it is working right and if not, you might have missed any instructions.
- If it is working right, go to File and save the project. As soon as you hit the Save button, Calendar will open automatically showing you the new event you just created.
2. Download All Images From A Particular Page
If you wish to download multiple images from the same webpage, you can automate this too using a Mac Automator. This process follows workflow automation and is a quick way to download multiple images from the active webpage. Follow the steps below to save time and quickly download all images from an active webpage:
- Go to Automator and create a New Document from File menu.
- Go to the Internet on the left-side panel. Add Get Current WebPage from Safari.
Note: This automation can only be done on Safari browser.
- Below this, add Get Image URLs From WebPage and then, set the Get URLs of Images dropdown to ‘On These Web Pages’.
- Now add download URLs to the bottom of the workflow and set a location you want all downloads to appear.
- Once done, open the webpage you want to download images from in Safari and run this workflow in this Automator app on Mac. The download will start, and it is done.
You can later view them in your system, resize them and edit them using other required commands.
3. Download All Audio And Video Files From A Page
The process of this automation is quite complicated as it requires multiple workflows. You can make it possible to download all audio and video files using Mac Automator from a particular webpage. Follow the steps below to download audio and video files:
- Create a new workflow in Automator.
- Now add Get current Web Page from Safari to the workflow.
- Add Get Link URLs from web pages.
- Then, select ‘Only returns URLs in the same domain as the starting page’ to get audio or video files hosted on the same page you’re on. Otherwise it will get all the files linked to the same no matter where they are.
- Add Filter URLs and set the path to contain .mp3 or .mp4 or so. You can include multiple paths.
- Now add Download URLs and choose a destination folder.
- Run the workflow to automate the process.
You Can Do a Lot More With Mac Automator!
Though the process is bit complex but once you know how to use Automator on Mac, you are sorted with a lot of tasks and you can simplify the process of automation. This Automator app on Mac can make your device more efficient and when you’ll be knowing how to automate and create workflows, you can create as many workflows as possible. This article was all about using Mac Automator with a web browser. You can make use of this Automator app for many other tasks as well. Do you find it helpful? Let us know in the comments section below.


Rama
I stumbled upon the Automator app by accident while looking at all of the apps on my MacBook pro. I'm very excited about all the great timesaving things it can do! Thank you for a great article!