
When you create a domain name and host it on your favorite web hosting service, it offers you to install WordPress to create and manage websites. WordPress Dashboard is not so complicated to understand. With this article, you can easily understand how to manage WordPress Admin Dashboard to create a WordPress website and set up all the features using WordPress cPanel.
How to Login to WordPress Dashboard
Step 1. Once you have hosted your domain successfully on a web hosting service, it will provide details including your Website Name, Admin Link to WordPress, WordPress Username & Password. Ensure to make a note of this information as this is very critical and important to log in to the WordPress Admin Dashboard.
Step 2. Follow the link to login to the WordPress cPanel with your username and password.
Step 3. Once you are on your WP admin dashboard, you’ll get a pool of options to manage the WordPress Admin Panel.
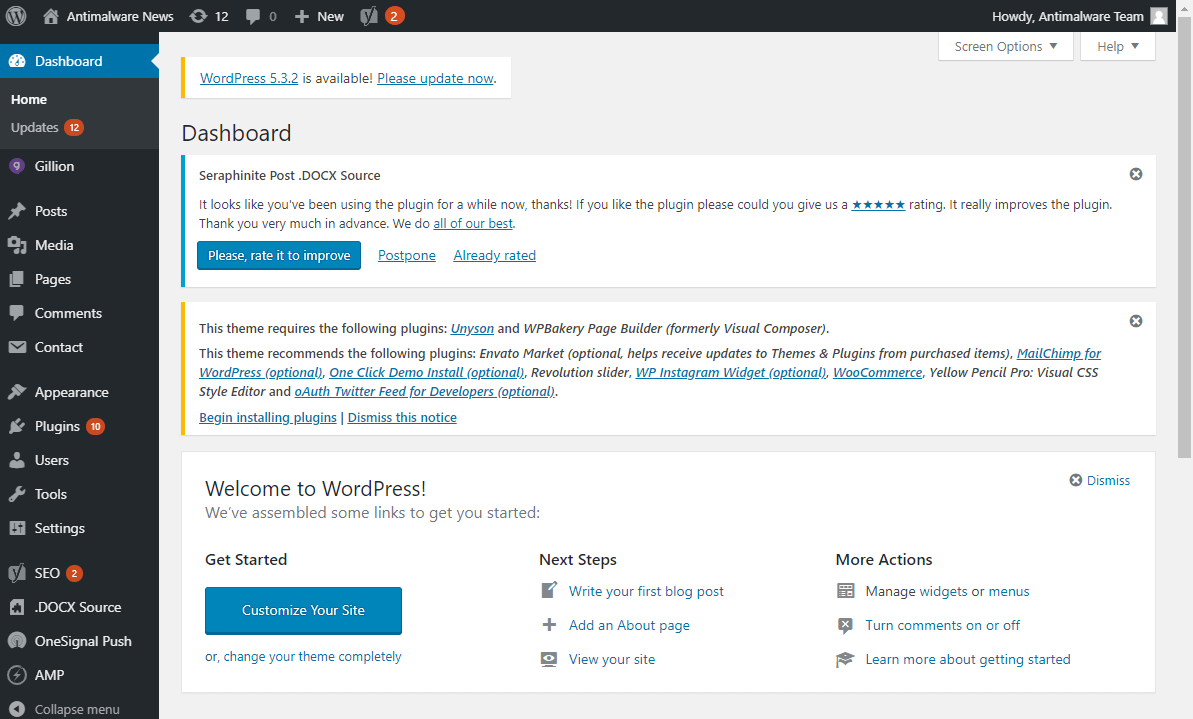
WordPress Admin Dashboard
The very first sight on the WordPress Admin Panel gives you information about your Posts, Pages, Comments, and the WordPress version. It also offers you insight into your recent activity and comments. By default, there are two widgets of Quick Draft and WordPress Events and News.
This is very basic information about your website. Most of the time will be spent on the other options in the left-hand side panel depending on the theme.
Also Read: How To Get An SSL Certificate To Remove ‘This Site is Not Secure’ Error Message
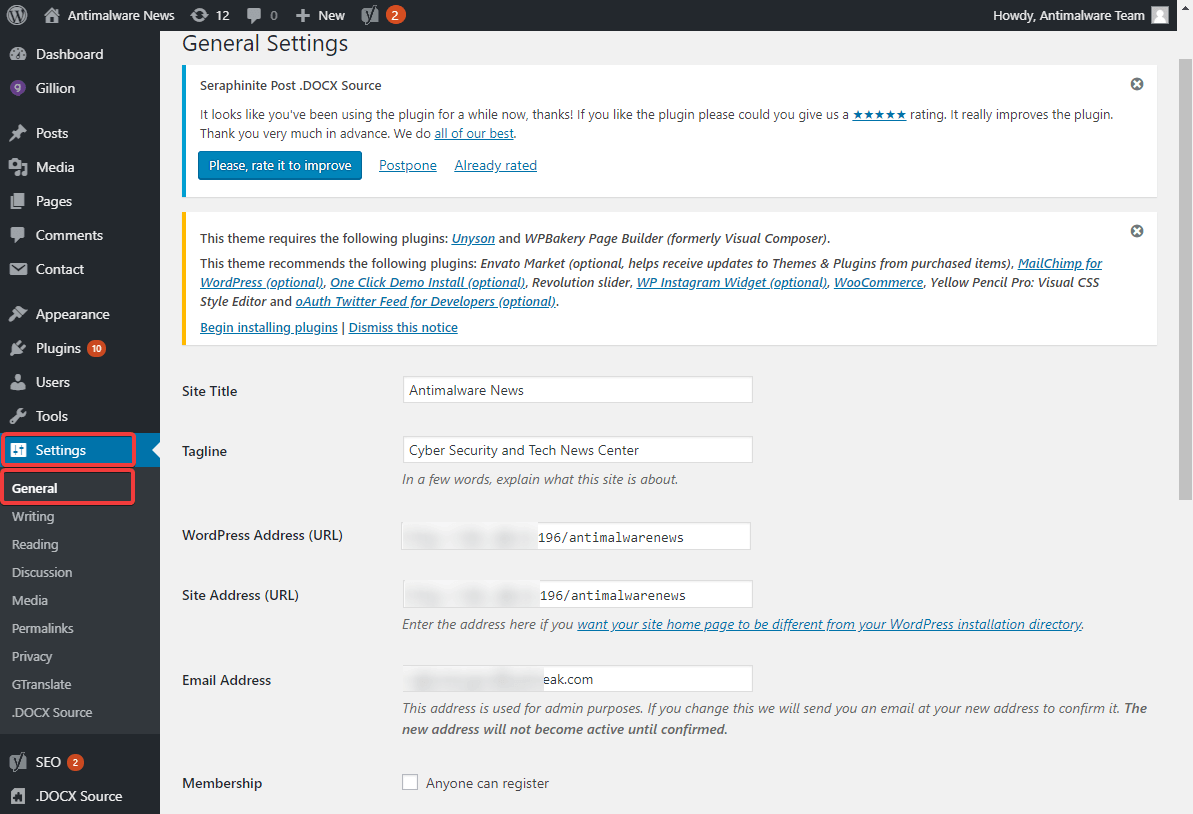
WordPress General Settings
There are a few columns to consider on the WordPress General Settings page. Site Title, Tagline, the WordPress Address (URL), Site Address (URL), Email address for future communications, Site language, Time Zone, Time Format, Date Format, etc. You can configure these settings as per your preference and click on the ‘Save Changes’ button.
Add Pages to Your WordPress Website
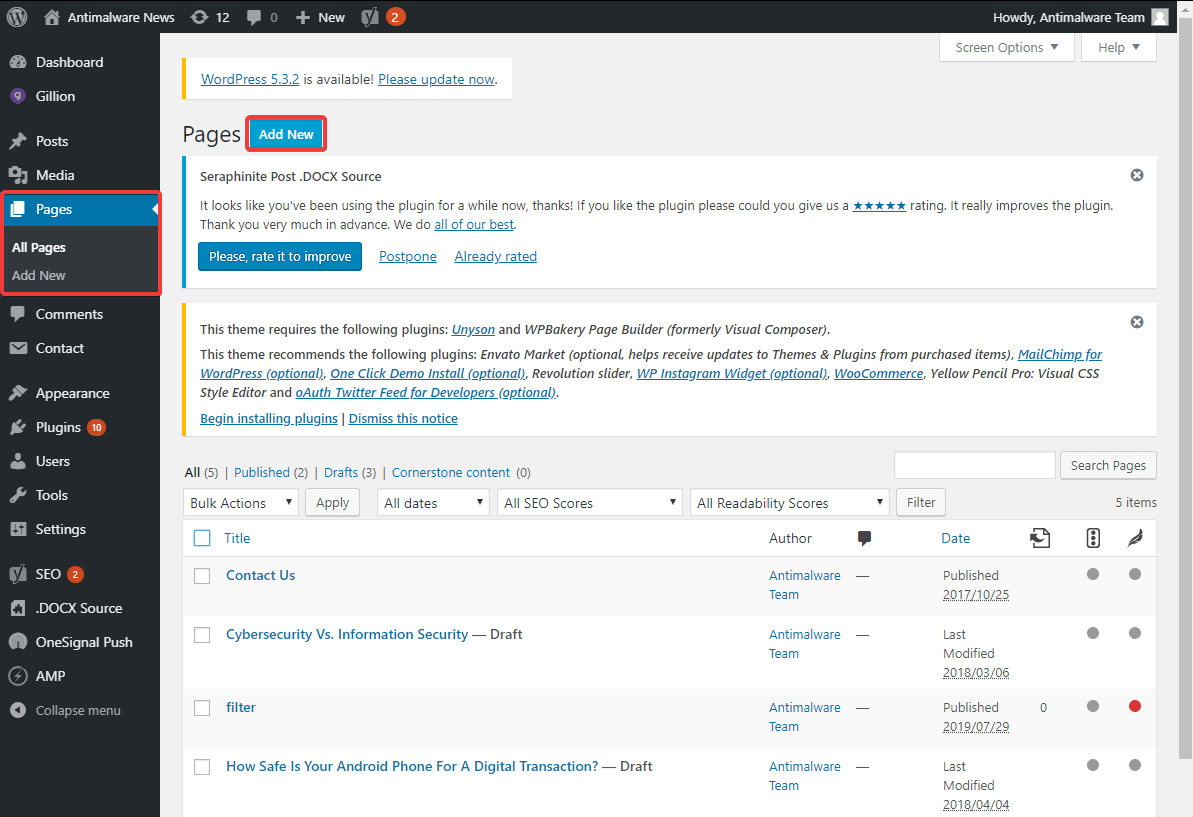
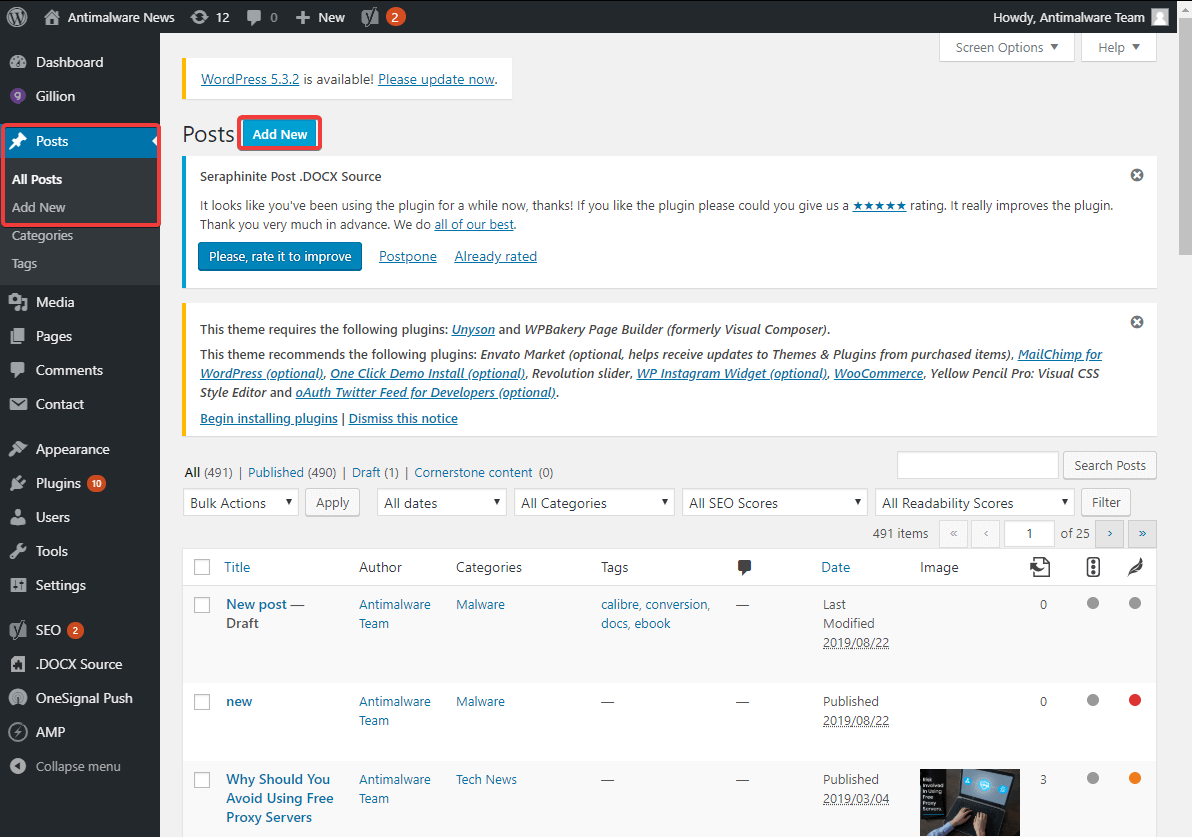
The most frequent action taken on the WordPress dashboard is adding Pages and posts to your website. You can add unlimited Pages or Posts on your website time and again.
Step 1. From the left-hand side panel, click on the ‘Pages’ tab and select ‘Add New’.
Step 2. Enter the ‘Title’ of your page and notice the ‘Permalink’ just below the title. It will be shown as it is on the google search results. (It is advisable to remove dates or year from permalink and keep it short and simple).
Step 3. Click on the text box to enter the text for your page. You get a lot of formatting options for the text on your web page. Enter and edit the text as per your choice in the WP admin dashboard.
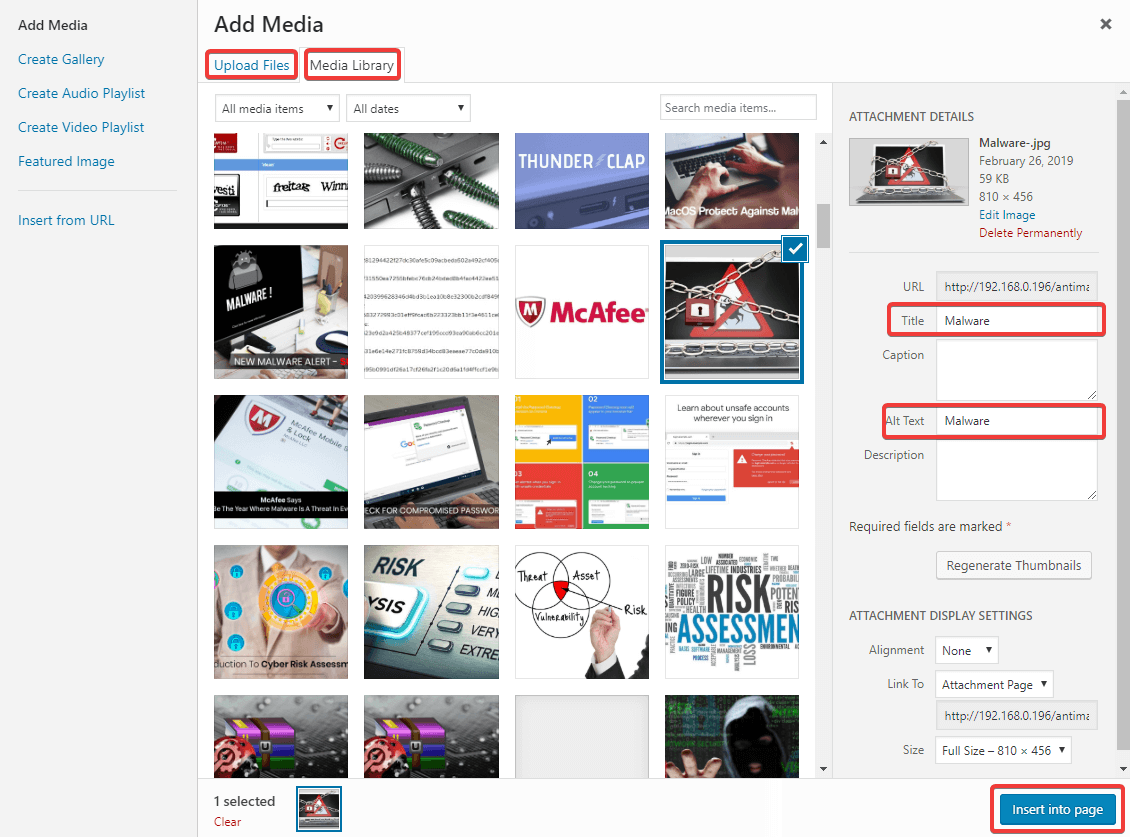
Step 4. If you want to insert an image in your page, you can click on the ‘Add Media’ button and select the image from the ‘Media Library’ or ‘Upload Files’ from your system.
Step 5. When you insert an image, ensure that you give the ‘Title’ and ‘Alt-Text’ to your image. The ‘Alt-Text’ caption is visible in case the image fails to load due to any sort of reason.
Step 6. When you scroll your page down, you will find ‘Featured Image’ that will be displayed on the top of the page or as a snippet of your web page.
Step 7. Once you are done creating or editing your page, You need to click on the ‘Save Draft’ button on the right-hand side Publish panel to save changes.
Step 8. Click on the ‘Preview’ button to view changes as it will appear on the website and notice if there are any changes required before you publish it.
Step 9. Click on the ‘Publish’ button if you want to publish the page on an immediate basis or click on the ‘Edit’ link in front of the publish immediately option to delay the publish date and time.
Also Read: How to Start WordPress Blog for Free in 6 Easy Steps
Add Post to Your WordPress Website
To create a Post, you need to click on the ‘Posts’ tab on the left-hand side panel and then click on the ‘Add New’ button. The rest of the process of creating a post is similar to the above steps as mentioned for creating a page. There are a few major points that make a post different from a page.
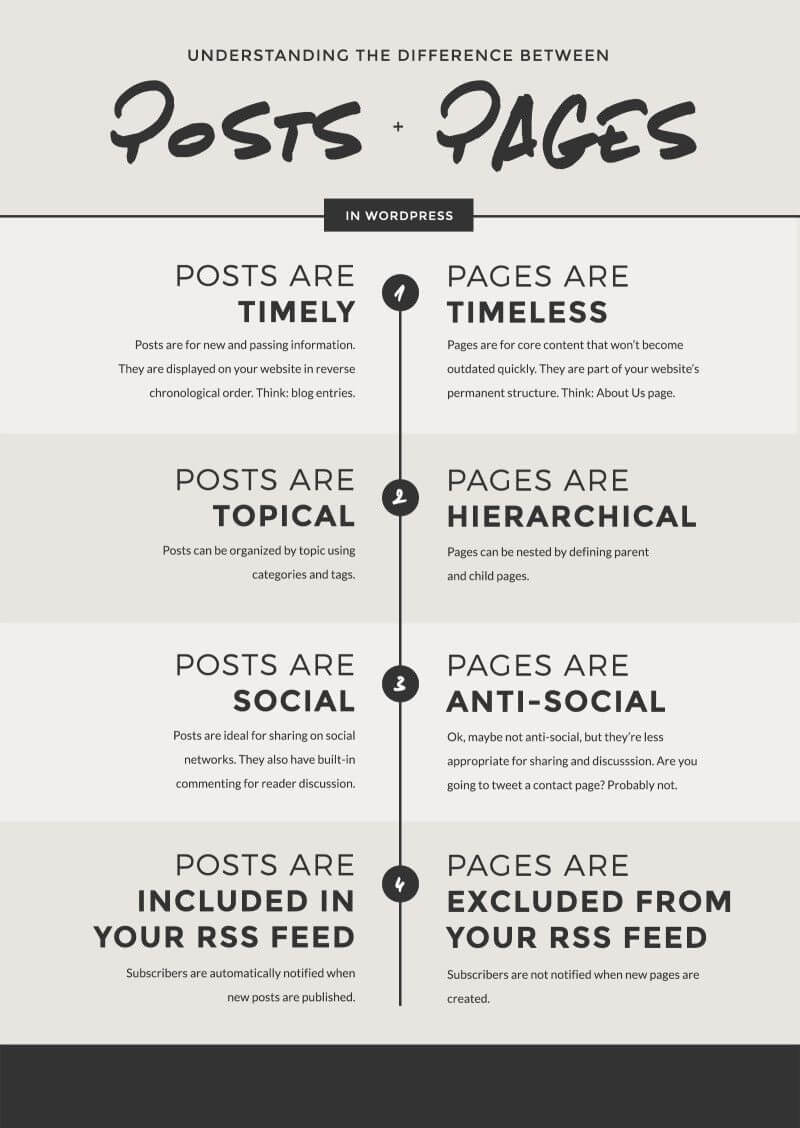
Difference Between Page and Post
Settings WordPress Themes
Website design is as important as the content of the WordPress website. WordPress themes made it possible to have stunning websites with pre-designed standard looks and settings. Settings up WordPress Theme is just a few clicks away.
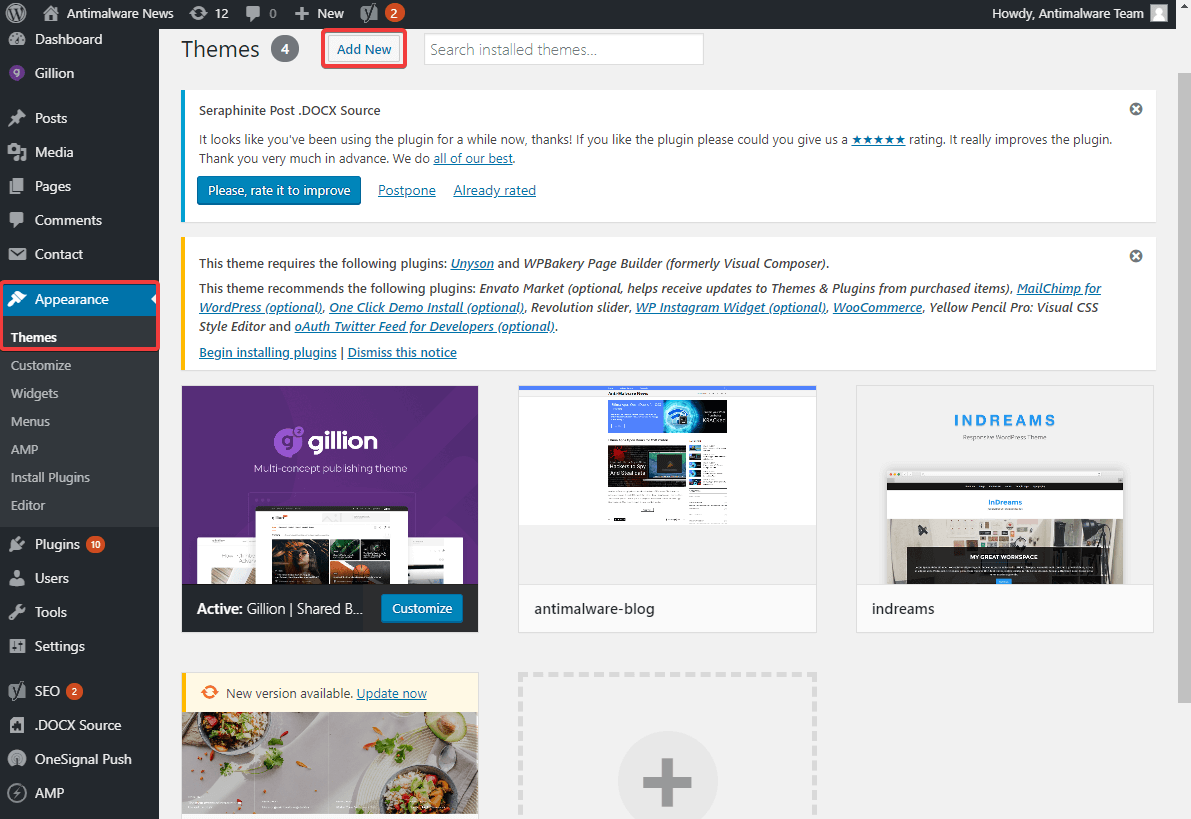
Step 1. Click on the ‘Appearance’ tab on the left-hand side panel of the WordPress Admin Dashboard.
Step 2. Click on the ‘Themes’ option from the available drop-down list.
Step 3. If you like any of the available default themes, Click on the ‘Live Preview’ option to test the theme.
Step 4. If you like the preview, click on the ‘Activate & Publish’ button on the top left-hand side section.
Step 5. If you wish to change to some other theme, click on the ‘Change’ button below the ‘Activate & Publish’ button.
Step 6. You may click on the ‘Live Preview’ button of any other WordPress Theme to get the preview.
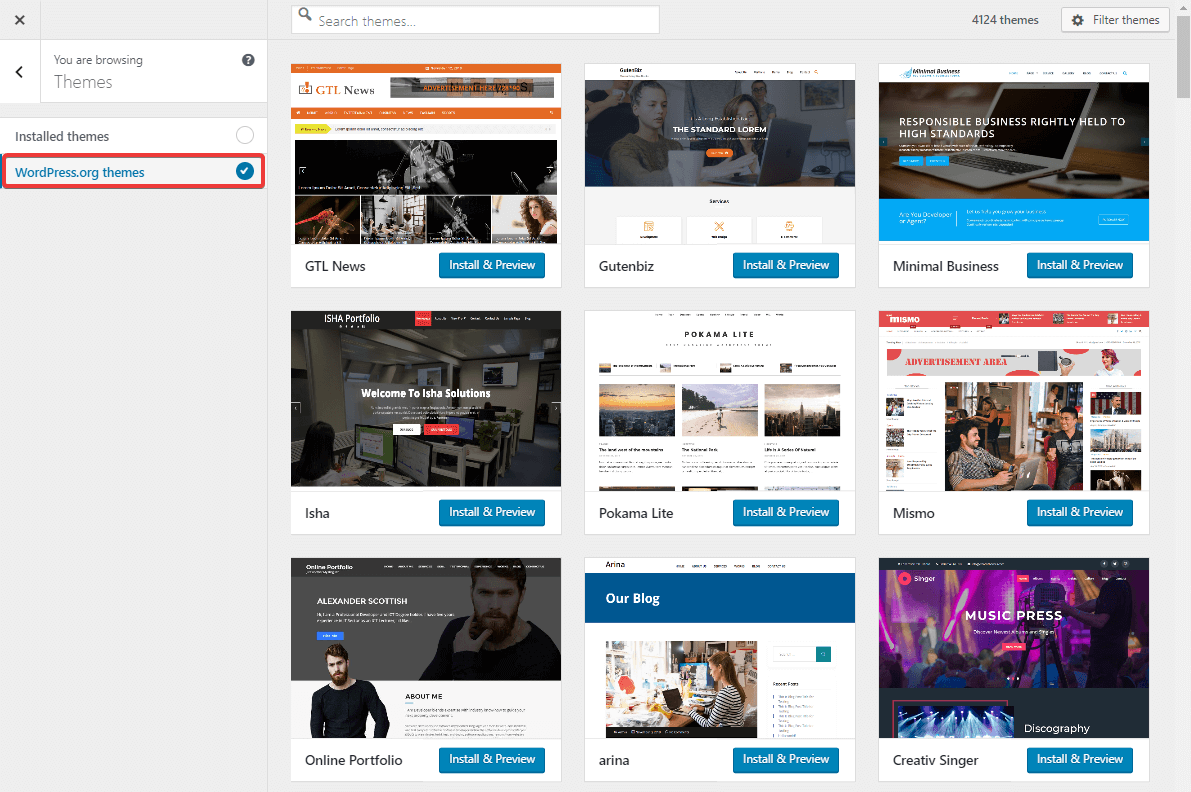
Step 7. Click on the ‘WordPress.org Themes’ button on the left-hand side space of the preview panel to explore thousands of FREE WordPress Themes available in the WP admin dashboard.
Step 8. You may click on any of the WordPress themes to install and activate it then and there. You may also click on the ‘Add New’ button on the WordPress Dashboard to install and activate your favorite WordPress theme.
The entire look of your website will change according to the selected theme template.
“Tip: Divi theme, Avada theme, Astra theme, or Oceanwp are a few of the best available WordPress Themes. Your theme should be according to the niche and purpose of your website.”
WordPress Contact Form
Creating a contact form in WordPress dashboard is easy with simple WordPress plugins. Contact Form 7, Gravity Forms, Visual Composer are a few WordPress plugins that are the best in its category. Contact Form 7 is infact the most widely used WordPress plugin to create contact forms.
Step 1. Click on the ‘Plugin’ tab on the left-hand side panel on WP Admin Dashboard.
Step 2. Search for the desired contact form that you wish to get for your website. Try with Contact Form 7 and other relavant options.
Step 3. Click on the ‘Install Now’ button to get it for your website.
Step 4. Click on the ‘Activate’ button to get it activated for your website.
Step 5. Click on the activated form from the left-hand side panel and click on ‘Create a New Form’.
Step 6. It will ask you to enter the Labels, Placeholder and configure Input Type.
Step 7. Once you are done with the fields, you can also configure which of them are required fields.
Step 8. Once you are done creating a form, you can click on ‘Save Form’ button.
Step 9. It will generate a shortcode. Copy the shortcode and paste it where you want to add a contact form.
Step 10. Create a new post and add the contact form in your post and check the preview. If everything is configured as you desired, click on the ‘Publish’ button to get it live.
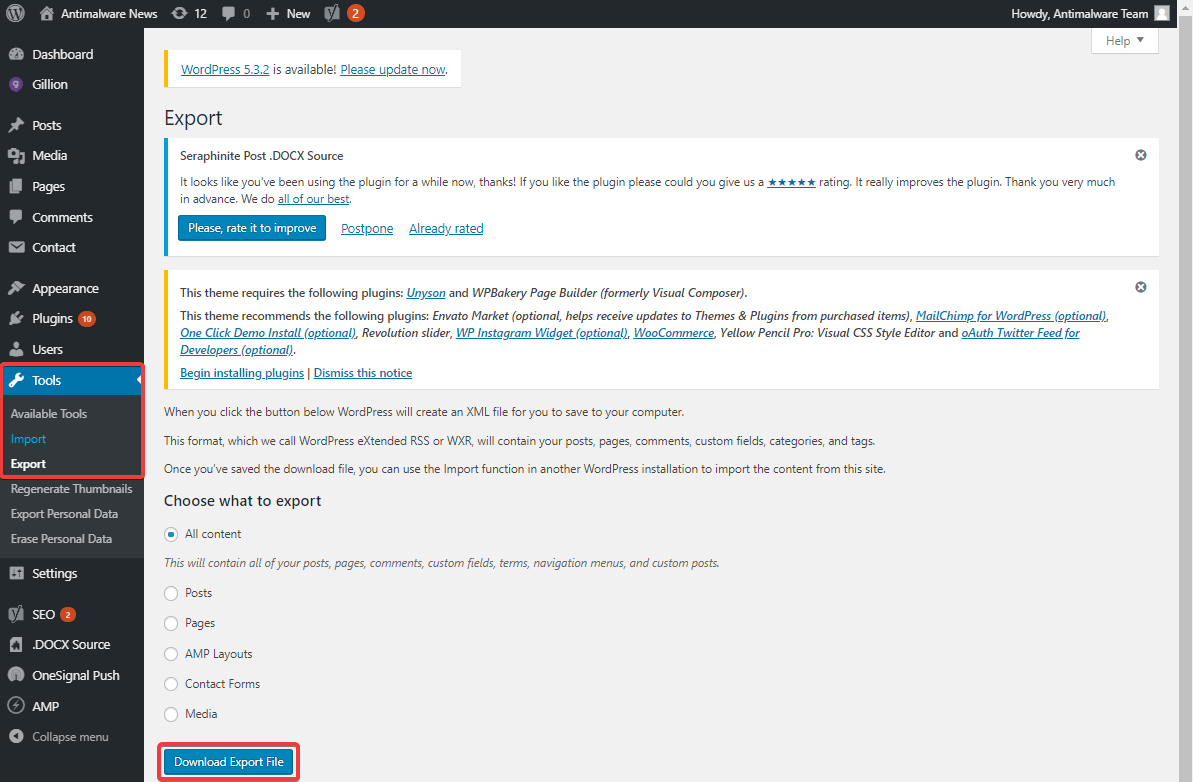
Import Export WordPress Content
This is one of the most important functions of the WordPress admin dashboard. For any security reasons, if you ever wish to Import or Export your WordPress Website Content, You may perform the action within a few simple steps.
Step 1. Click on the ‘Tools’ tab on the left-hand side menu.
Step 2. Click on the ’Import’ or ‘Export’ option as per your requirement.
Step 3. Select if you wish to import or export the entire content or just pages, posts or contact forms.
Step 4. Click on the ‘Download Export File’ button to get the option performed from your WP admin dashboard. You may also make use of ‘All in one wp migration’ tool to migrate the entire website from one cPanel to another.
“Tip: It is advisable to keep a backup of your entire website on your local machine once a month.”
Wrapping Up
We have covered how to login to the WordPress dashboard and also highlighted the most useful tabs on the WordPress admin dashboard. Now that you have explored the WordPress admin panel, you know how to add pages on your WordPress website or how to add posts on your WP admin panel.
You can also customize your WordPress website with the available WordPress themes or add more stunning WordPress themes from the pool of WordPress organization. Do use these settings to create your first WordPress website using the WordPress admin dashboard and share the link with us in the comment section. We will value-add with our inputs to make it the best one for you.


Leave a Reply