Ever wanted to open the files on a USB stick or external hard drive plugged into multiple devices only to find that it is not working? To be honest, it is quite a nuisance! Particularly if you need to transfer files from one computer or device.
Well, often the same issue arises for an exFAT formatted drive when you need it to be FAT32 so all your devices can read from and write into this disk.

So in this article, we are covering a step-by-step process on how you can convert your exFAT file format into FAT32 without losing the data if you have Windows operating systems or macOS.
We’ll also dive deeper into the differences between these file systems so you can understand them.
Also read: Best Hard Drive Recovery Software for Windows 11/10 PC
What are the Differences Between exFAT and FAT32?
Before we dive into the conversion process, it’s important to understand the key differences between exFAT and FAT32:
File size limit:
FAT32: Maximum file size of 4GB
exFAT: Supports files larger than 4GB
Partition size limit:
FAT32: Maximum partition size of 2TB
exFAT: Supports much larger partitions (up to 128 PB theoretically)
Compatibility:
FAT32: Widely compatible with most devices and operating systems
exFAT: Less compatible with older devices but supported by modern systems
Performance:
FAT32: Slower performance for large drives
exFAT: Better performance for large drives and files
Journaling:
FAT32: No journaling feature
exFAT: No built-in journaling, but some implementations may support it
Date range:
FAT32: Supports dates from 1980 to 2107
exFAT: Supports a wider date range, from 1980 to 2255
If you have knowledge of the differences between these two formats, you can judge if you should switch from exFAT to FAT32.
How to Convert exFAT to FAT32 in Windows 10/11?
If you have a Windows computer, there are two main ways to change exFAT to FAT32 without losing any information. We will explain both methods: using the Windows Disk Management tool and using the Command Prompt in this part.
Method 1: Use the Windows Disk Management Tool
This way is more user-friendly and does not require one to know everything there is about computers. How to convert exFAT to FAT32 by Disk Management
You will want to first save everything on your exFAT drive. And although we wish to convert it into FAT32 without losing anything, better safe than sorry.
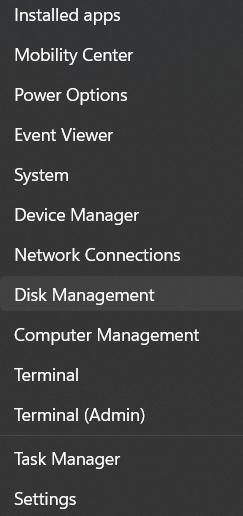
Step 1: Right-click on the Start button and select “Disk Management” Alternatively, press the Windows key + X and choose “Disk Management” from the menu.
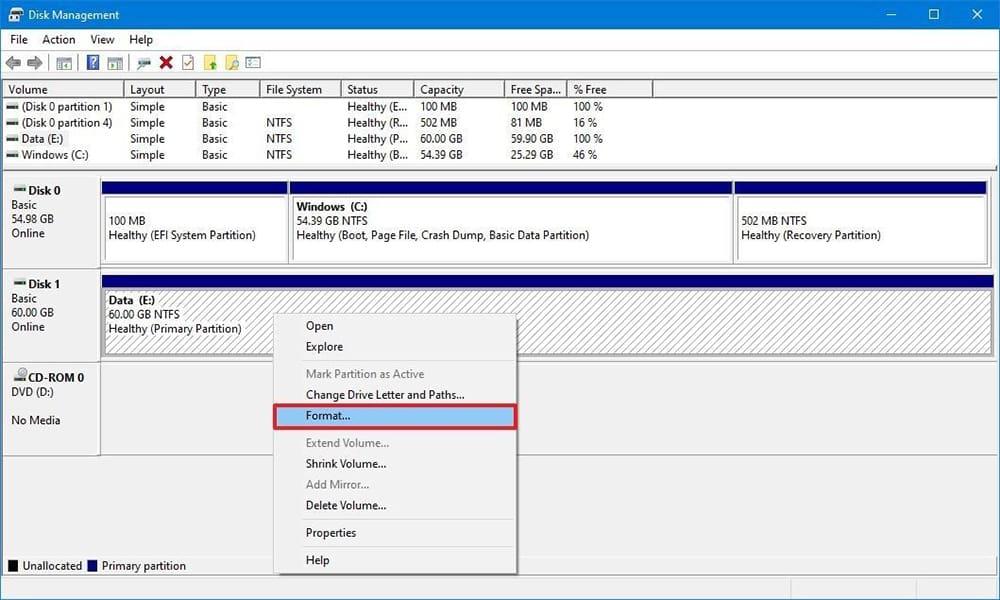
Step 2: Find the drive you want to convert in the list of drives and volumes. Right-click on the exFAT drive and select “Format”.
Step 3: Click “Next” to start the wizard. Choose the volume size (use the maximum available size). Assign a drive letter. Choose “FAT32” as the file system. Enter a volume label if desired. Check the “Perform a quick format” box
Step 4: Click “Next” and then “Finish” to complete the process. Once the conversion is complete, copy your backed-up data back to the newly formatted FAT32 drive.
This method allows you to convert the exFAT to FAT32 without losing data, as long as you’ve backed up your files beforehand. It’s a straightforward way to change format from exFAT to FAT32 using built-in Windows tools.
Method 2: Convert exFAT to FAT32 with Command Prompt
Do you enjoy typing commands on your computer? If so, you can convert your exFAT drive to FAT32 by using the command prompt. This is like giving your computer specific orders by typing them. It might look a bit more technical, but some folks think it’s quicker and more enjoyable than just clicking buttons.
So, if you feel okay with it, let’s give it a go!
Here are the simple steps to convert on Windows:
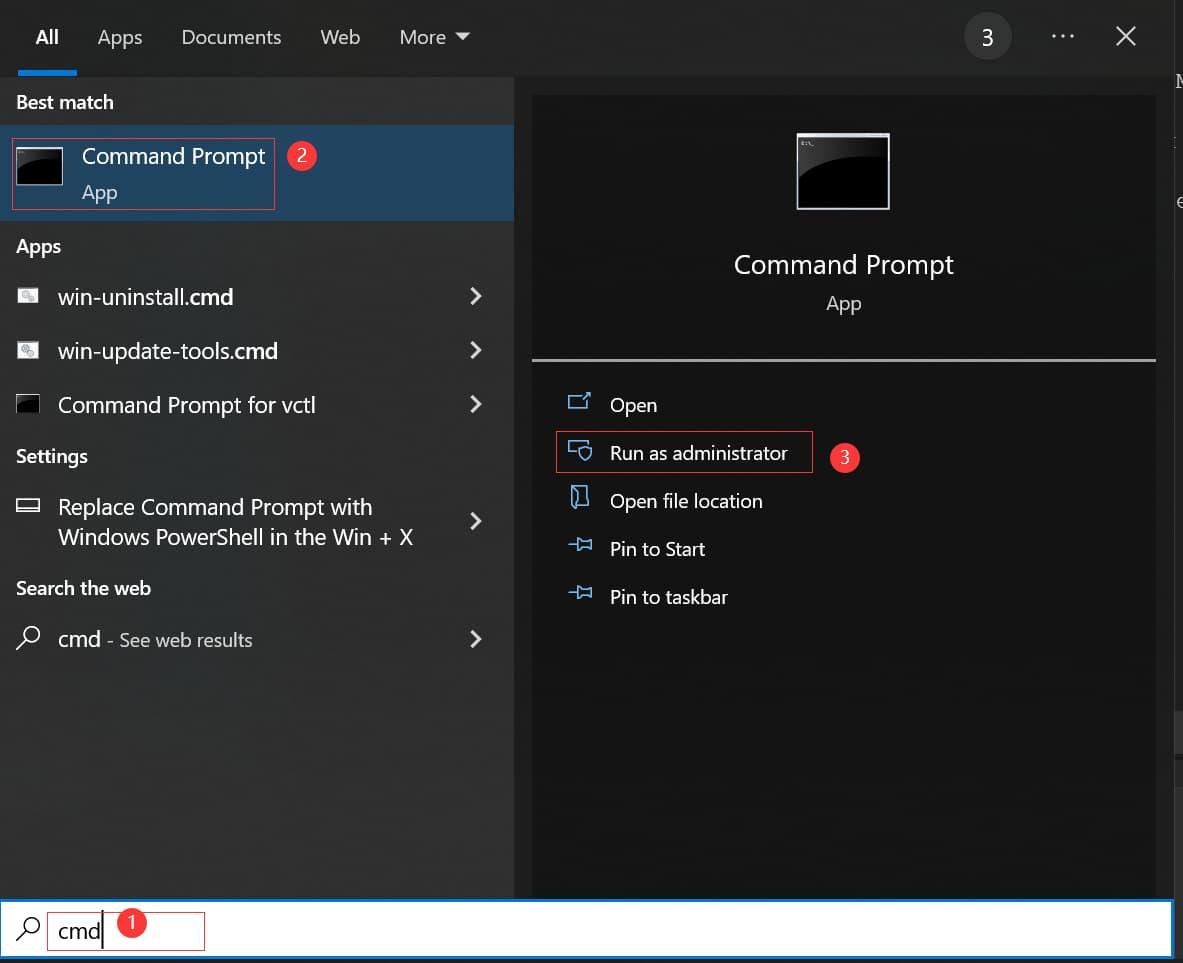
Step 1: Click on the search box located on the Taskbar, then type “Command Prompt”. Now select “Run as administrator”. This will launch the Command Prompt in Admin mode.
Step 2: In the Command Prompt window, execute each of these commands one by one and press Enter.
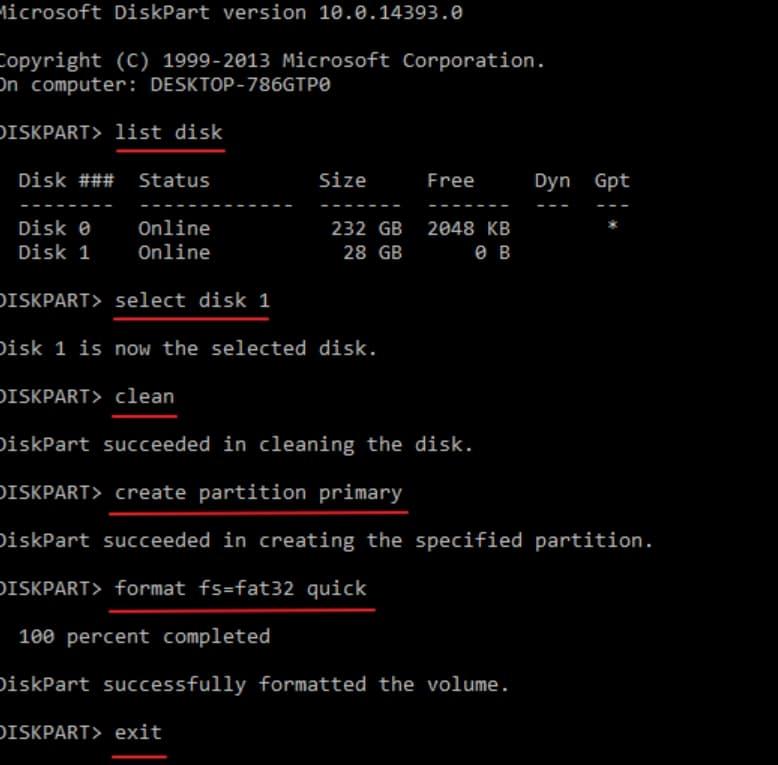
diskpart
list disk
select disk X (put the number of your exFAT drive where X is)
clean
create partition primary
format FS=FAT32 quick
assign
exit
Step 3: Now, go to File Explorer and look at the drive. It has now been converted to FAT32 format.
Keep in mind: Use these commands with great caution as they will erase all the information on the selected drive. Ensure you have saved your documents and selected the correct disk number.
If you have made a backup of your files, you can quickly change exFAT to FAT32 using the command line. Some individuals can easily change exFAT to FAT32 in Command Prompt.
Also read: Fixed – How To Resolve Hard Drive Showing Wrong Capacity in Windows 10
How to Convert exFAT to FAT32 on Mac
If you have a Mac, you can change the format of an exFAT drive to FAT32 without losing any information. In this section, we’ll show you two methods, using the Disk Utility app or the Terminal.
Method 1: Use Disk Utility
Your Mac comes with a useful tool named Disk Utility. It helps you manage your storage devices. If you need to change your drive’s format from exFAT to FAT32, Disk Utility simplifies the process.
Here’s a step-by-step guide on how to use this tool to change your drive’s format. It’s easier than it seems!
Step 1: Open Spotlight Search on your Mac by pressing the Command + Space keys together. Type “Disk Utility” and open it.
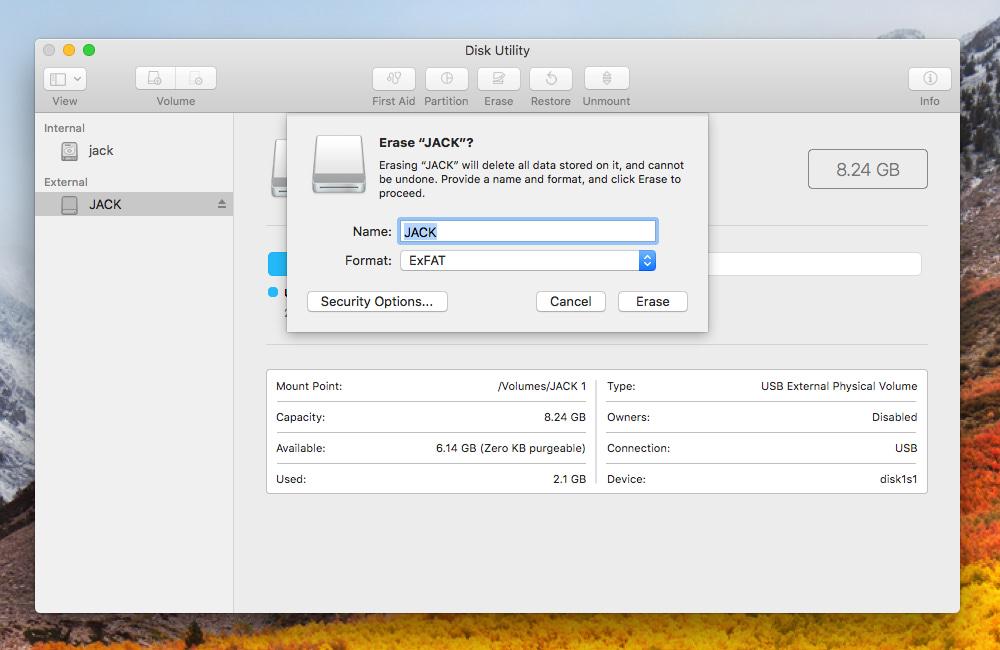
Step 2: Inside Disk Utility, select your drive from the list on the left side. Click the “Erase” button at the top of the screen.
Step 3: A new window will open. Choose “MS-DOS (FAT)” from the Format menu. Click “Erase” to begin changing the format of your drive.
Step 4: Once the formatting is complete, right-click (or Control-click) on your drive in Finder. Select “Get Info” from the menu that appears to confirm that the format is now FAT32.
This method will change your drive to FAT32 (known as MS-DOS FAT in macOS). Make sure to save a copy of your files before formatting, as this will delete all data on the drive.
Also read: 10 Best Mac Disk Repair Software in 2024
Method 2: Use Terminal
Mac users, did you know you can switch your drive from exFAT to FAT32 using a tool called Terminal? Terminal is like a special text editor where you can type commands for your computer.
Don’t be intimidated if it sounds complicated – we’ll explain it in simple steps. It’s similar to giving your computer a special set of instructions to alter your drive.
Let’s get started and learn how to do it!
Step 1: Open the Terminal on Mac. You can find it by going to Applications > Utilities > Terminal, or by using Spotlight (press Command + Space and type “Terminal”).
Step 2: Type these commands in the Terminal:
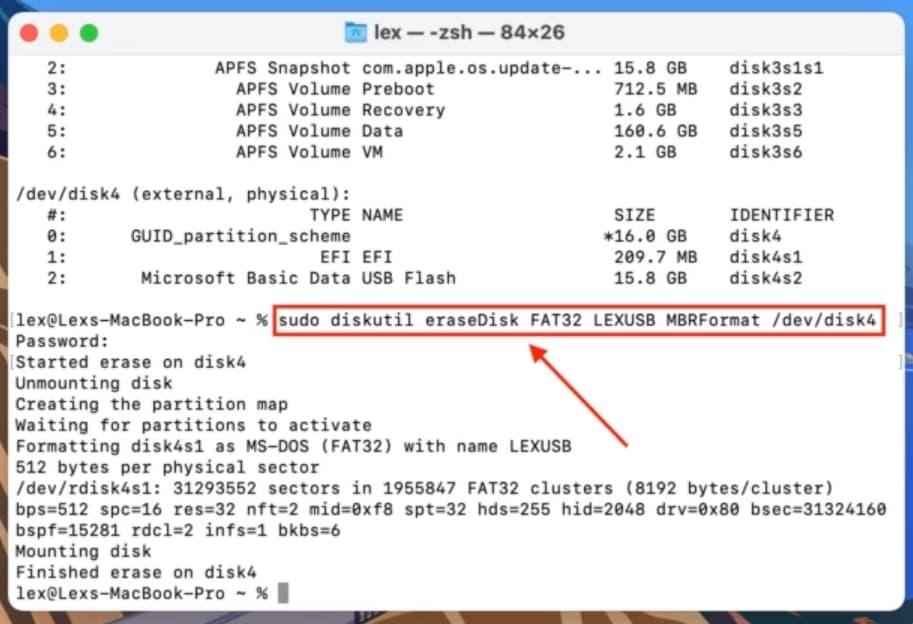
– diskutil list (This shows a list of your drives. Note the number of the one you want to change.)
– diskutil unmountDisk /dev/diskY (Replace Y with the number of your drive.)
– sudo diskutil eraseDisk FAT32 DRIVENAME MBRFormat /dev/diskY (Replace DRIVENAME with the name you want for your drive and Y with its number.)
Step 3: When asked, type your password. It won’t show up as you type, but that’s normal. Wait until the process is done. The Terminal will show you how it’s going and will tell you when it’s finished.
This Terminal method offers another way to convert the exFAT to FAT32 without losing data on a Mac. It’s a powerful technique for those comfortable with using command-line interfaces.
Also read: Top 10 Best Video Recovery Software For Windows 10 PC in 2024
Conclusion
We’ve learned a lot about switching the format of drives from exFAT to FAT32. It works the same whether you have a Windows or Mac computer – now you know how to change it!
Think of it as teaching your drive a language that more devices can understand. It might be a bit confusing at first, but with practice, you’ll be good at it.
Always remember to back up your files before you begin. It’s like making sure you have your keys before you go out. If you run into trouble, don’t stress. Everyone finds technology challenging sometimes. You can always ask someone for help or try again later.
FAQs:
Q: Why would I need to convert exFAT to FAT32?
You might need to convert exFAT to FAT32 for better compatibility with older devices or systems that don’t support exFAT. Some gaming consoles, car stereos, and other electronics may only recognize FAT32 drives.
Q: Will I lose data when I convert exFAT to FAT32?
If you follow the steps carefully and back up your data beforehand, you shouldn’t lose any data. However, it’s crucial to back up your files before attempting any conversion to ensure you don’t lose important information.
Q: Can I convert exFAT to FAT32 without formatting the drive?
Unfortunately, there’s no direct way to change exFAT to FAT32 without formatting the drive. That’s why it’s essential to back up your data before starting the conversion process.
Q: Are there any limitations when converting to FAT32?
Yes, FAT32 has some limitations. The most significant is that it can’t store files larger than 4GB. If you have files larger than 4GB, you’ll need to split them or use a different file system.


Leave a Reply