
The Domain Name System (DNS) is essential to your online communications. Upgrading to a better DNS server is the right decision if you face connectivity issues. This post explains how to change your DNS server on Android.
The Internet is powered by the ‘Domain Name System,’ often called “DNS.” It works as an internet phone book, linking web servers to their respective website domain names. Without DNS, the domain names such as tweaklibrary.com will not be translated into IP addresses. Thus making it impossible for you to access the web using the URLs. Hence, to save yourself from remembering and typing IP addresses to visit a website, the Domain Name System must be monitored and optimized. Any issues with it might wreak havoc on your browsing experience.
Benefits of Using Third-Party DNS
Although most users use their ISP’s default DNS servers, third-party solutions produce superior results. They are as follows:
- You can enjoy faster speed with third-party DNS servers.
- Protect yourself from ISP tracking and data sharing without your knowledge.
- No-log DNS helps maintain online privacy.
- Bypass geographical locks
- Last, DNS providers like OpenDNS can protect against cyber attacks and malicious sites.
- Apply parental controls and site filtering.
Popular DNS Services
Google Public DNS is the most popular DNS service. It supports DNS over TLS (DoT) and DNS over HTTPS (DoH), so requests are delivered over a secure channel. However, if you don’t trust Google CloudFlare 1.1.1.1 is another popular choice. According to most independent testing, it is the quickest DNS service accessible.
How to Change DNS on Android?
The default DNS server on Android is configured differently depending on the version. It is quite straightforward on Android 9 Pie and later devices but a little more complex on Android 8.1 Oreo and older. Below we will explain the steps to change the settings on Android 9 & higher and older versions.
Note: The exact menu options might vary from one manufacturer to another before you plan to use if the selected DNS service provider supports DNS-over-TLS before setting.
Furthermore, when you use a VPN, which overrides private DNS settings, these changes have no impact.
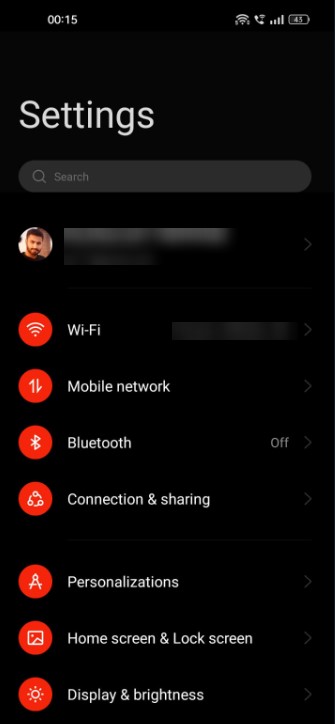
- Navigate to your device’s Wi-Fi settings. You may do this by navigating to Settings and selecting Wi-Fi or pulling down the notification shade & long-pressing the Wi-Fi symbol.
- Now, navigate to your Wi-Fi network’s network settings. Depending on your phone’s brand and Android version, you need to long-press the Wi-Fi network’s name and then hit Modify Network, or there may be an arrow on the side.
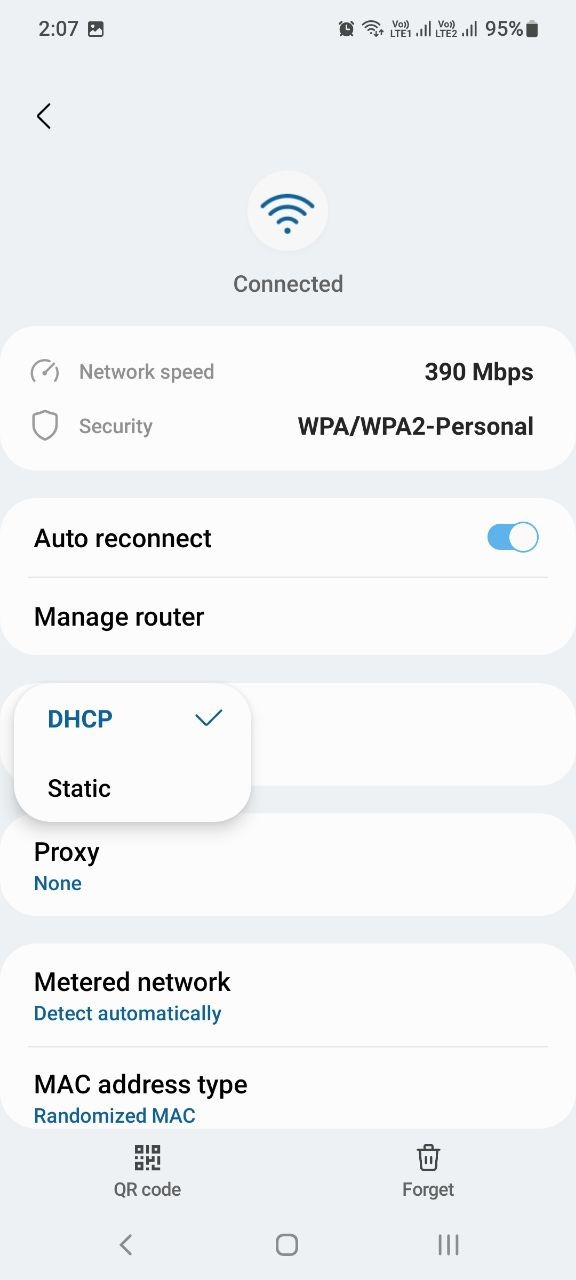
- Scroll to the bottom of the network information page and touch on IP Settings. If you don’t see that menu, check for an Advanced option and IP Settings.
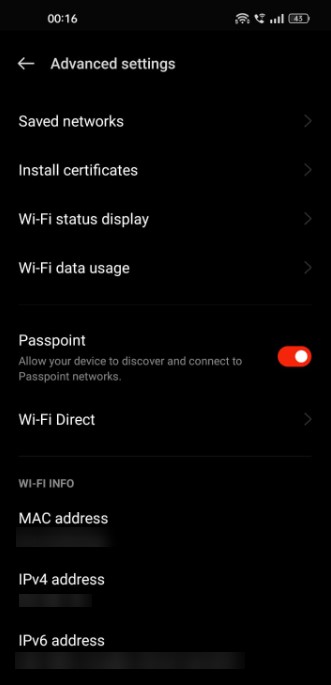
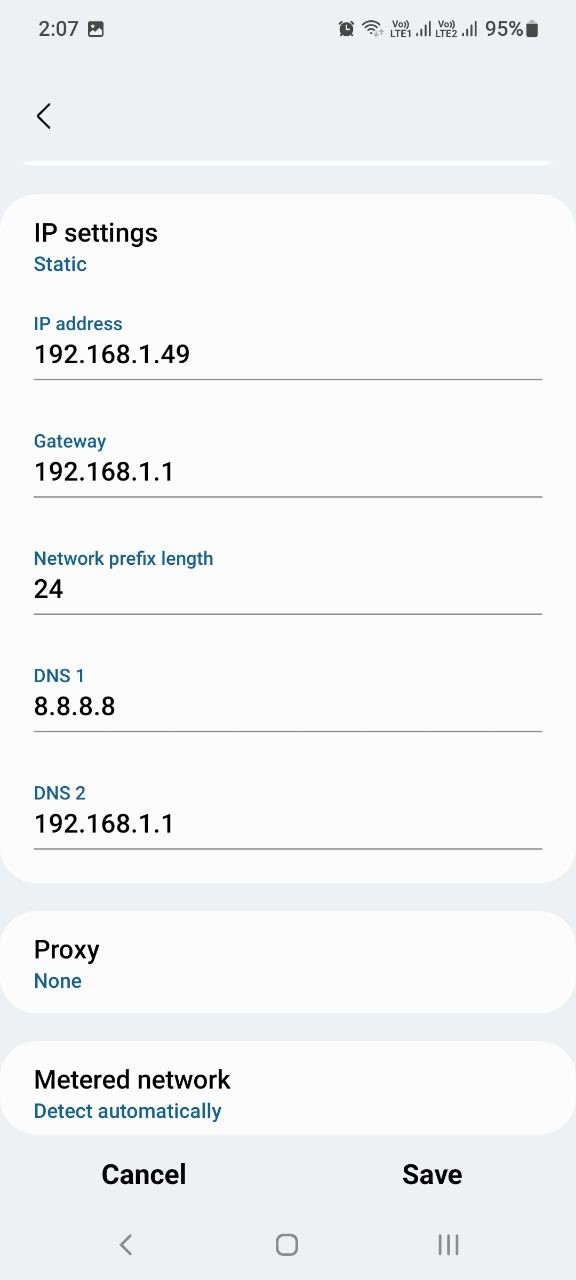
- Change this to a static value.
- Change DNS1 and DNS2 to the desired values- for example, Google DNS is 8.8.8.8 and 8.8.4.4.AC.
On Android 8 Or Earlier, Follow These Steps:
Android Oreo and earlier versions do not permit modifying DNS servers for cellular networks. This means you can apply the following DNS settings only on Wi-Fi connections. Even so, the modifications are network-specific, and you’ll need to update the DNS servers whenever you join a new wireless network.
Furthermore, you’ll have to set up all network information manually; thus, these changes are only suggested for sophisticated users.
To modify a Wi-Fi network, follow these steps:
- Go to your phone’s Settings > Connections.
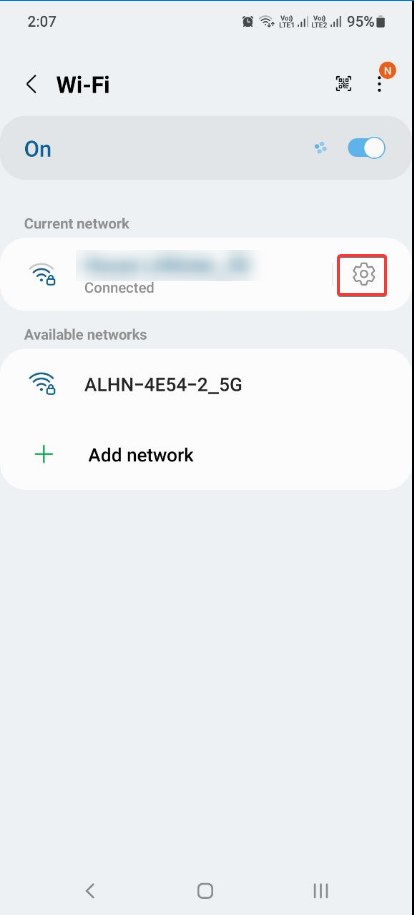
- Look for the Wi-Fi network you are connected to.
- Tap the Gear icon to get a list of options.
- Hit View More
- Tap IP Settings.
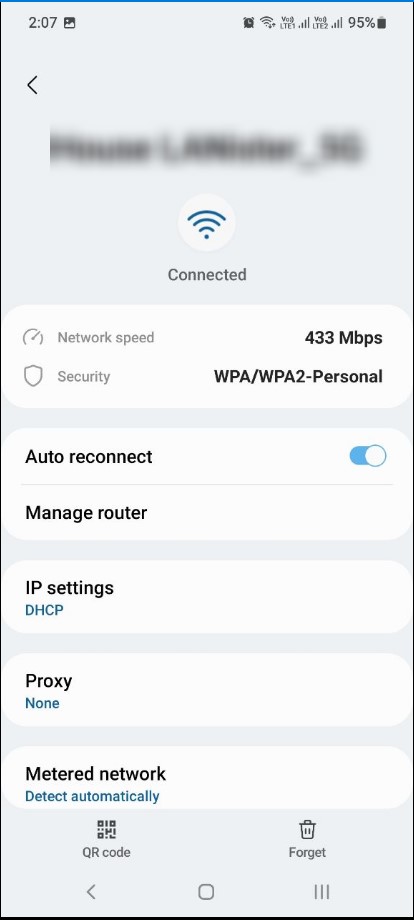
This will read ‘DHCP,’ Tap on it and change it to “Static.”
- Tap on it and change it to ‘Static.’
- Now, manually enter your network settings, including your DNS server. An example would be 1.1.1.1 & 1.0.0.1.
Wrap Up – Change Your DNS Server on Any Android Device.
So there you have it. Following the steps mentioned above, you can modify the DNS setting on any Android device. The steps might vary a bit due to the brand or Android version. They will work for all. We hope you will be able to change the DNS, IPv4, and IPv6.


Leave a Reply