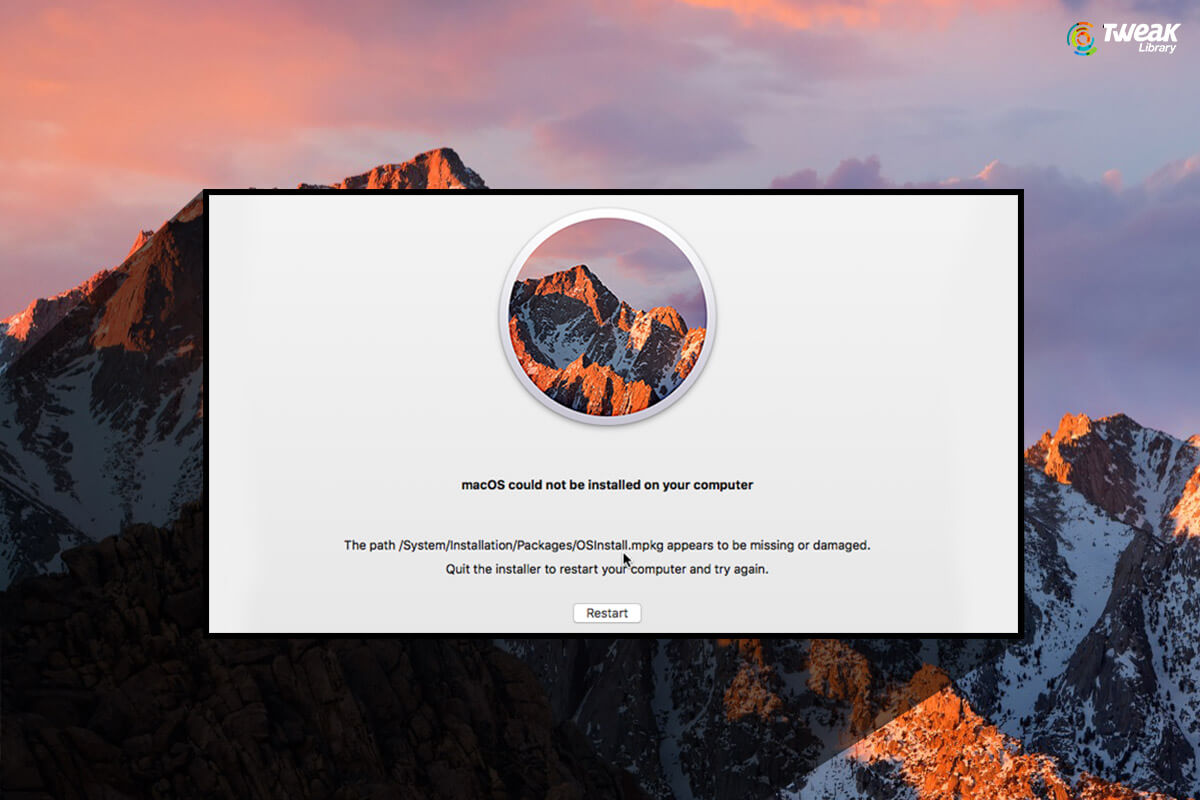
Whenever a new OS is rolled out, we are usually excited to install and download it and check out the new changes and features added to it. However, you might get disappointed if or when you encounter the issue of “macOS could not be installed on your computer” error.
Well, if you encountered the error, then the next step is to figure out the reason why the update has failed.
In this blog, we have mentioned some common reasons for the “macOS could not be installed on your computer” error. Moreover, we have suggested some troubleshooting methods to curb this issue.
Also read:- Make way for macOS Monterey
Various Reasons why macOS could not be installed on computers:-
- Not sufficient storage on Mac
- Problem with internet connection
- Corrupt macOS installer file
- Malfunctioned Mac’s startup disk
- Hardware not supported
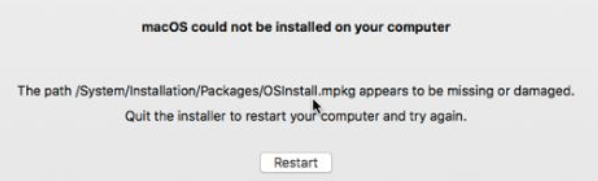
- The path /System/Installation/Packages/OSInstall.mpkg appears to be missing or damaged
Steps to follow before troubleshooting macOS Installation Error:-
1. Boot up Mac in Safe Mode
When Mac is started in safe mode, then many not so important programs don’t launch upon startup, including the macOS installer and thus no problematic programs run in the background.
Booting may differ based on the Intel-based Mac and Apple Silicon chip Mac.
- To boot into Safe mode on an Intel-based computer, restart the Mac then press and hold the Option+Cmd+R Release the key when you see the Apple logo on the screen. You will see Safe Boot in the menu bar on the login screen.
- To boot into Safe mode on an Apple Silicon chip Mac, shut down the computer and press and hold the power button until you see startup options on the screen. Once the startup options are available select Start Disk then press and hold the Shift key. Now click on Continue in Safe Mode.
2. Create a new backup using Time Machine
Take a backup of Mac to ensure the safety of your data and you can retrieve your data in the case of the installation failing. There are various backup options available like Time Machine, iCloud and various third-party backup software. Take a backup of Mac to avoid data loss, so that in case you lose a file mistakenly, then you can retrieve it through backup and save your time and effort.
Also Read:- How to take backup using Time Machine
Also Read:- How to restore Mac from time machine backup
3. Check Mac compatibility
Before installing the latest OS on your Mac, it is advised to check your computer’s compatibility. Sometimes a computer’s hardware and software are very old as per the new update that is not capable of running the latest OS and therefore you end up facing the installation failure.
To check the compatibility, first read the minimum requirement of the new OS and then check the compatibility of your Mac by navigating to the Apple logo in the menu bar and then selecting About This Mac. Now compare the requirements and if everything is fine, then install the latest update.
Steps to follow when macOS installation could not be completed:-
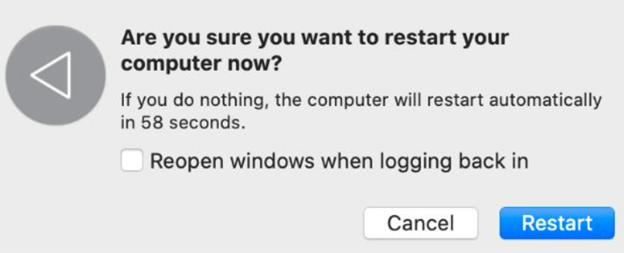
1. Restart mac and try installing the new OS again.
Generally restarting Mac resolves the issue of new OS installation failure. Open the Apple menu and select Restart.
2. Check date and time of Mac
When the date and time in Mac are wrong, then it creates a problem in connecting to the Apple server and therefore is recommended to set the right date and time in Mac to avoid OS installation failure.
Open System Preferences navigate to Date & Time and correct it. Then click on Padlock, enter your administrator password, and choose to Set a date and time automatically to avoid such issues in the future.

3. Create enough free space to install the update
If you have a Mac with 256 GB of storage, then it is advised to check for the space before installing the new OS. A new OS installation may take up to 20 GB of space on Mac.
Open the Apple menu and navigate to About This Mac> Storage to check free space on your Mac.
If you want to remove anything to free up space, then click on Manage Storage and select what to be removed.
4. Reset PRAM & NVRAM
PRAM & NVRAM are responsible for saving your settings and preferences on your Mac like sound, screen brightness, display resolutions, etc. If PRAM & NVRAM has encountered an error, then it can create a problem in the installation process of the new OS.
To reset settings, restart the PC and press and hold Option+Cmd+P+R. Keep holding all the keys till you see a second Apple logo which means the reset is complete.
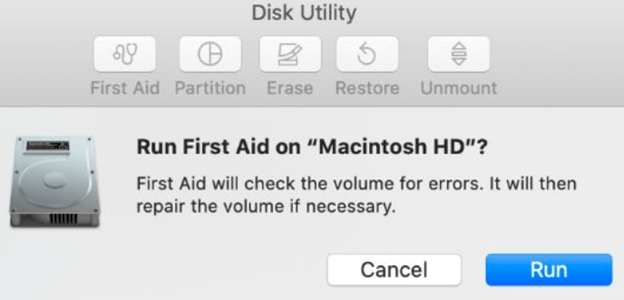
5. Run First Aid on your Startup Disk
Disk fragmentation or disk permission error on the startup disk can lead to failure in the installation of the new OS. By using the Disk utility tool, these errors can be fixed in no time.
Open Disk Utility and open your Mac’s startup disk in the sidebar which is called Macintosh HD. Now click on First Aid from the options available at the top. Click on Run and the errors will be removed if any.
6. Download a new copy of the macOS installer
If the macOS installer is corrupt on your Mac, then it can cause the failure of the new OS installation. It is advised to replace the macOS installer with a new one.
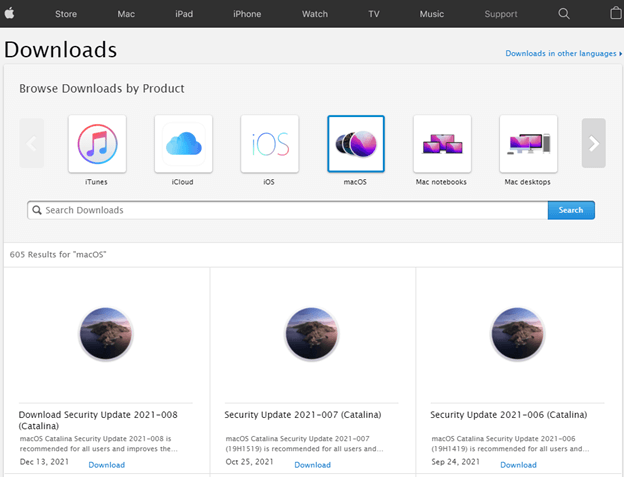
To download the new macOS installer, you can open the App Store and download and install it. macOS Installer is also directly available to download from the Apple Support Website
7. Use macOS Recovery to reinstall macOS
Installing the complete OS altogether will resolve the issue for you.
Booting may differ based on the Intel-based Mac and Apple Silicon chip mac.
- To boot into Safe mode on an Intel-based computer, restart the Mac then press and hold the Option+Cmd+R Release the key when you see the Apple logo on the screen. You will see Safe Boot in the menu bar on the login screen.
- To boot into Safe mode on an Apple Silicon chip Mac, shut down the computer and press and hold the power button until you see startup options on the screen. Once the startup options are available select Start Disk then press and hold the Shift key. Now click on Continue in Safe Mode
By the above process, you will get into macOS Recovery. Now click on Reinstall macOS to install the latest version available.
8. Erase Mac and restore from backup
The last step if none of the above methods worked for you will be erasing the startup disk and reinstalling macOS . Make sure to take backup of the computer in Time Machine before you erase all data.
Conclusion:-
There are various reasons for the “macOS could not be installed on your computer” issue. In this blog, we have mentioned various ways by which we can fix this issue. We advise you to first take the backup of your Mac before proceeding with the above-mentioned troubleshooting steps so that you donot lose any important data. If these methods helped and you were able to install the new OS on your computer, please let us know in the comments section below. You can also reach out to us for any other technical troubleshooting problems.

Leave a Reply