The HEIC format became widely popular after Apple decided to use them as the default file format for iPhones in 2017. HEIC and JPG image formats offer their own sets of benefits. The HEIC provides an efficient compression method that breaks images into significantly smaller files without sacrificing quality. It’s only flaw is that it is not compatible with a lot of devices. JPGs, on the other hand, have almost universal compatibility.
This is the sole reason why you are required to convert HEIC files to JPG on iPhone when transferring them to another device. In this guide, we will help you learn how to convert HEIC to JPG on iPhone with ease.
Also Read: Best PDF Converter Apps For Android And iPhone
How to Convert HEIC to JPG on iPhone?
All Apple devices can access HEIC files without any trouble. There are, however, many non-Apple devices that are in question. That is why you will be needed to convert the HEIC file to JPG when transferring it to other devices. You can perform this conversion easily on your iPhone. Here we have mentioned four different ways to convert the files to JPG.
Method 01: Permanently Convert HEIC to JPG on iPhone
If you don’t want to worry about always converting HEIC files to JPG, you can simply set your iPhone to always use the JPG format. The iPhone allows you to choose the image format you wish to store it in from the Settings. Here is how you can do it:
Step 01: Launch the Settings app on your iPhone.
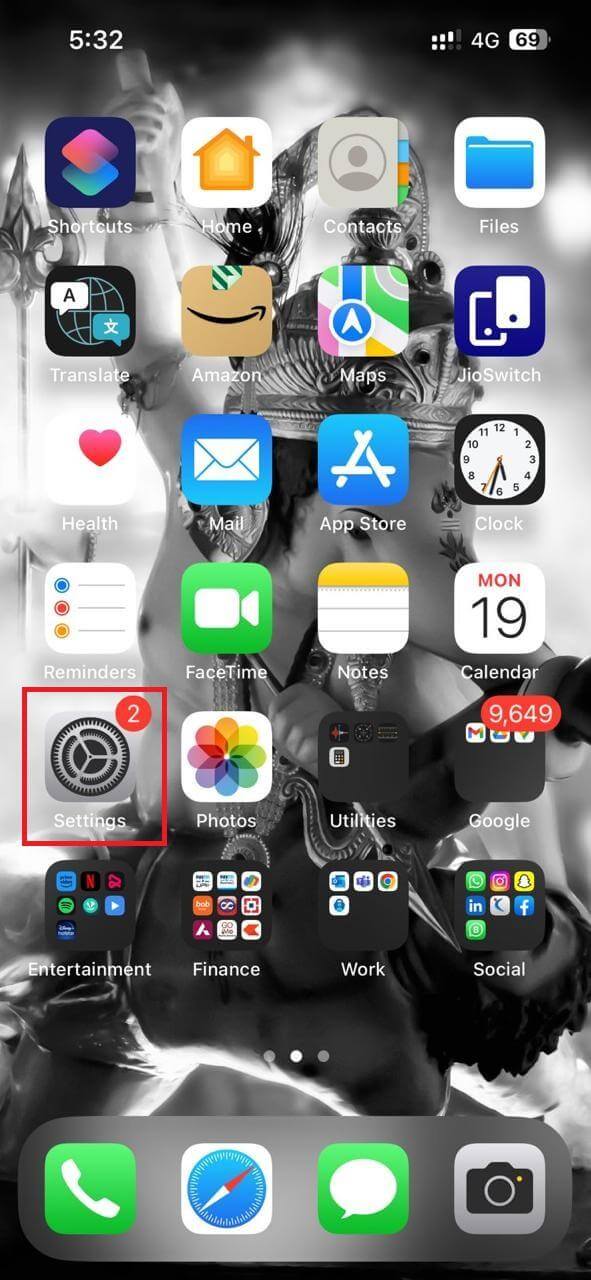
Step 02: Next, scroll down, locate, and tap on Camera.

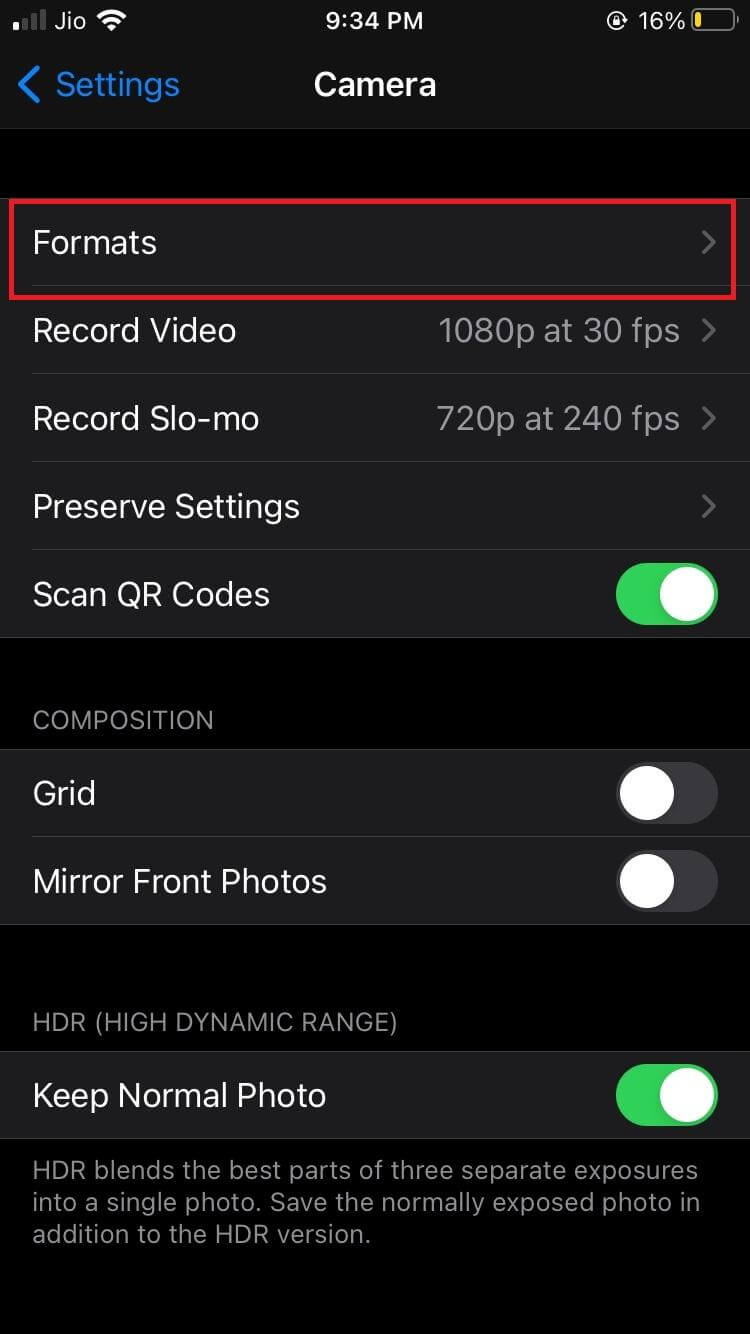
Step 03: On the next screen, tap on Formats.
Step 04: Here, you are given two options: High Efficiency and Most Compatible. If you select High Efficiency, your device will capture photos in HEIF and HEVC format. If you choose Most Compatible, your device will capture images and videos in JPEG and H.264. Tap on Most Compatible to convert HEIC to JPG on iPhone.
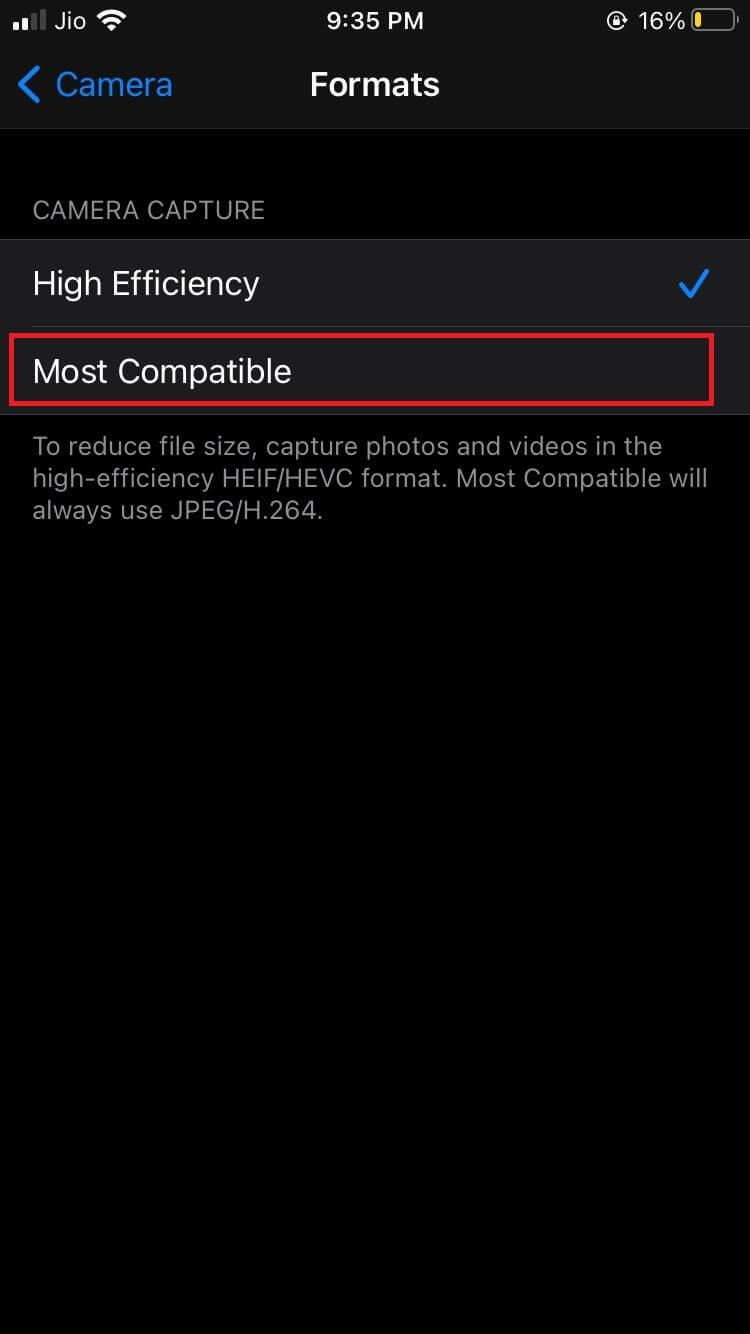
Now, you can easily have your images saved in the desired format on your iPhone and it makes it easy to transfer & view on other devices.
Also Read: How to Make a Photo Collage on iPhone
Method 02: Convert HEIC to JPG on iPhone Using Photos App
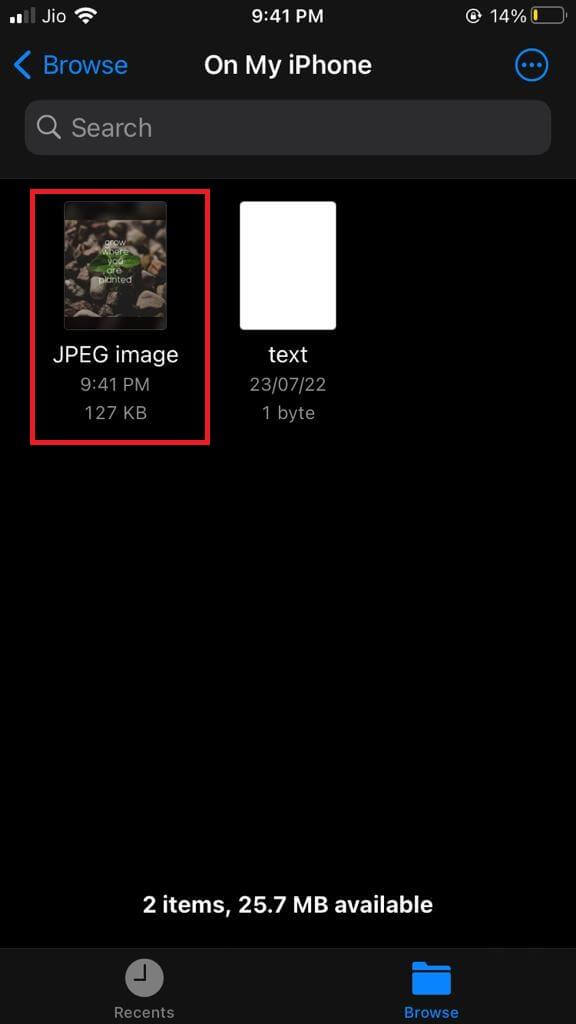
Using iPhone’s Files app is another easy and quick way to convert an image file from HEIC to JPG. Here is how you can convert HEIC file to JPG with the Photos app:
Step 01: Launch Photos app on your iPhone and then find the photo you want to convert.
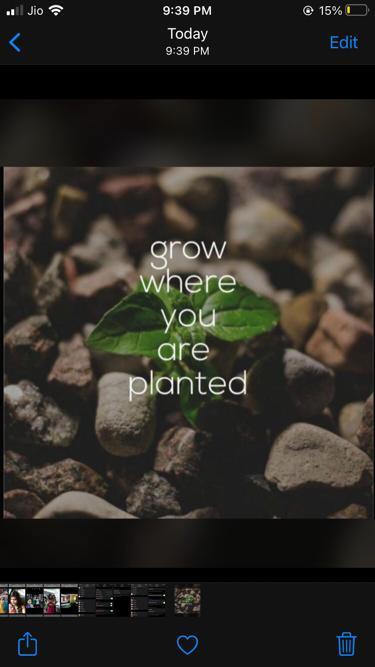
Step 02: After selecting the photo, tap on Share.
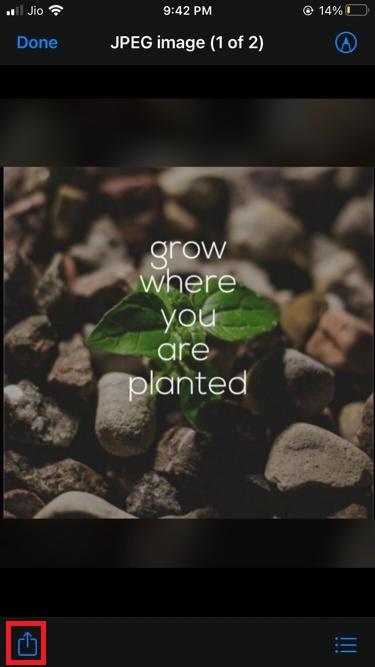
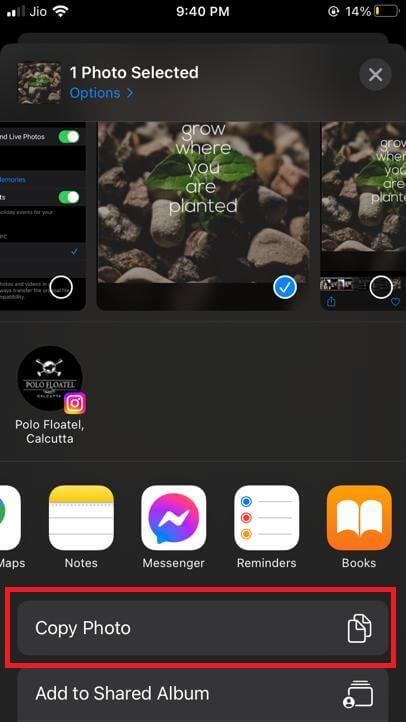
Step 03: From the given options, tap on Copy Photo.
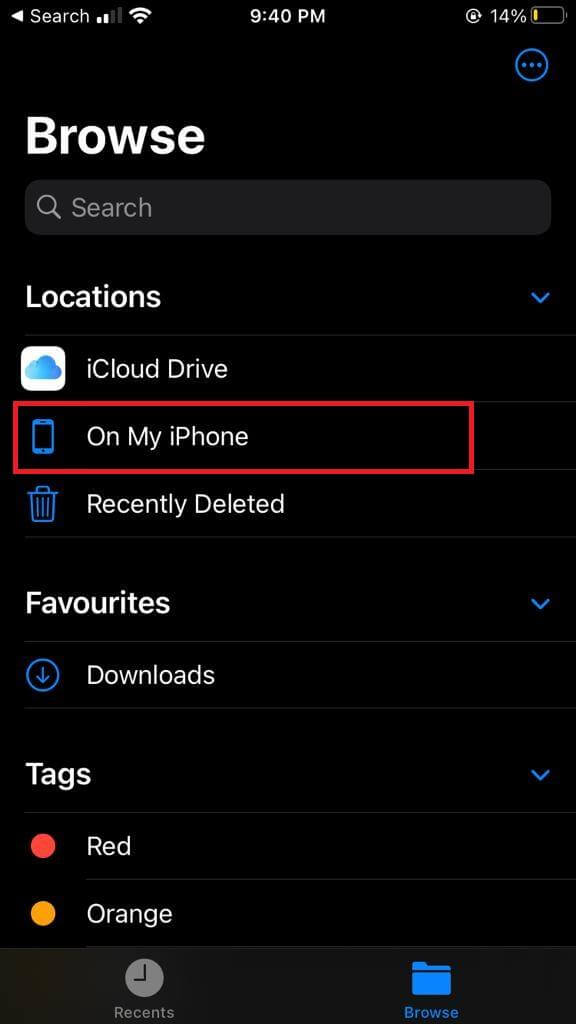
Step 04: Now, go back to the home screen and launch the Files app. Next, locate and tap on the On My iPhone option.
Step 05: Long-press on an empty space until it opens a window for more options. From the listed options, tap on Paste.
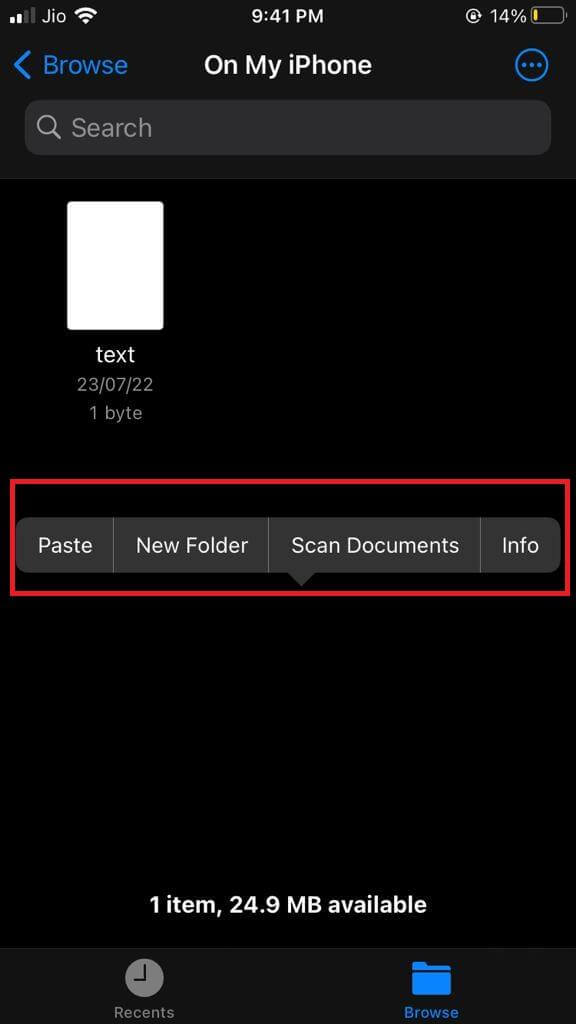
Step 06: Pasting a photo will automatically convert it to JPG.
Method 03: Convert HEIC File to JPG with Photos Settings
Another straightforward way to convert your files from HEIC to JPG is with Photos settings. The best thing about this method is that it allows you to choose between both formats as and when you want. Follow the steps below to convert your pictures from HEIC to JPG:
Step 01: Launch the Settings app, scroll down, and tap on Photos.

Step 02: Tap on Automatic listed under the Transfer to Mac Or PC section.
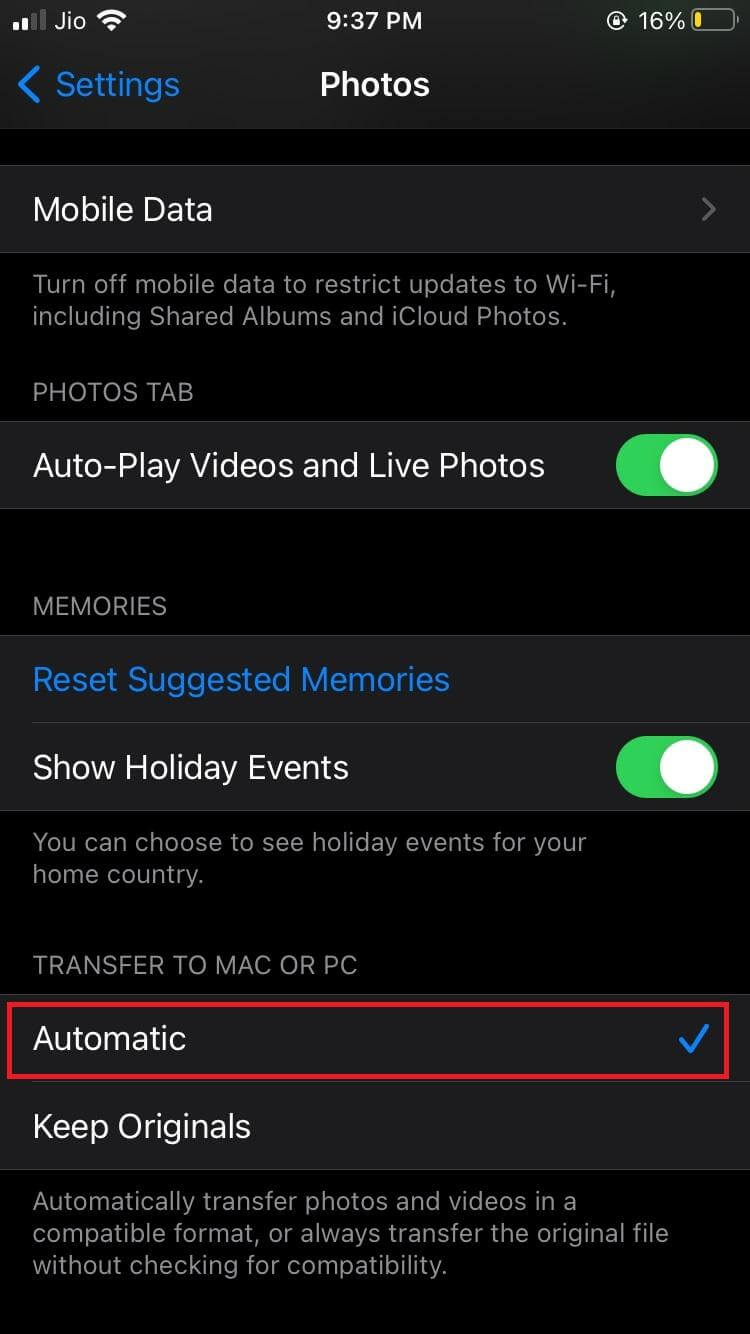
Now, you can easily have the files transferred in the compatible file formats for the devices.
Also Read: Know How iPhone Helps In Taking Good Photos
Method 04: Using HEIC to JPG Converter
Using HEIC to JPG converters is another excellent way to convert files. There are several third-party HEIC to JPG converter apps on the Apple Store that you can download and use. The HEIC to JPEG – Image Converter app is among the best of all of them. It lets you easily and quickly convert all the HEIC files to JPG. After converting, you can also share the photos using Airdrop.
Final Takeaways,
iPhone’s default camera setting captures photos in HEIC format. The problem is that there are many web services and apps that do not yet support HEIC. This makes it important that you convert them to JPG first before sharing them. JPGs are more universally compatible and all these methods will help you easily convert HEIC to jpg on iPhone. The best way is to change the Photos app settings or to convert the photos using the Files app method.
We hope this article will help you, let us know your comments and suggestions below.
Next Read
Review: Duplicate Photos Fixer For iPhone
How to Find and Remove Duplicate Photos from iPhone?
Best Duplicate Photo Cleaner Apps for Android


Leave a Reply