Almost all of us, whether knowingly or unknowingly, have our contacts placed in Google contacts. It is a good thing if they are there. After all, when you jump from smartphone to smartphone, immaterial of Android or iOS, you can at least have your contacts ready.
Having said that, it also brings along a task – to manage Google Contacts. And, this is what we mean. Amongst those hundreds or even thousands of contacts, there are many that you don’t need. More specifically, there could be contacts that have changed their numbers or contacts with just email addresses stuffed. Or, even contacts that you are “no longer in contact with”.
What would you do with such contacts? Delete them right away? It certainly isn’t that easy. This task does require wisdom which we’d like to call the art of managing Google Contacts.
The question is how do you manage Google contacts? That’s what this blog’s all about. Here we are going to look at some tips and tricks using which you will be able to clean up your Google contacts.
Also Read: How To Backup Android Contacts On A Computer
Ways To Manage Google Contacts
Remove or Merge Duplicate Contacts With Merge & Fix
Duplicate contacts are a headache and Google is no different and a big part of managing Google contacts is getting rid of duplicates. Here is how you can get rid of duplicates in Google Contacts –
1. Visit https://contacts.google.com
2. Sign in with your Google account
3. From the left-hand side click on the hamburger icon and then click on Merge & fix
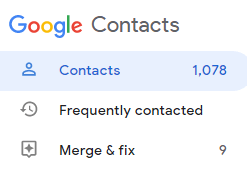
4. You will now have all the duplicates in your Google contacts on the right-hand side of the page
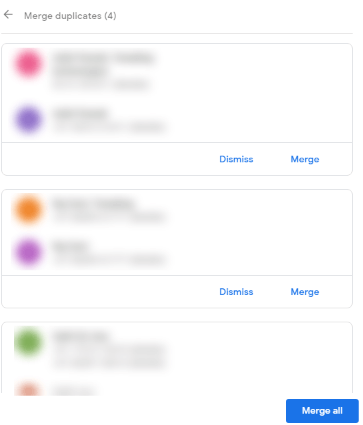
5. Now, it is at your discretion whether you want to –
6. Merge all duplicate contacts: In this case, you can click on the Merge all button at the top-right corner of the screen
7. Leave a group of duplicate contacts as it is: In this case, you can click on the Dismiss option at the bottom
8. You can tackle individual contact and then hit the Merge option to merge the duplicate contact group
Use a Third-Party Tool to Tackle Duplicate Contacts
Some great applications can help you fix duplicate contacts and one such app is Duplicate Contacts Fixer and Remover. The best part is that the app first offers to create a backup. This backup folder is stored in the .vcf format. In case anything goes wrong, you can restore the backup anytime you want.
How To Use Duplicate Contacts Fixer and Remover
Duplicate Contacts Fixer and Remover is available for both Android as well as iOS. Here is how you can use Duplicate Contacts Fixer and Remover on Android –
1. Install Duplicate Contacts Fixer and Remover. You can also get it for iOS from this link
2. Tap on your Google account
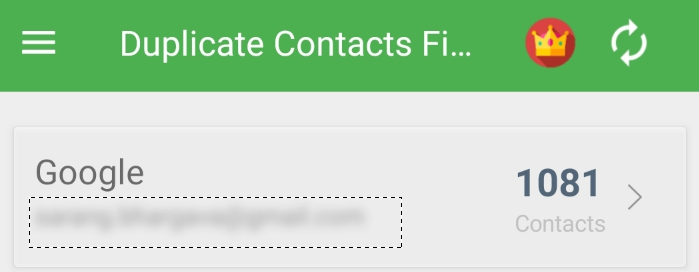
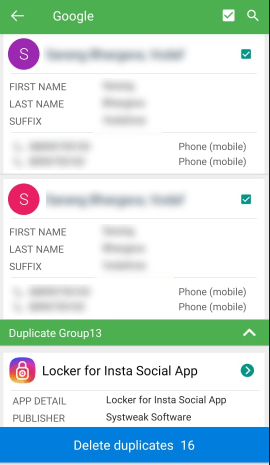
3. Tap on Find duplicates. The tool will automatically and intelligently find all duplicates in your Google account. Even then, you can go through the entries and select duplicates
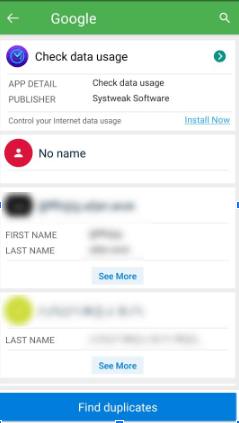
4. Click on Delete Duplicates
Backup Redundant Contacts and Delete Them
One way to clean up and manage your Google contacts is to simply get rid of excess contacts. But before that, we will also make sure that we have a backup of all the contacts that we intend to remove since you never know when you might have to restore contact. Talking of which we have already discussed an easier method above in point number 2.
1. Again, Visit https://contacts.google.com
2. Click on the hamburger icon from the left-hand side
3. Now. locate the option that says Labels
4. Click on the + Create label and name it as – e.g. removed contacts. This way you will know which contacts you have gotten rid of
5. Head to contacts and add those contact, that you want to remove to this label.

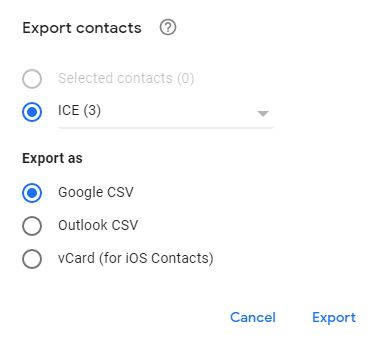
6. Once you are done, click on the Export option and select the label from the dropdown
7. Once exported, click on the bin icon next to this label
Deal With Email-Only Contacts
Is your Google Contacts swarmed with contacts where you can only see email addresses and no phone numbers? This is because when you email someone without adding them to your contacts, Google adds their email address to “Other Contacts”.
1. Go to your Gmail account
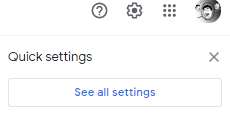
2. Head to Settings (gear icon) at the top-right corner and then click on See all settings
3. Click on the General tab
4. Scroll down and scroll down till you find Create contacts for auto-complete. Select I’ll add contacts myself

5. Click on Save Changes
Wrapping Up
So, the next time when you have a look at your contacts in Google, don’t get bogged down, instead use the above tips and tricks to manage Google Contacts. If you have more ways to sort, clean up, and manage Google Contacts, do let us know in the comments section below. For more such content, keep reading Tweak Library.


Leave a Reply