VPN or a Virtual Private Network can play an important role in ensuring that your online identity is not exposed. And, while VPNs work ceaselessly, there are times when they might pose issues. One such issue is VPN connection failed with error 691 in Windows 10.
What Is VPN Error 691 on Windows 10?
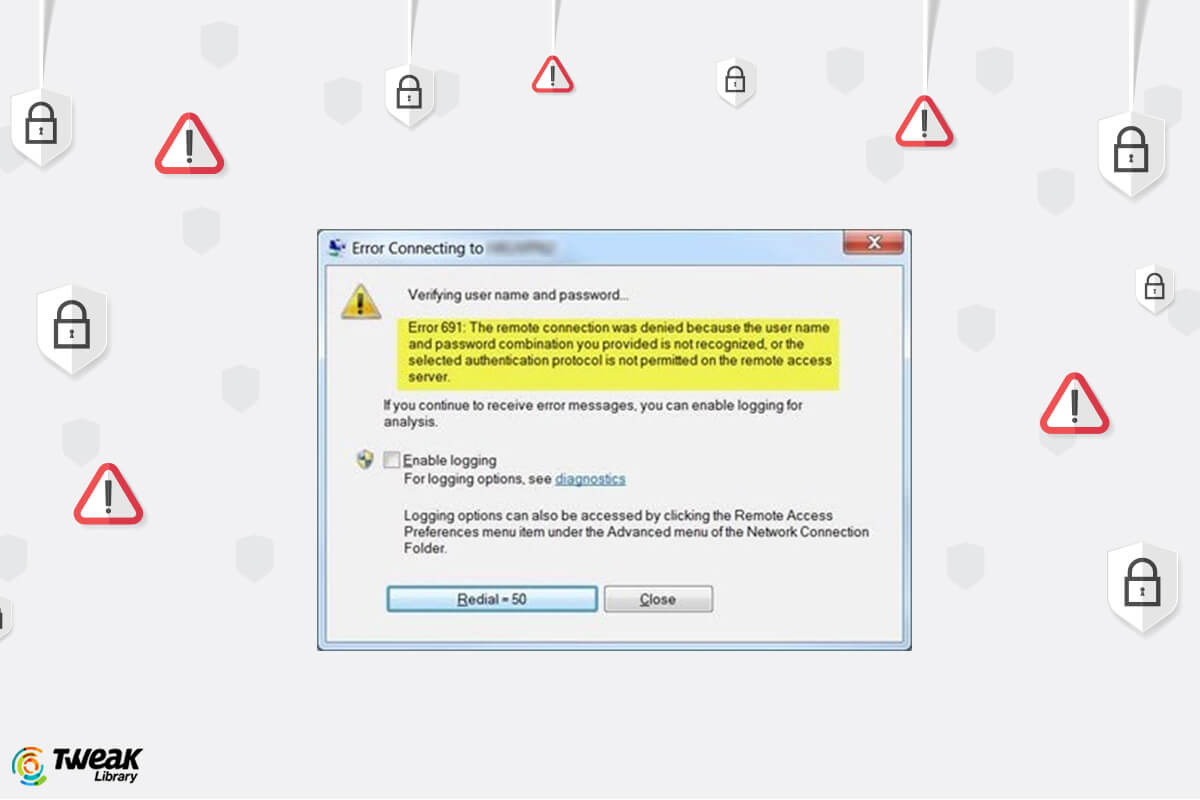
The VPN Error 691 is a dialup error which occurs when there is a discrepancy between remote access server and the authentication protocol. It can also occur when the username and password is wrong.
Ways To Fix VPN Error 691 On Windows 10?
1. Switch To A Better VPN
Not saying that Windows 10 VPN is bad or complicated to use. But, let’s say when you use the native Windows VPN, you often have to deal with VPN Error 691. In that case you can always switch to a better VPN service. Here are some of the best VPNs for Windows 10. And Systweak VPN is one such VPN that can surely cement your online security. It would ensure that you don’t have to deal with issues such as VPN connection failed with error in Windows 10 –
| Systweak VPN Features At A Glance |
|---|
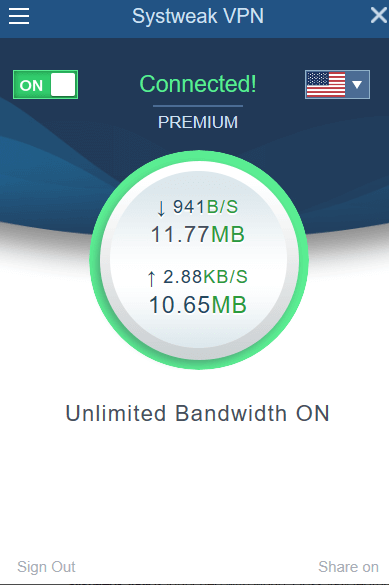
– Easy to install and easy to use – 4500+ servers in more than 53 countries spread across 200+ locations – Strict no-logs policy – kill switch to terminate connection in case VPN drops – Faster browsing speed – No DNS leaks – You can choose between Openvpn and IKev2 protocols – Military grade AES 256-bit encryption Windows version supported: Windows 10/8.1/8/7 Price: $ 9.95/ month or $ 71.40/ year Download Systweak VPN |

2. Allow Or Use Microsoft CHAP Version 2
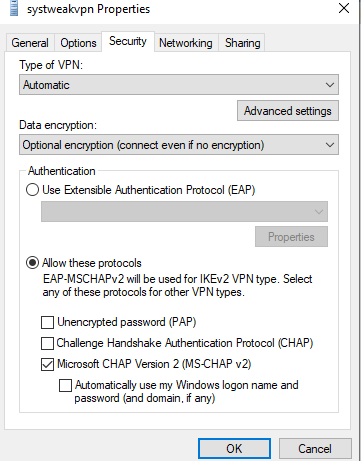
VPN uses different protocols. So, VPN error 691 can be fixed by using Microsoft CHAP version 2. It is a password based protocol which is used as an authentication method in PPTP VPNs. Here are the steps to allow Microsoft CHAP Version 2 –
1. Press Windows + R keys
2. Type ncpa.cpl and press Enter
3. Locate your VPN, right-click on it and select Properties
4. Click on Security tab, from the Type of VPN dropdown choose Automatic and click on Allow these protocols radio button and check Microsoft CHAP Version 2 (MS-CHAP v2)
3. Check Your Username And Password Again
This is quite basic but many times VPN error 691 on Windows 10 appears when there is discrepancy between the username and password of the VPN server. You must ensure that the username and password that you have entered is correct. You may even check if you have mistakenly switched on the CAPS LOCK or haven’t pressed any wrong key by mistake.
4. Tweak LANMAN Parameters
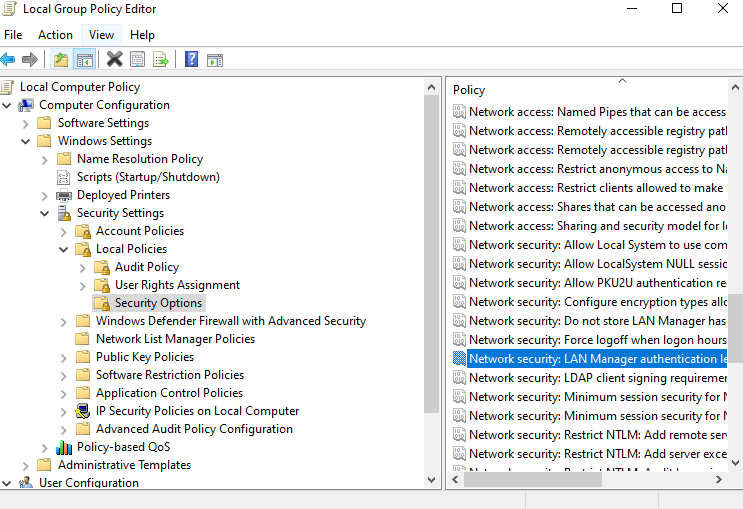
If a user has a new operating system and is trying to use VPN with an older server the system encryption won’t match and this could trigger VPN Error 691. By tweaking LANMAN parameters this issue can be resolved –
1. Press Windows + R keys to open run dialog box
2. Type gpedit.msc and press enter. This will open the group registry editor
3. Expand the following path
Computer Configuration > Windows Settings > Security Settings > Local Policies > Security Options
4. In the right-hand pane double click on Network security: LAN Manager Authentication level
5. Click on Local Security Settings and choose Send LM & NTLM responses from the dropdown
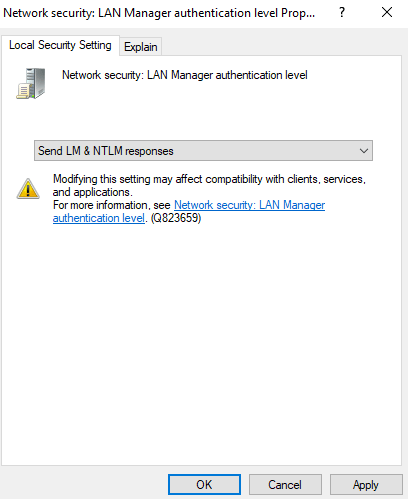
6. Press OK and then Apply
7. Double click on Network Security: Minimum Session Security for NTLM SSP
8. Disable Require 128-bit encryption and enable Require NTLMv2 session security
9. Again click on Apply and then OK
10. Restart your computer
5. Correct Connection Security Settings
By configuring your network security settings you can fix VPN error 691 on Windows 10.
1. Press Windows + X keys
2. Click on Network Connections
3. Locate your connection, right-click on it and then click on Properties
4. Click on Security tab
5. See to it that Typical (recommended settings) is selected
6. Under Validate my identity as follows select Allow unsecured password
7. Head to Options and uncheck Include Windows Logon domain if it is already checked
8. Click on OK
Conclusion
Not being able to connect to the VPN and receiving errors like these can be frustrating, but, instead of giving up you should always look for workarounds. And, we hope with the above mentioned workarounds, you will be able to resolve the issue. For more such content keep reading Tweak Library. You can also find us on Facebook, Twitter, Instagram, Pinterest and Flipboard. You can also subscribe to our YouTube Channel.


Gajendra singh
I was facing this error. Thanks for explaining this