What if you could send & receive text messages also while being connected to your Windows computer or laptop? We’re sure this would only add more practicality. With the October 2018 for Windows 10, you can share text messages with Microsoft’s Your Phone Companion app.
Normally, we connect our phones to laptops via USB cable & transfer media, however, Your Phone app is going to work exactly how your phone normally works. The only difference will be that it will be working in your Windows 10 computer.
A lot of other 3rd party apps or entities already have something like this in place. However, building something by the same operating system company comes with credibility & convenience.
A few of the prerequisites are, both the devices (cellphone & laptop) need to have internet connection. The cellphone needs to be connected with the Wi-Fi & your computer must have internet connectivity. After a few testing phases, we got to know that it isn’t necessary to be connected with the same network for both the devices.
Also Read: How To Screen Share In Windows 10 Using Its Built-In Tools
Let’s start with the process to use Your Phone Companion app on Windows 10:
A. Install Your Phone Companion App
1. Visit the Microsoft store & search for “Your Phone” or simply click on the Your Phone Companion app link & download the same. Follow the process by launching the app on your laptop.
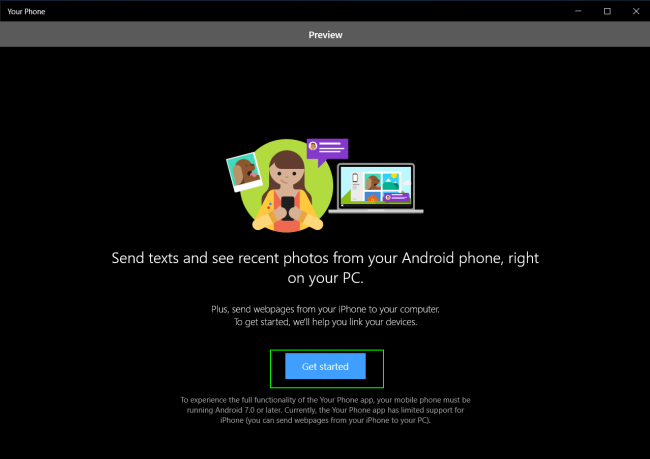
2. After the app has been launched, click on “Get Started” & go along with the next steps.
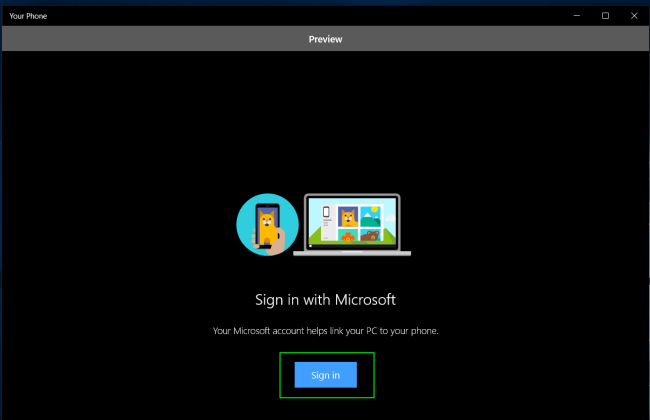
3. Click on the “Sign in with Microsoft” option & put in your account credentials.
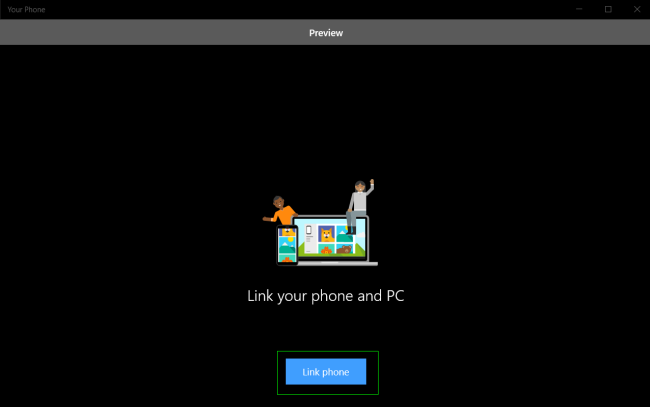
4. Once you are logged in, tap on “Link your phone and PC”, & click on “Link phone”
5. Follow the process by putting in the mobile number to link your phone & the PC.
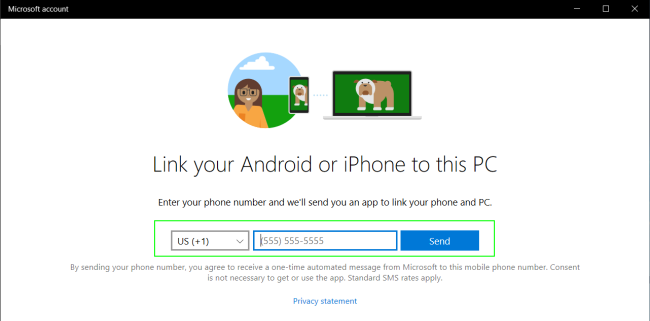
6. Microsoft will step in & send a link on your provided number (a link of the Your Phone Companion app) to download the app.
7. Go ahead, click on the link, & install the app on your cell phone (Android 7 iOS handset).
8. Once the app has been installed on the cellphone, open it & check the option, “My PC is ready”
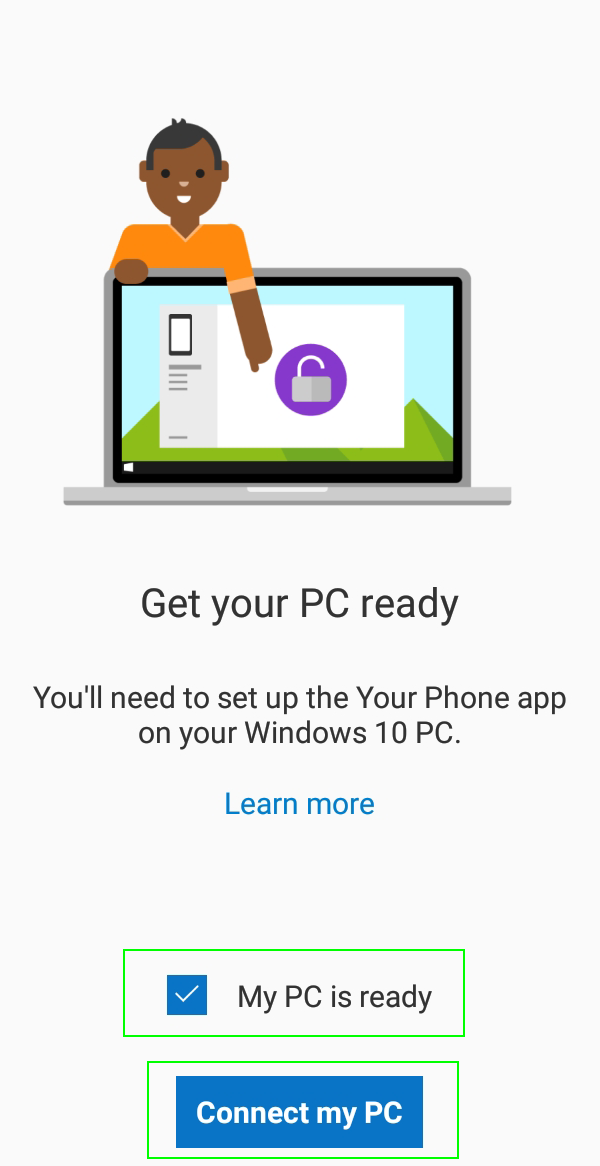
9. After checking the block, click on “Connect my PC” which will take you to the next step of logging in to “Sign in with Microsoft credentials”.
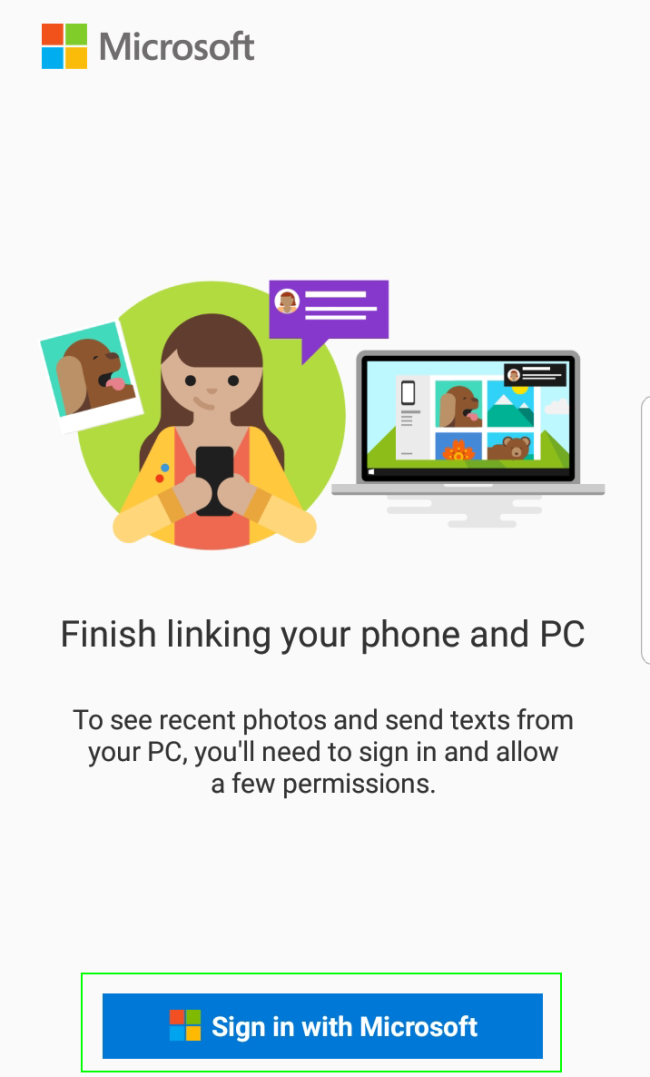
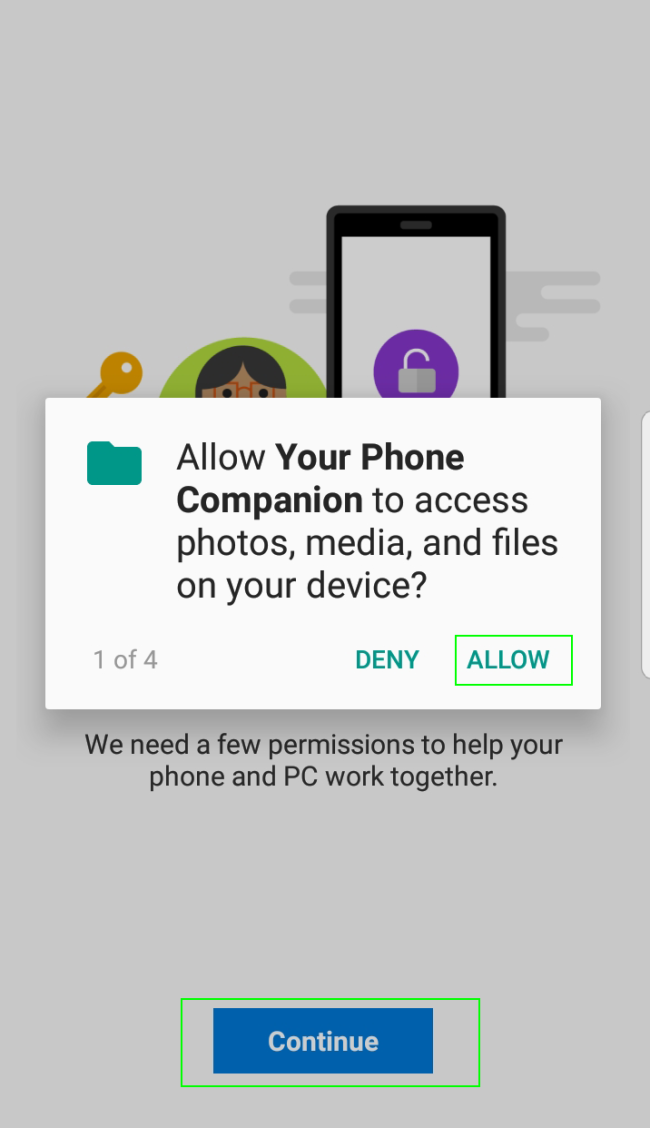
10. The next step is to tap on Allow to the permission asked by the app (around four attempts would be asked).
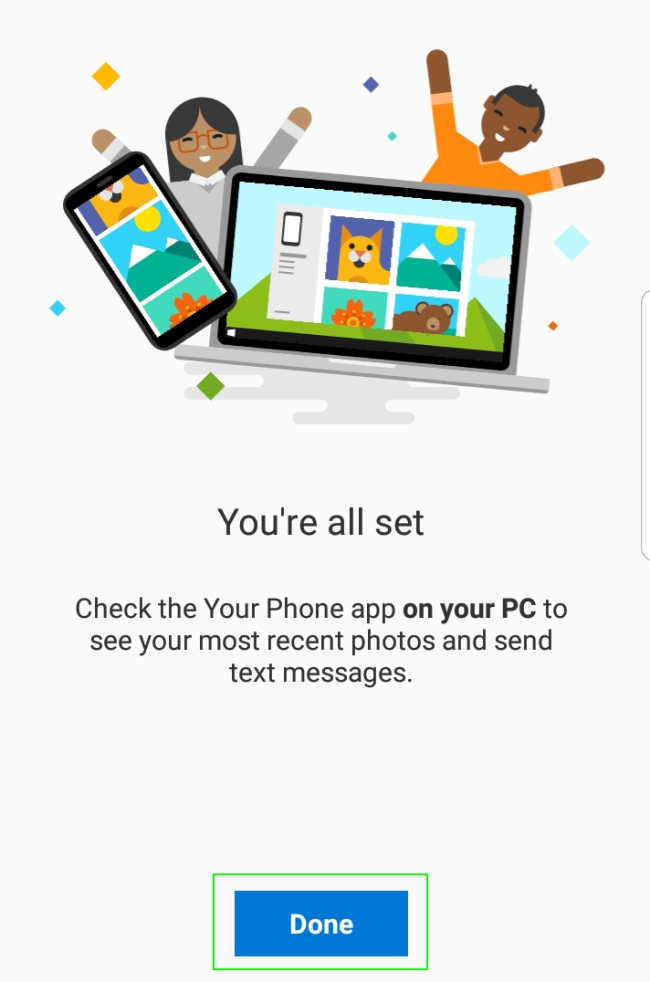
11. Tap on “Done” and your cell phone has got connected to your PC via Your Phone Companion app.
Also Read: Can We Run Windows 10 on an iPhone X?
B. Let’s Start Using Your Phone Companion App in Windows 10 PC
1. As said above, your phone should be connected to a WiFi network. As well as, the desktop/laptop should have an internet connection.
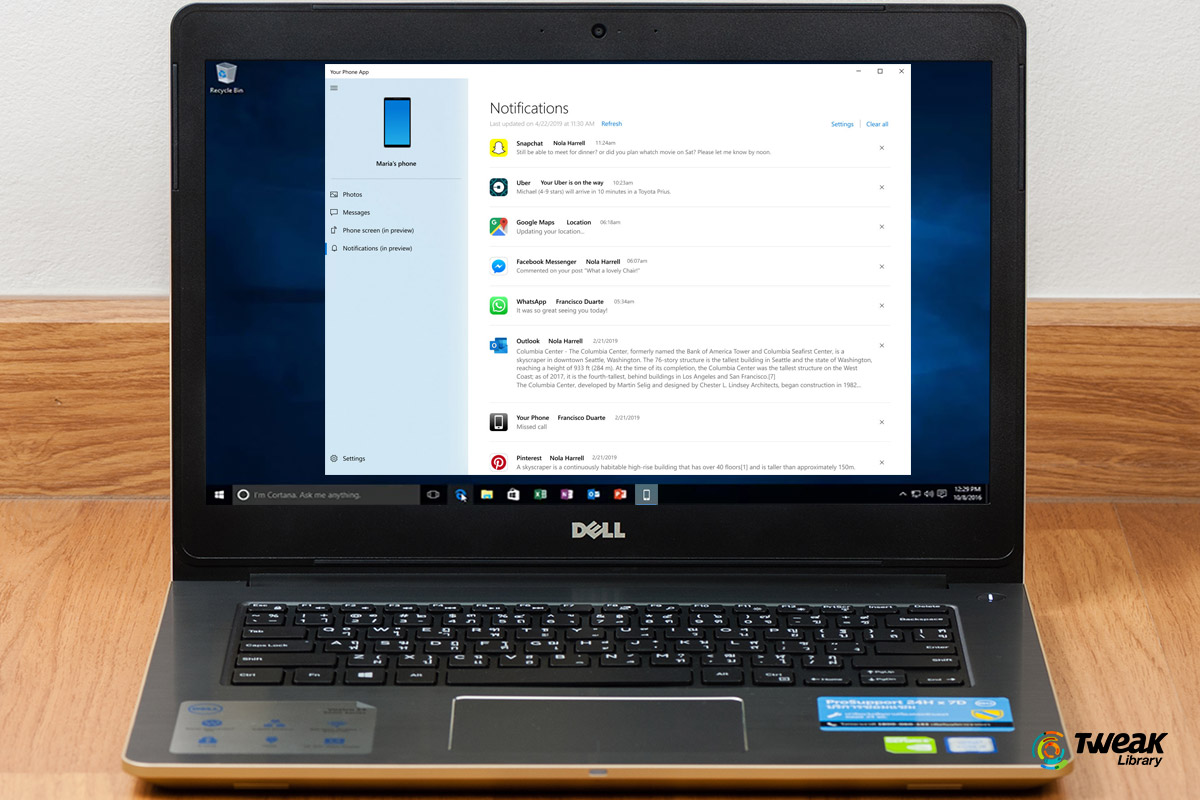
2. Open the app & you will see a homepage of Your Phone Companion that will have “Photos” & “Messages (in preview)” on the left side of the page.
3. If you want to check messages & send as well, click on “Messages” & start shooting text messages among your friends.
4. To check out the photos, tap on “Photos” & explore the pics on a bigger screen.
C. What’s The Catch?
The only catch with photos & messages is that you cannot delete anything from the app. Additionally, you can only view the pictures for a week’s worth maximum.
These are few important features the Your Phone Companion app lacks. Maybe the future updates come with more functionalities to help us delete as well as view more pictures & messages.
Next Read: How To Add A Second Monitor On Windows 10


Leave a Reply