Using AirDrop from Mac to iPhone for file sharing has made the process easier, and it allows you to send everything from pictures, videos to documents. AirDrop is one of the best tools to transfer any sort of files between Mac and other iOS devices.
AirDrop is an inbuilt feature for all iOS devices, and it’s quite easy to use it for wireless transmission of files and other data among AirDrop supporting devices. You must have sent data from iPhone to iPhone or iPhone to Mac, but have ever wondered how will you do it from a Mac to an iOS device? First. Is it even possible? Well, yes of course, it is! In this article, we will let you know the stepwise ways on how to AirDrop between Mac and iPhone.
What else do you need if you have an entirely free tool like AirDrop to share files between Mac and iPhone. Read on further to know how to AirDrop from Mac to iPhone.
How To AirDrop From Mac To Iphone?
Part 1: How To Send Files Using AirDrop From Mac to iPhone
Part 2: How To Receive Files From AirDrop on iPhone
How To Send Files Using AirDrop From Mac to iPhone?
Follow the steps below to send files from Mac to iPhone using AirDrop, here’s how:
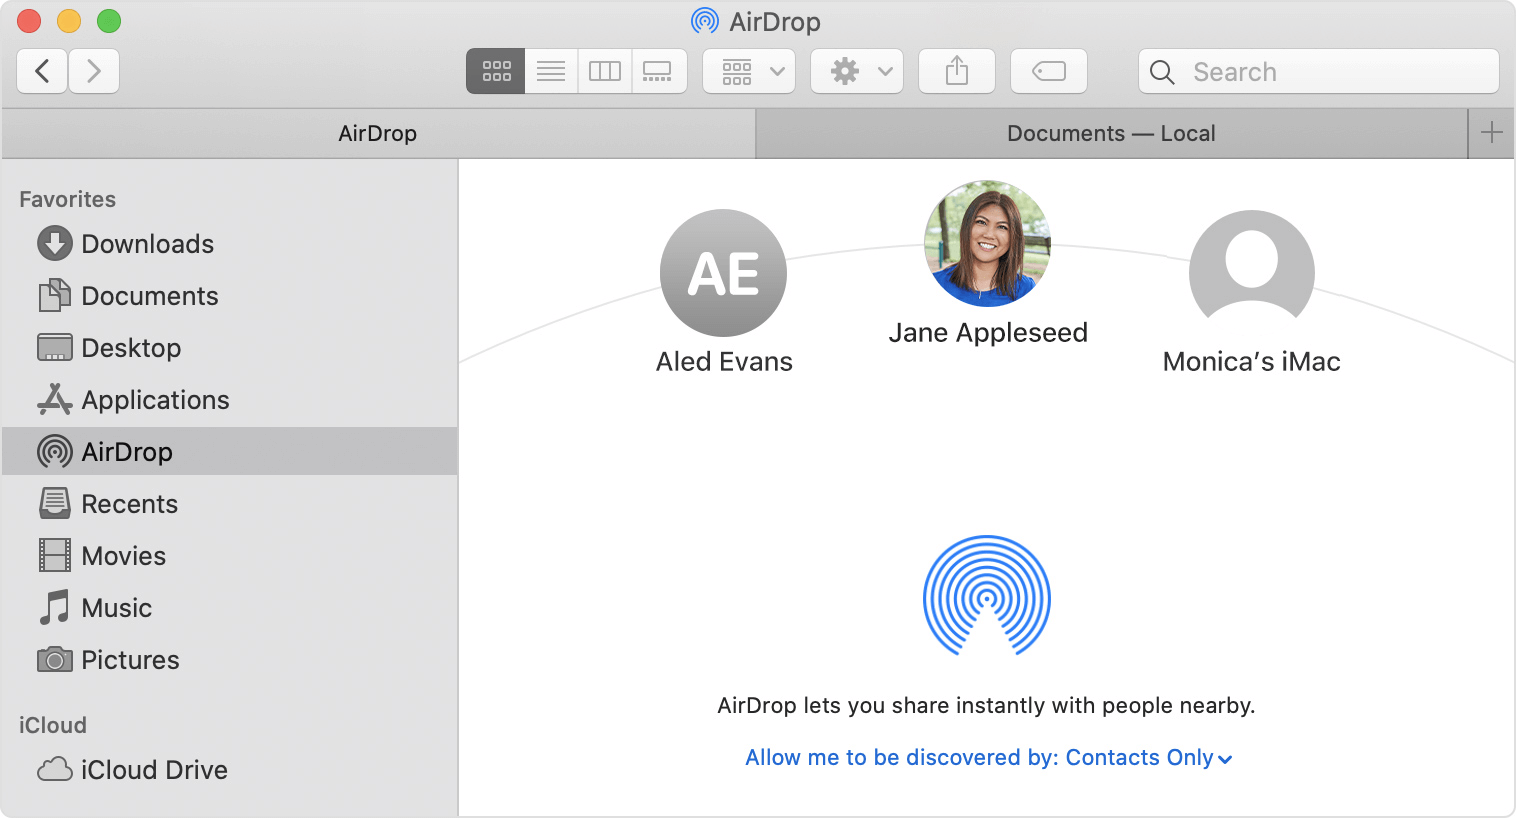
- Go to the Finder tab, and choose AirDrop from the sidebar. Please note that you’ll need to turn on Bluetooth and WiFi to enable AirDrop on your Mac.
- Change the settings ‘Allow to be discovered by’ either as Everyone or Contacts Only.
- Now, you need to set AirDrop settings on iPhone. How to do this is in the second part of this article.
- You’ll see a list of nearby devices on your Mac with AirDrop on, select the iPhone you wish to send files on.
- Drag and drop items that you wish to send from your Mac to iPhone. Click Send to initiate the process.
How to Receive Files From AirDrop on iPhone?
Follow the steps below to receive files from Mac to iPhone using AirDrop, here’s how:
- First of all, enable AirDrop on your iPhone. To do this, swipe up from the bottom of your iPhone and open Control Center in the older models and for iPhone X and above, swipe down to the top-right corner of the screen.
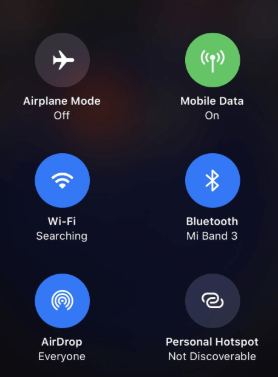
- Now, press and hold on the section, where you can see options like Airplane Mode. Tap on AirDrop, and set settings to be discovered either by Contacts Only or Everyone.
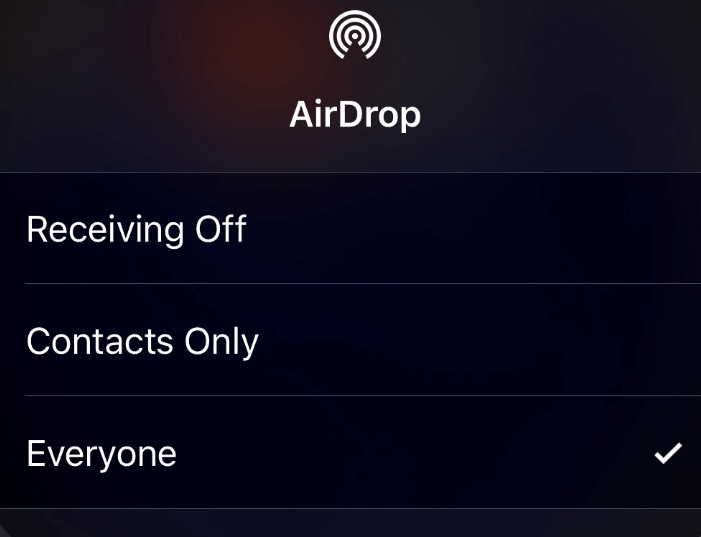
- This will make your device ready to accept files from Mac or other iOS devices.
Where the AirDrop Files Go On iPhone?
Wonder where the files you’ve recently received from Mac through AirDrop has gone? Don’t worry! The items you’ve AirDrop from Mac to iPhone are right there in your device, it’s just you have to look for it inside your phone. How? Here are the steps to follow:
- If you’ve transferred a picture or video, it will appear in the Photos app.
- If you’ve transferred any different file such as PDF or text document or similar, a dialog box will pop-up asking where to save the file you’re receiving through AirDrop from Mac to iPhone. Choose from the available options i.e. Open with ‘iTunesU’ or ‘Save to iCloud Drive’.
That’s it! You can judge pretty well how easy it is to share data in any format through AirDrop from Mac to iPhone. But, what if AirDrop is not working on Mac? Check out the link below to fix AirDrop Not Working on Mac.
Do you Know? AirDrop lets you share files between all iOS devices. As per our recommendation, it is always a better way to set AirDrop settings to ‘Contacts Only’ for security reasons. Using ‘Everyone’ can be more compatible and a bit easier, but it allows everyone to send you AirDrop data, if you leave that enabled, thus always turn off AirDrop after you are finished using it.
Do you know any other AirDrop tips or tricks? If yes, feel free to share them with us in the comments section below. We hope you can now easily AirDrop between Mac and iPhone within no time.
Stay connected with Tweak Library for regular tech updates. Don’t forget to Like us on Social Media and also, subscribe to our YouTube channel.


Leave a Reply