
Did you face any error issues while updating Windows 7 to Windows 10? Not able to update Windows 10 from Windows 7?
Don’t worry, you will get all the solutions to update Windows 7 to Windows 10 after reading this article.
Windows 7 support will end from Microsoft in January 14, 2020, as users will not be able to receive any security and software updates from Microsoft. Therefore, it is recommended to update Windows 7 to Windows 10 for every Windows 7 user before January 2020. Users can run Windows 7 on their PC/laptop. However, the chances of viruses and security threats will be high.
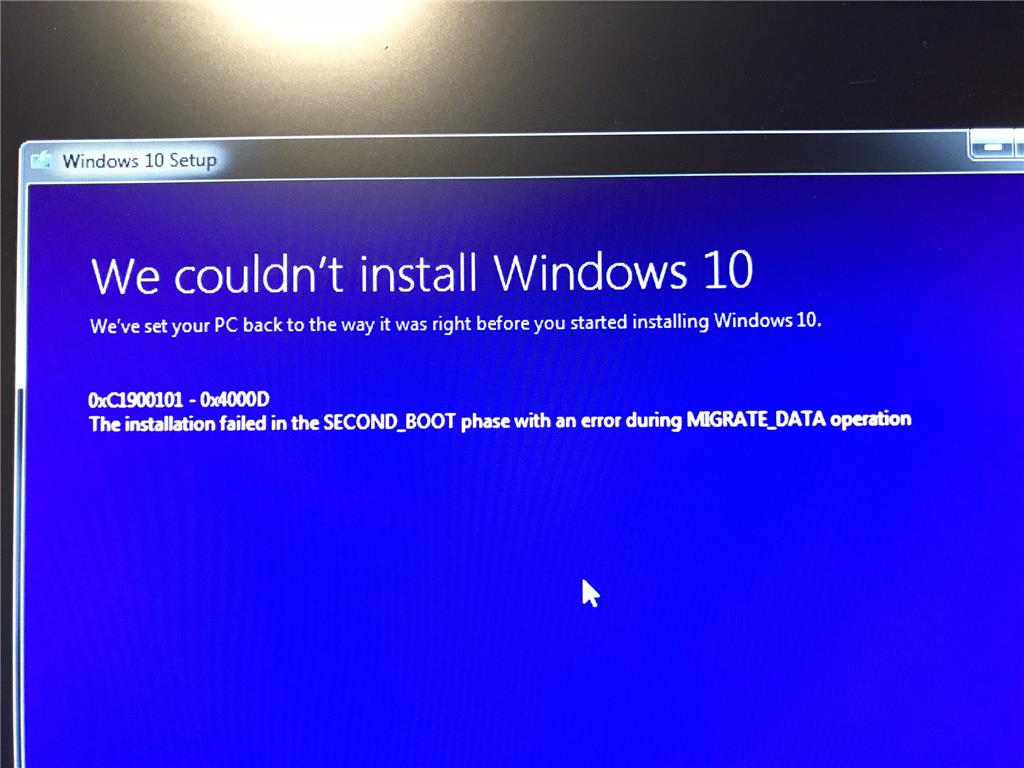
Users are facing issues while updating Windows 10 from Windows 7 as they keep getting an error like “0xc1900101”, “0x800f081f”, etc. There might be many reasons that Windows 7 users are facing error issues while installing and updating Windows 10 but, some of the common errors can be fixed by following the steps below.
General Checkup
- Remove external hardware- Unplug your computer hardware like printers, speakers/headphones, scanners, USB flash drive, and external hard drives.
(Laptop users can unplug the charger from a laptop) - Run Windows Update Troubleshooter- Windows update troubleshooter will automatically analyze and repair problems or bugs with Windows update. It will also inform the user if there is any pending reboot is blocking Windows from updating.
(Download Windows Update Troubleshooter for Windows 7 and 8.1) - Windows Update- It’s a good thing and makes sure that all the important updates are installed before updating to Windows 10. It includes all the hardware drivers of your computer.
- Uninstall non-Microsoft Antivirus Software- Strongly recommend using Windows Defender to protect your computer while upgrading as third-party antivirus sometimes cause upgrade problems.
(To remove an Antivirus software, go to Control Panel>Programs>Uninstall a Program. Select the application, do the right-click and uninstall the program, “Yes” to confirm). - Uninstall nonessential software- Outdated and old software might cause issues while upgrading to new Windows, so uninstalling outdated and old applications can help.
If you want to re-install the application again, make sure you have all the required files and installation media before removing it.
(To remove a software, go to Control Panel>Programs>Uninstall a Program. Select the application, do the right-click and uninstall the program, “Yes” to confirm). - Free Up Disk Space- Before updating to Windows 10, the system needs more space on the hard drive for the installation to take place.
To know how much space is available on your computer, tap “Start (Windows icon) button “search “File Explorer (Known as Windows Explorer in Windows 7)”Select Computer or “This PC” and look under “Hard Disk Drives” or under Devices and drives. If you see multiple drives, find and locate the system drive that includes the Microsoft Windows logo above the drive icon. You will get to know the amount of available space under that drive.
0xC1900101 Error
An error begins with “0xC1900101” is usually a driver error. If any user faces this error while updating Windows 10, try the following steps to fix the problem.
- Make sure that your computer has enough space as it requires at least 16 GB of free space to upgrade a 32-bit operating system or 20 GB for a 64-bit operating system.
(Free up drive space in Windows 10) - Run Windows update, install any available Windows updates, software updates, hardware updates, and some useful third-party drivers.
- Remove or unplug any extra hardware devices like storage device, drives, and other hardware devices.
- Check Device Manager for system errors by tapping on “Start (Windows) button>Search Device Manager>Choose the device which shows a yellow exclamation mark beside it>select each category to switch all list of devices)>do the right click on the device name>select either Update driver software or Uninstall to rectify the errors.
- Remove third-party security software that is unnecessary for the system.
- Repair hard-drive errors by tapping on “Start (Windows) button>type command prompt in search bar>hit enter>type chkdsk/f C and press enter key. It will start repairing hard drive automatically and once it is done, restart your device.
- Do a clean start into Windows.
- Repair and restore system files by tapping on “Start (Windows) button>type command prompt in search bar>hit enter>type DISM.exe/Online/cleanup-image/Restorehealth and hit enter.
0x800f081f Error
When a user tries to install Microsoft .Net Framework 3.5 software in their computer, “0x800f081f” error might occur. This error code is occurred when an alternative installation source or file is located in one of the following conditions:
- Path or Location is specified in a particular location that does not contain any files that are required to install the feature.
- A user tried to install a feature that doesn’t have READ access to the location and to the files as well.
- A set of installation files are missing, corrupted, invalid or incomplete for the version of Windows that you are trying to install.
To resolve this issue, make sure that the path of the source is correct and should have at least READ access to the particular location. For that, verify the installation source which contains a valid and complete set of files.
How to resolve Windows 10 computer?
To fix the “0x800f081f” error code, follow the below steps:
- Download Windows Media Creation Tool and create an ISO image or create an image for the version of Windows that you have installed in a computer.
- Configure the Group Policy as in the above step, by following these steps:> Mount the ISO image that’s created in the above step.
> Point the “Alternate source file path” to the ISO sources\sxs folder from the ISO.
> Run the gpupdate /force command.
> Add the .Net framework feature.
Also Read: How to upgrade to Windows 10
Try To Fix Using Registry Editor
If any of the above steps didn’t work, try to fix using Registry editor tool by following steps:
- Press Windows(icon) + R keys together to open the Run dialog box. Type regedit and hit enter.
- Go to the following Registry key:
HKEY_LOCAL_MACHINE\SOFTWARE\Microsoft\Windows\Current Version\WindowsUpdate\OSUpgrade - In right-side pane, create a new DWORD AllowOSUpgrade and set its value to 1.
- Close Registry Editor and run Windows Update again.
(Note– Windows 10 should appear on Windows update and users can download and install without any issues).
Make sure that you are downloading and installing Windows 10 from an administrator account. And we will recommend every Windows users to install a Windows security update or any essential updates from Windows update tool. Hopefully, all the above solutions will resolve the error issue while updating Windows 7 to Windows 10 and if we missed out any of the important steps, feel free to mention in the comments section so that we can monitor them and reply to them in the comments box too.


Leave a Reply