iPhones are known for their high-quality camera which can shoot and record high-end videos. All the users who own iPhones with good storage generally do not run out of space but those users who own iPhones with standard storage capacity face the issue.
Because they have to manage the storage in the iPhone, what they generally do is either delete some videos or transfer them to some external drive.
The process seems simple but what if you are on tour and you run out of space while making the high-end videos? In such a situation you are only left with two options, one is to delete some videos, and the second is to stop recording those beautiful memories.
To curb this issue, we will learn how we can compress the videos taken on the iPhone so that you do not run out of space.
There are 3 best ways by which you can compress the videos:-
1. Reduce original video size
This is the inbuilt feature of the iPhone which allows users to record videos at various qualities. You can change these settings every time you record the videos.
To change settings, navigate to Settings> Camera> Record Video.
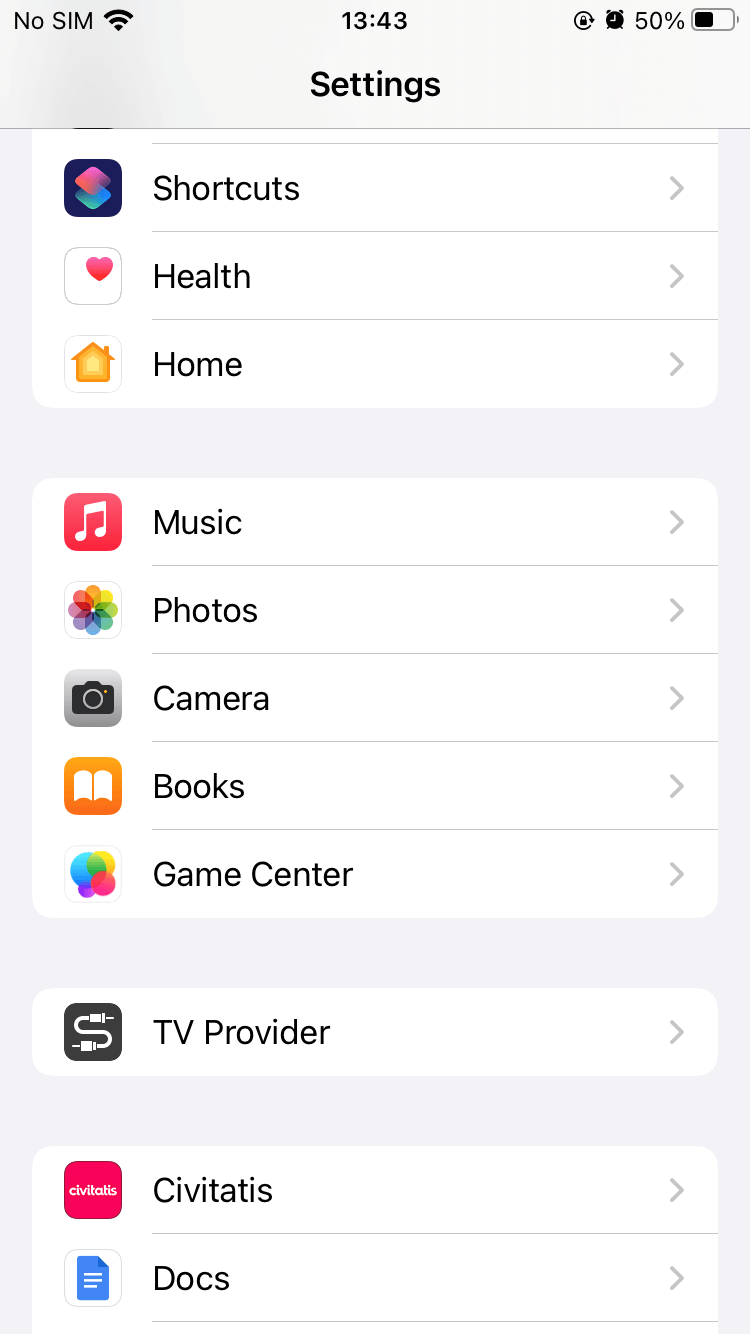
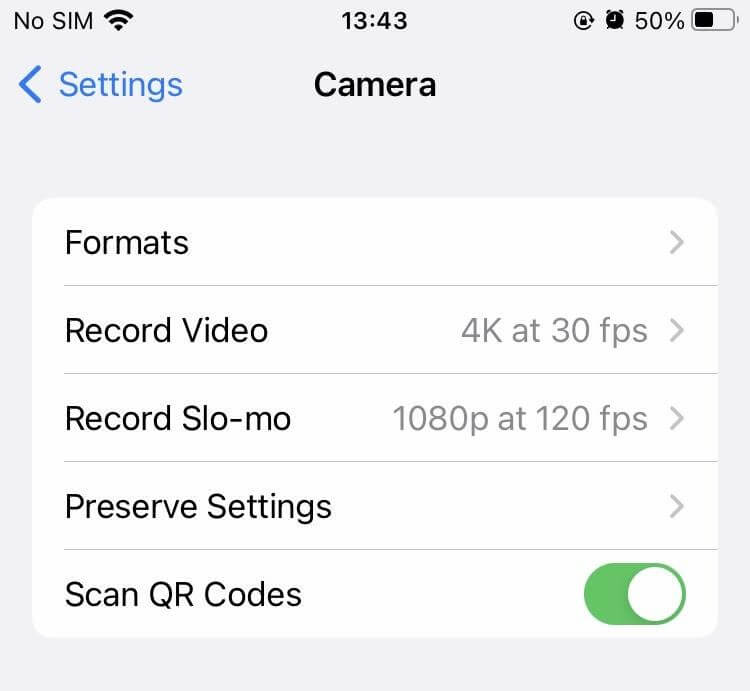
In this section, you will find various optimization options for your videos to choose from.
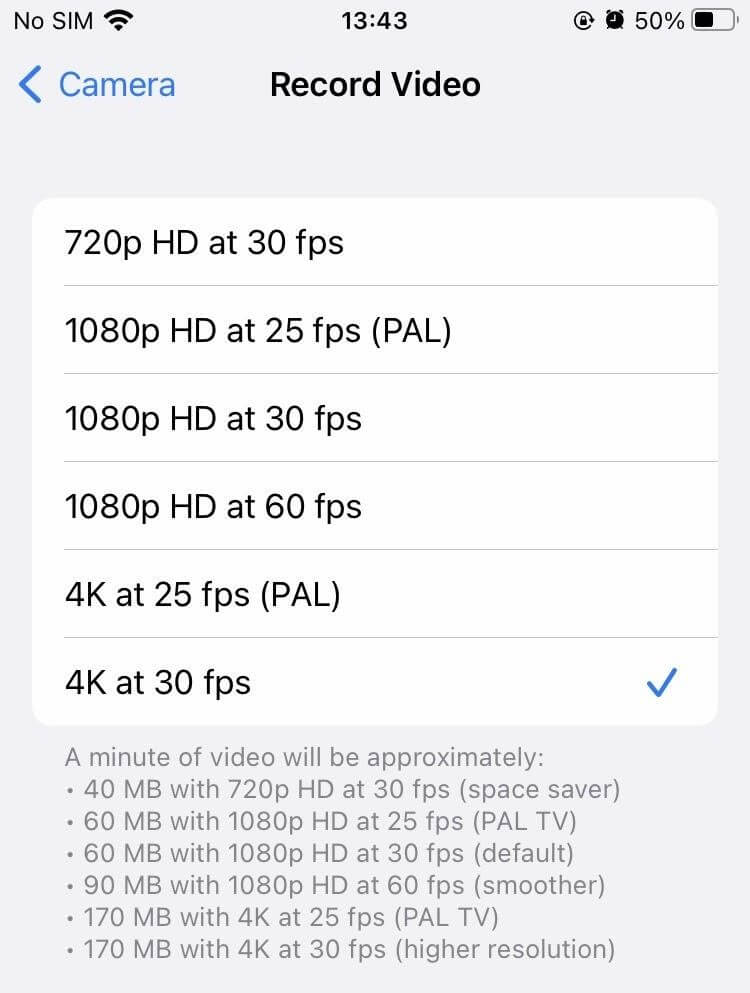
For your convenience, Apple has also stated at the bottom how much space each option will save.
It is recommended to use the first two options to save storage.
2. Use video compress app
This is another best way to compress the size of the video in the iPhone itself. This is a free app called Video Compress which is available on the app store.
- To use this app, install it from the app store and open it. Once it is open, tap on the + sign.
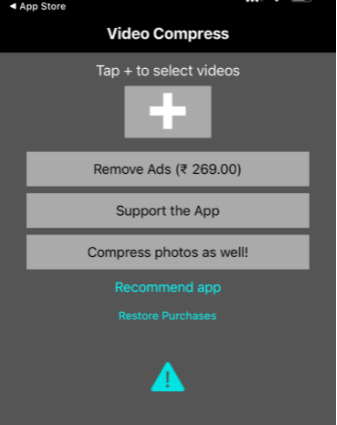
- Now you will get a prompt to allow access to photos, click OK.
- You will see all the videos stored on the iPhone. Select the video you want to compress.


Note:- You can choose multiple videos at the same time to compress
- You will see a list of presets available to convert the video ranging from Full HD (28.6 MB/Minute) to 360p video quality (3.6 MB/Minute).
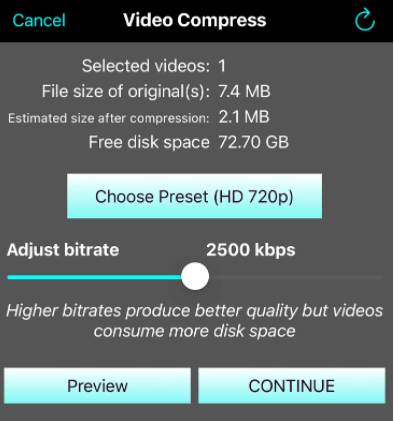
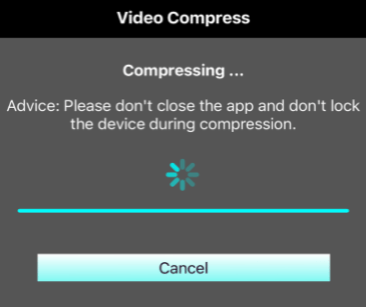
Select the preset which suits your needs then select Continue.
- Now you will have to choose the place from a new prompt called Destination Album where you want to save the compressed video. Else you can also add a new album to save the video.
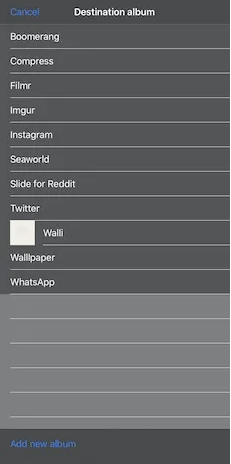
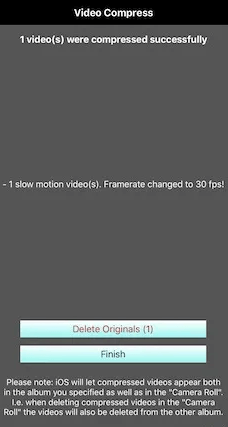
- As soon as you select the Destination the compression will start and in the end, after the compression is done, you will be able to save both original and compressed video or only compressed video. You can also share this video on social channels.
3. Use QuickTime to compress videos on Mac
As we have seen how easy it is to compress videos on iPhone in a similar way, it is very easy to compress videos on Mac by using QuickTime.
The process starts with transferring the video to Mac by using iCloud or by Google Photos, Dropbox, etc.
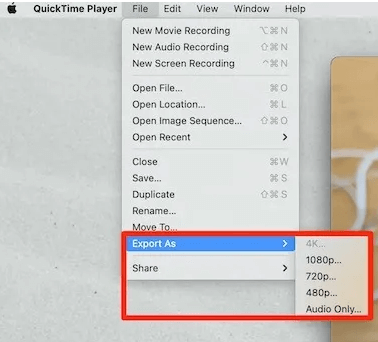
Now open the video file in QuickTime by navigating to File> Open File and then proceed to Export As. Now select the lowest resolution before you export it.
Once you have selected the resolution, then you can export it and you will see a smaller size of the video file.
Conclusion:-
Many times we suffer from less storage capacity in the iPhone due to large size video files and we are left with only 2 options either to delete some videos or to transfer the same to an external drive.
In this blog, we have seen how we can compress the video and can save storage to use for other purposes.
It is very easy to save storage by decreasing the quality of the video which we have discussed above.
Let us know in the comments section your views after using these steps.


Leave a Reply