
Now is the time when we need to take responsibility for our security and privacy. Certainly, there are many security and privacy tools available, that guarantees security in exchange for a few dollars. However, how much can we rely on them for staying secure, is a question that needs to be answered now.
Believe it or not but dependency on security software has made our devices more prone to attacks. Therefore, it is essential for all users to learn at least basic security measures to protect our devices from the attackers. Windows users can do so by changing the router’s IP address in Windows 10.
Distributed denial of service (DDOS) and brute force attacks infect the entire network via a router. Therefore, to stay safe from such attacks users are recommended to change default username and password for their routers.
Hopefully, all this has been done by you, but there’s more that you can do to stay secure from online attacks.
Today, in this article we will discuss, how to add an extra layer of security to the routers, by changing the default IP Address of your router in Windows 10.
Also Read: How to uninstall software from your Windows 10
Change Default IP Address of your Router:
Before we proceed further, for those who don’t know what is your router’s IP address? How can you access it? Let’s learn, how to find router’s IP address in Windows 10.
How to Find the Router IP Address in Windows 10?
The router is the gateway that connects all your devices to the Internet and it has a unique IP address. This address can be found on the sticker pasted at the back of your router. or in the instruction manual of the router. But if your router is old or you are unable to find the manual then what?
In that case, you can use this alternate method to find the IP address of your router on Windows 10:
1. Open Windows Settings by clicking on the Windows Start button > Settings (gear icon).
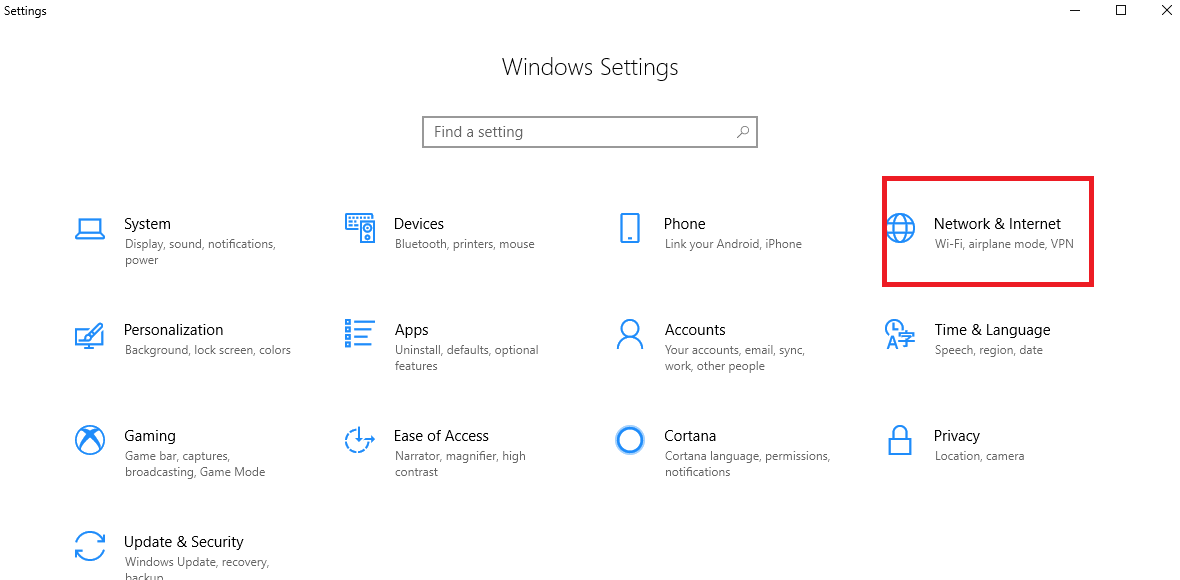
2. On the Settings window, click on the Network and Internet setting.
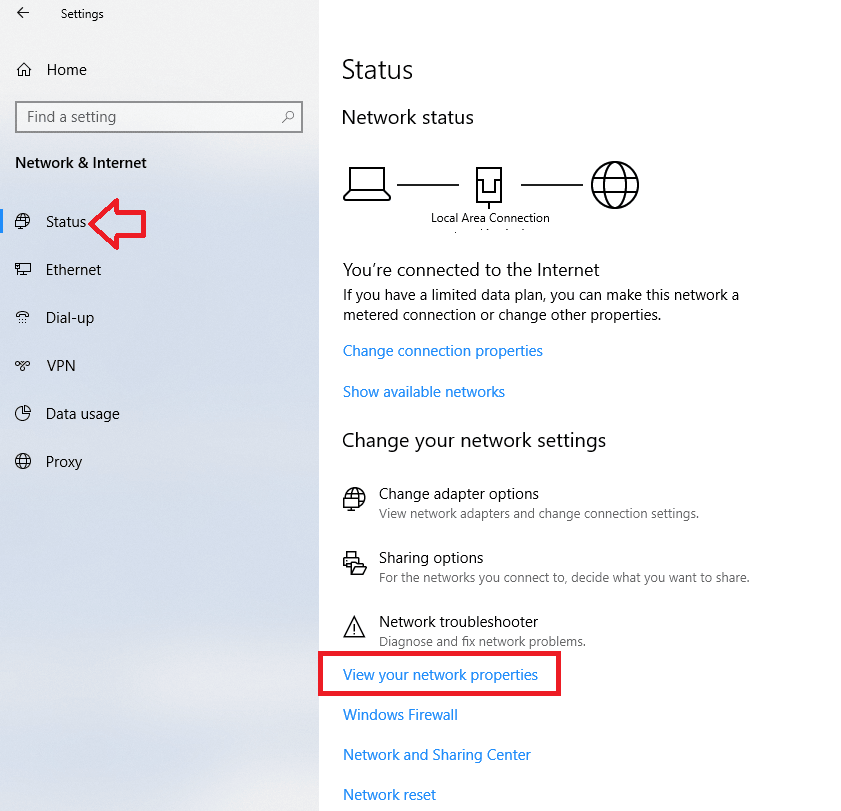
3. Once the Network & Internet settings window open, click on the Status option located in the left pane. Now in the right pane click on View Your Network Properties option.
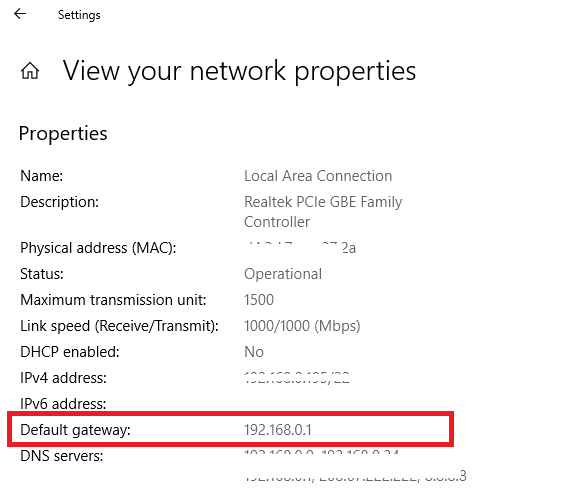
4. This will open a new window with all your network properties. On this window, you can find your router’s IP address in front of the Default gateway.
Now that you have the IP Address of your router you can proceed forward and change this.
Note: You need to have your router IP Address for updating its software, change its security settings and setting up parental controls.
How to Change the IP Address of your Router in Windows 10?
Basically, to keep things as simple as possible router manufacturing companies use an elementary IP Address, similar to 192.168.1.0.1. Now if an attacker wants to gain access to your home or office network, all he needs is username and password, as the default, IP address is what he has access to. This is when changing the router’s IP address on Windows 10 comes to play.
Steps to change the router’s IP address on Windows 10
To begin with, open any web browser on Windows 10 PC.

1. Now enter the default IP address of your Router, say for an example 192.168.0.1 in the browser address bar and hit the Enter key.
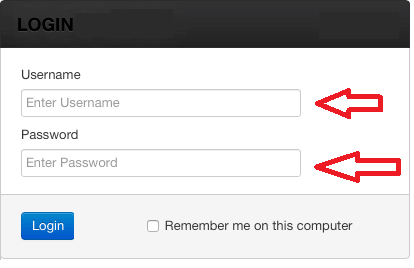
2. On the screen that opens type in your username and password to get into settings of the router.
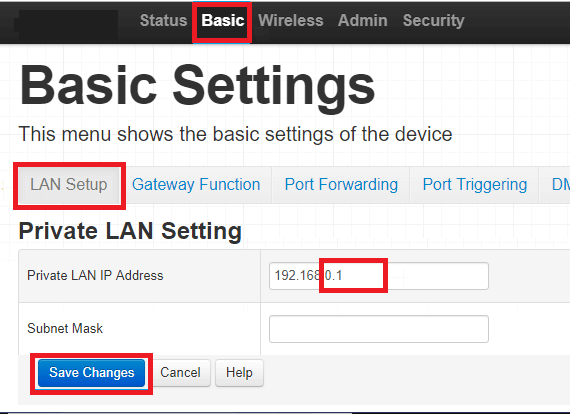
3. On the Router Settings page, click on the Basic > LAN Setup. This will open the Private LAN Setting. In the box next to Private LAN IP Address, alter the last two values of the IP address. Please note that you can use any number for the last two value field, ranging from 1 to 254.
4.We strictly recommend that you do not try to change first two value field of IP Address. As a change in the first and second value can arise the conflicts in the network while making a connection with the main network.
5. Once you have set the new IP Address for your router, jot it down somewhere carefully. Now click on the Save Changes button and restart the router to change the default router IP Address.
To confirm that you successfully change the router’s Ip address, enter the new IP address of your router in the browser and hit Enter. If you are able to successfully login after providing your username and password, then it confirms that you no more use the default IP Address for your router.
Guys, it may be possible that after changing the default IP Address of your router, your devices are unable to establish a connection with the Internet. However, you need not get worried as it can be easily resolved by restarting your devices.
Now since you have changed your router’s IP Address, any intruder or attacker first have to know the router IP address, before guessing the username and password.


Leave a Reply