Have you ever wondered how you can personalize your outgoing emails to leave a more professional and sophisticated impression on the receiver?
When it comes to customizing or personalizing emails, Gmail signature will be useful for you in adding a unique and personal touch to your emails.
This little but effective ‘touch’ can add professionalism and relevant information to your email correspondence. So, why wait let’s learn how to add & change signatures to your emails.
How to Add Gmail Signature within the Gmail App (Android and iPhone) ?
Sadly, you can’t add links or HTML signatures to your email in the Gmail app on Android and iOS. However, you can add or insert a basic ‘text’ at the end of every email. Let’s see how:
Step 1: Open the Gmail app.
Step 2: Now tap on the Hamburger icon from the top-left corner of your screen.
![]()
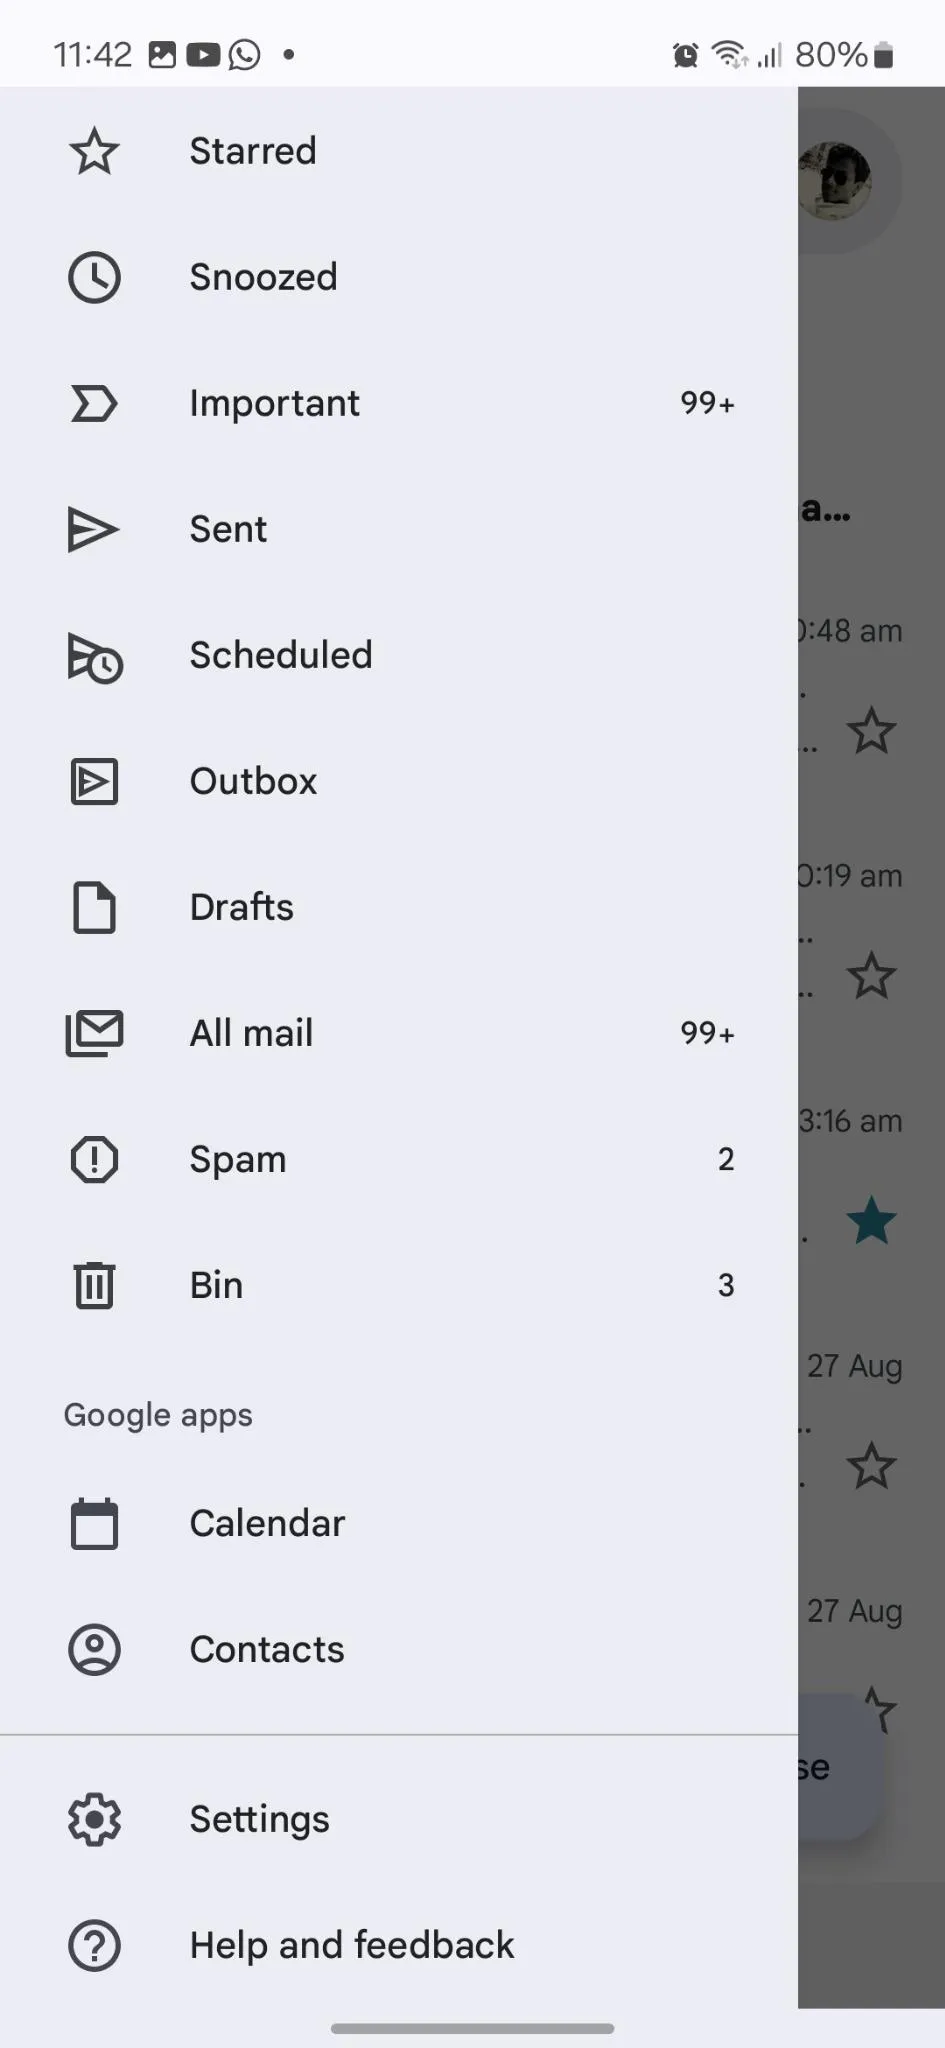
Step 3: Scroll down and tap on Settings.
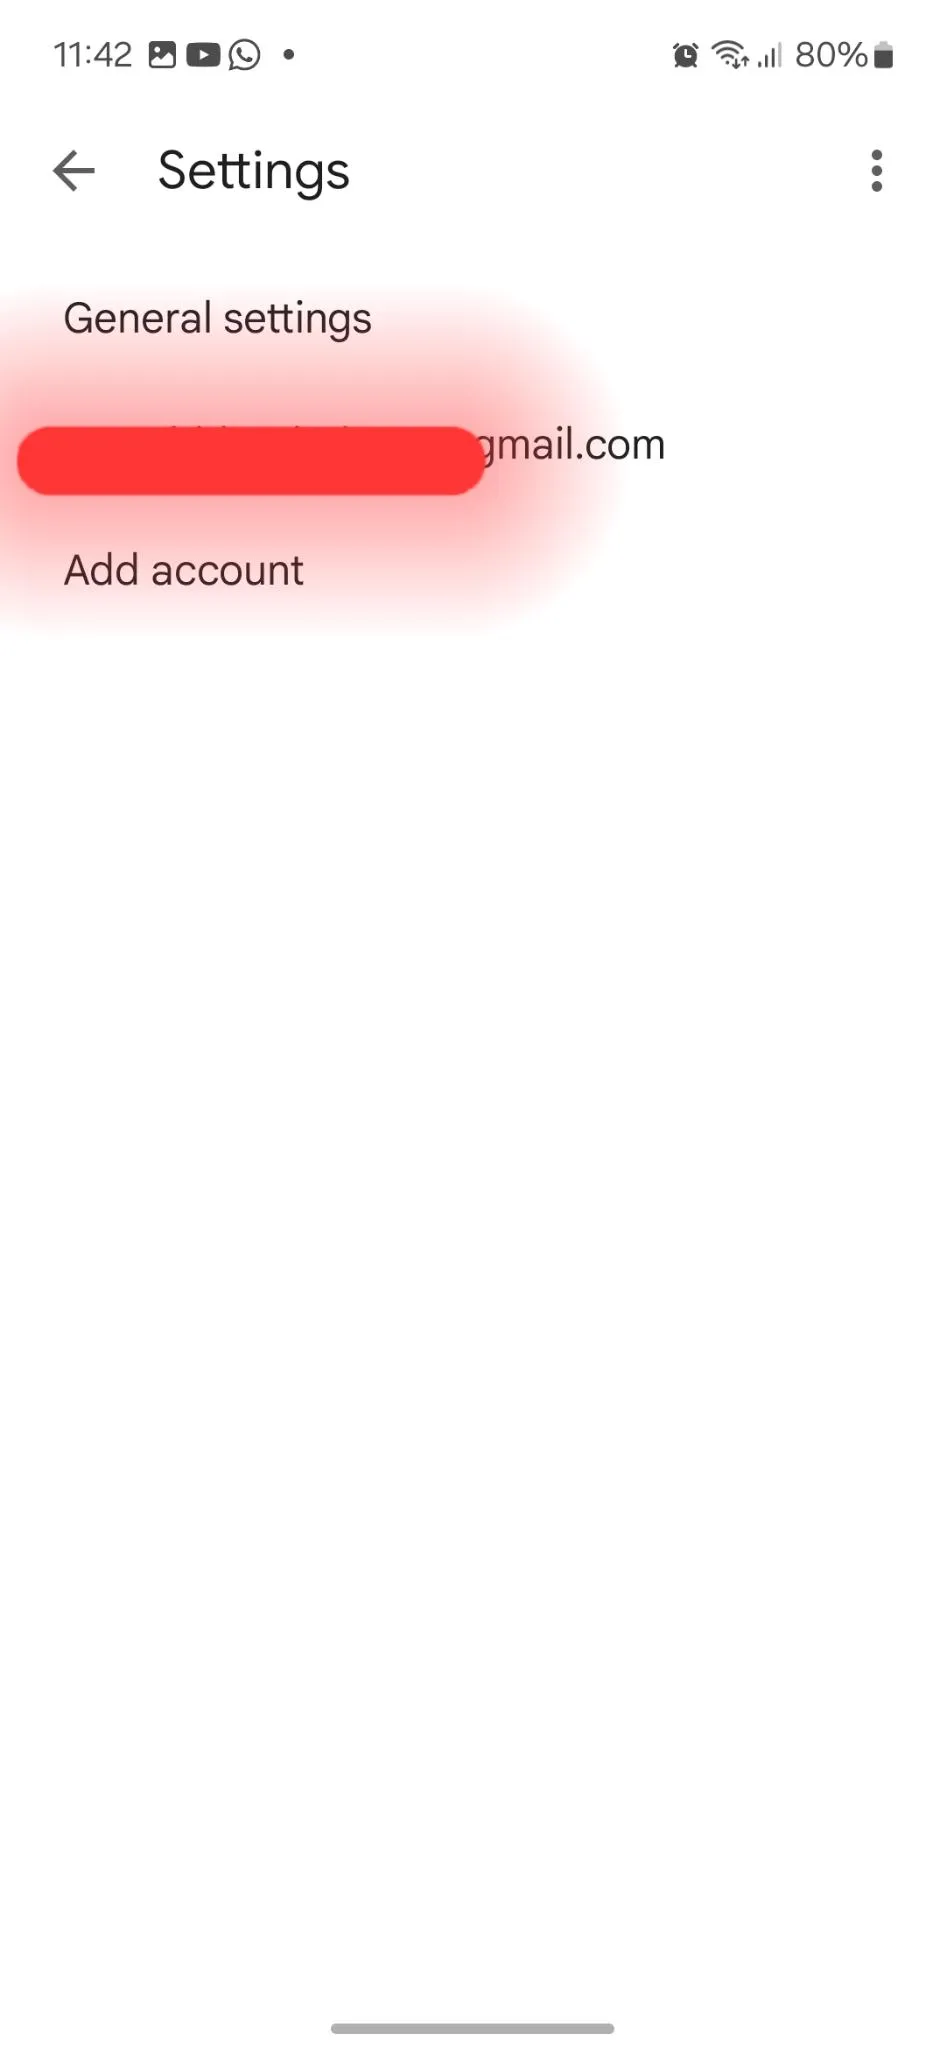
Step 4: Now choose your email account. In case, you have more than one, tap one of the mail-id in which you want to add a signature.
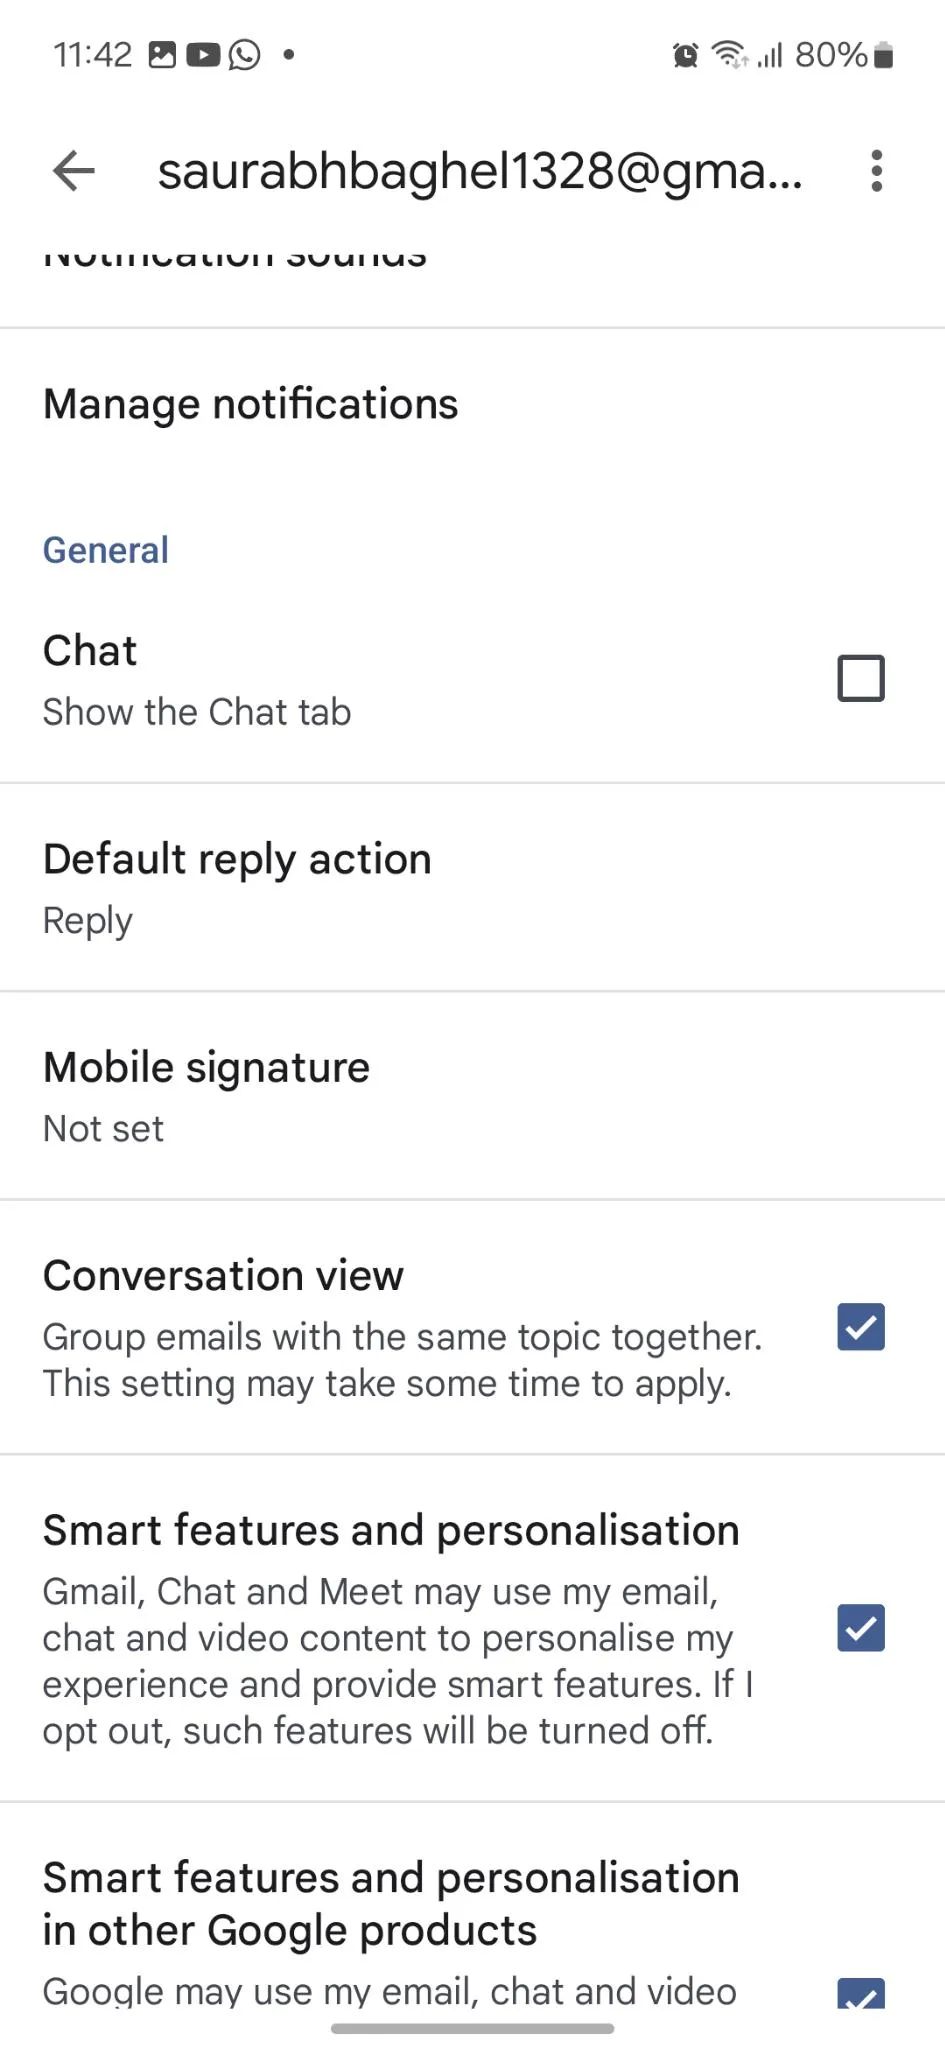
Step 5: Scroll down and tap on Mobile Signature.
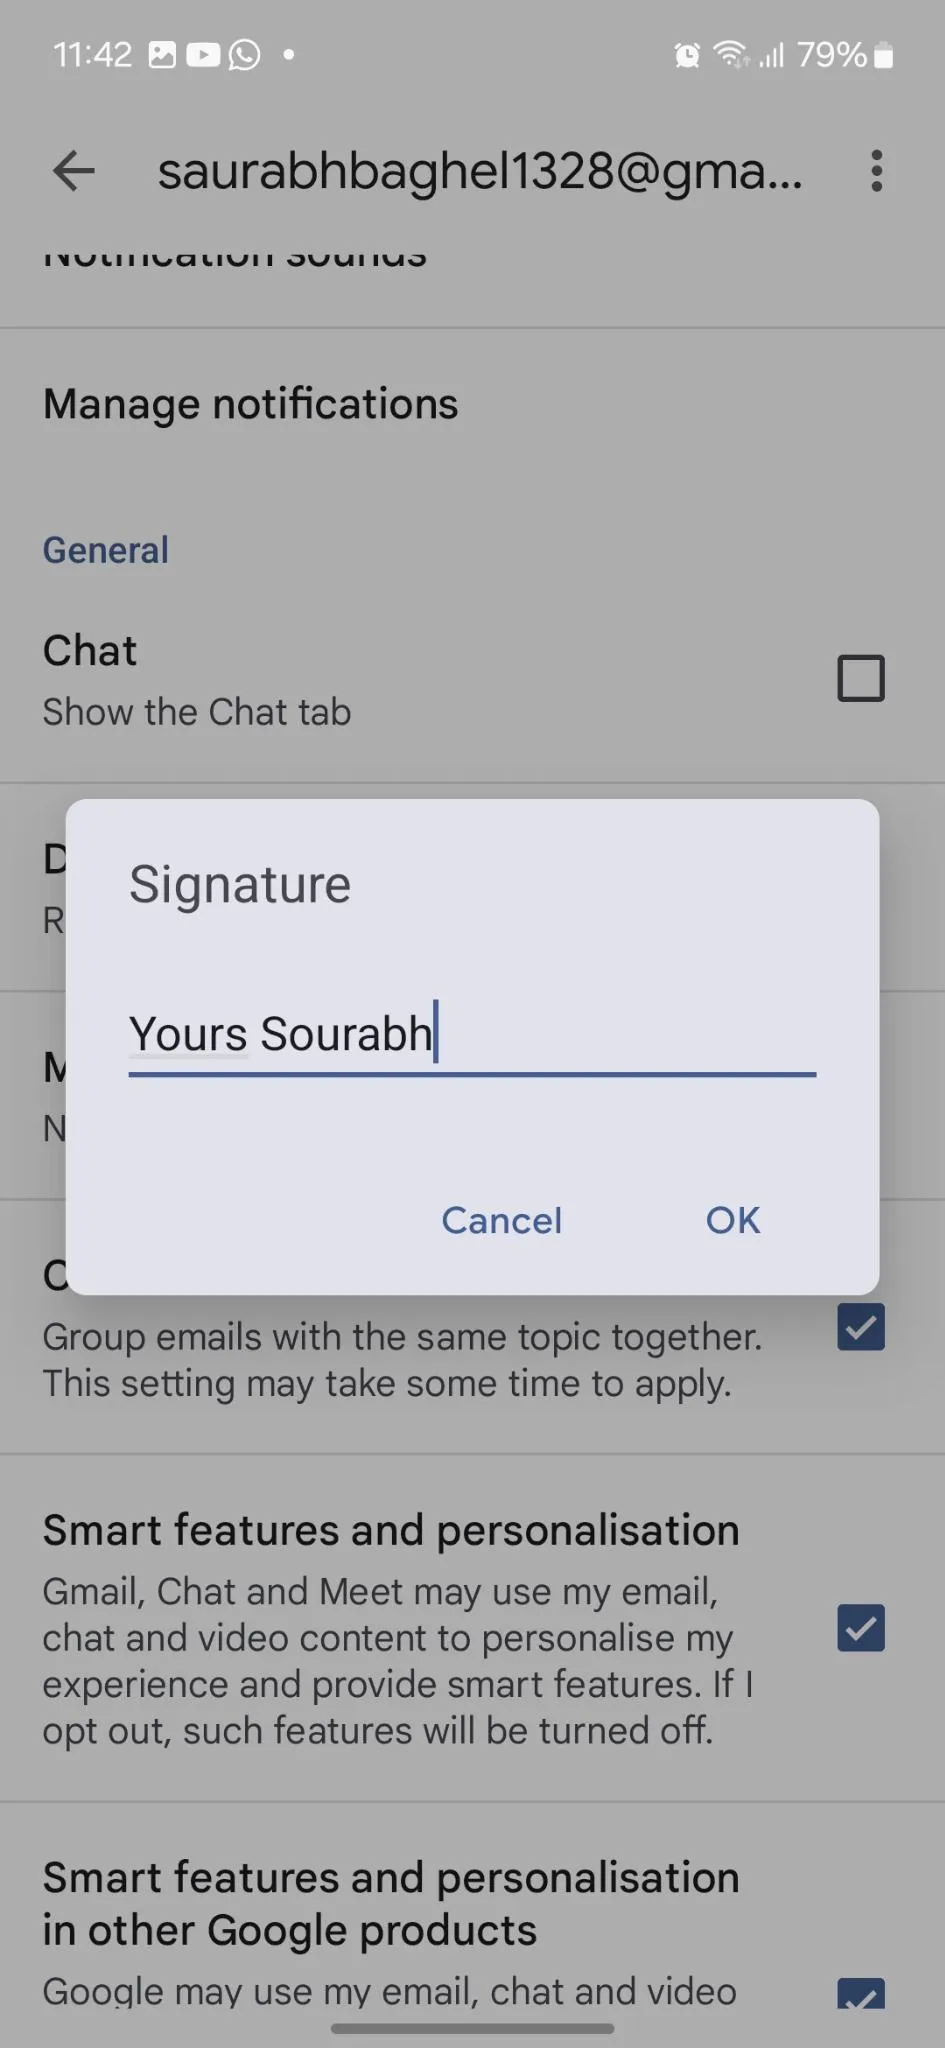
Step 6: Now, add the text you want to show as your signature. Like ‘Yours Sourabh.’ Hit the OK button.
Read Also: Gmail Read Receipt: How To Tell If Someone Read Your Email?
How to Add Gmail Signature on PC/Laptop (Windows & Mac) ?
Step 1: Open your favorite web browser, go to mail.google.com, and sign in with your email credentials.
Step 2: Now from the top-right corner of your screen, click the Gear icon and select See all settings.
![]()
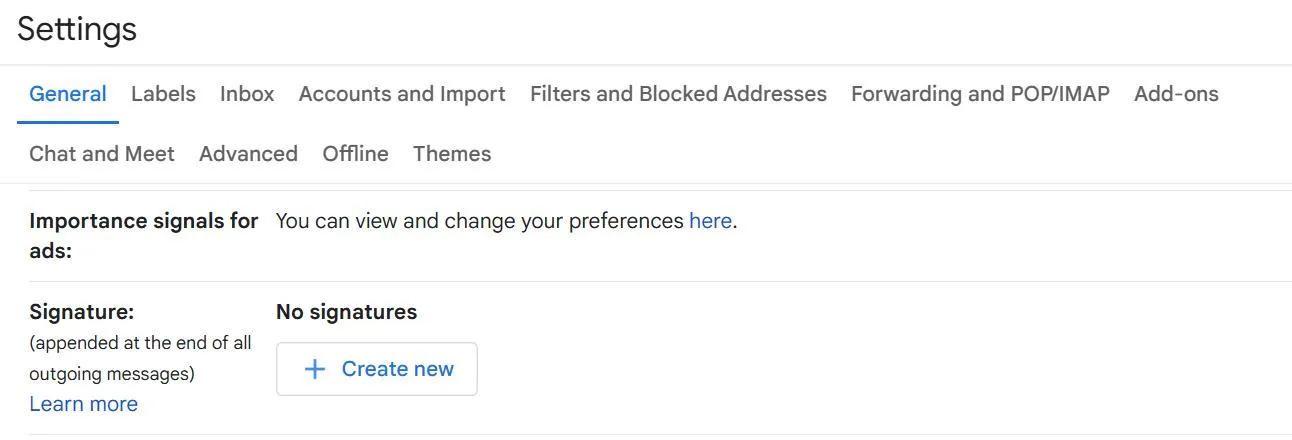
Step 3: In the General tab, scroll down to the Signature section and tap + Create New.
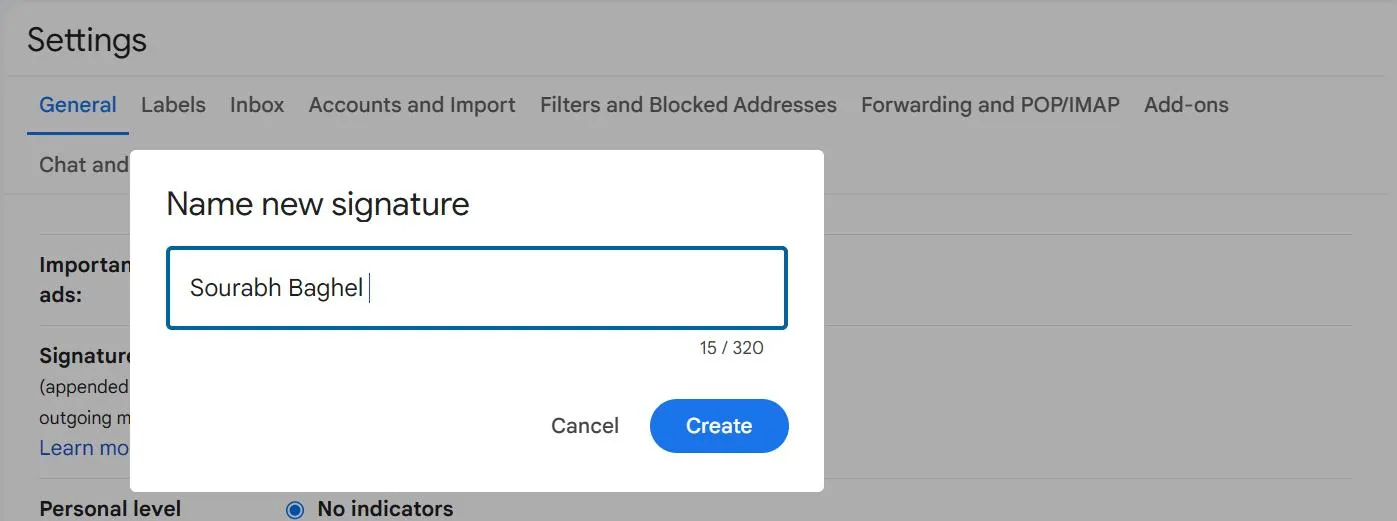
Step 4: Now type your Initials or your name and tap on Create.
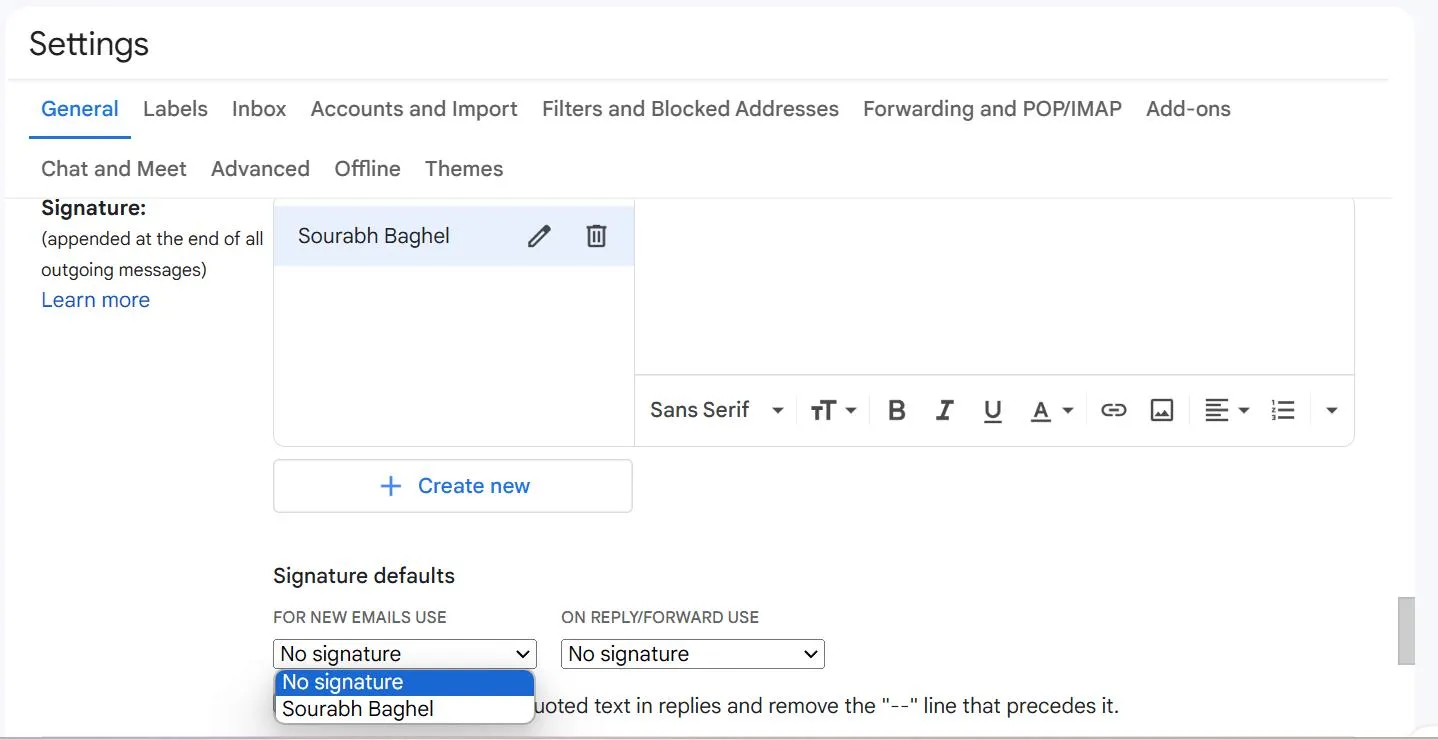
Step 5: Now you can see your signature in the box. You can also edit it by tapping the Pencil icon and delete it by tapping the Bin icon.
![]()
Step 6: You can customize the signature by using different fonts and styles. You add an image to it.
Step 7: Now tap on the drop-down menu icon below FOR NEW EMAILS USE & ON REPLY/FORWARD USE under the Signature defaults option & choose your signature.
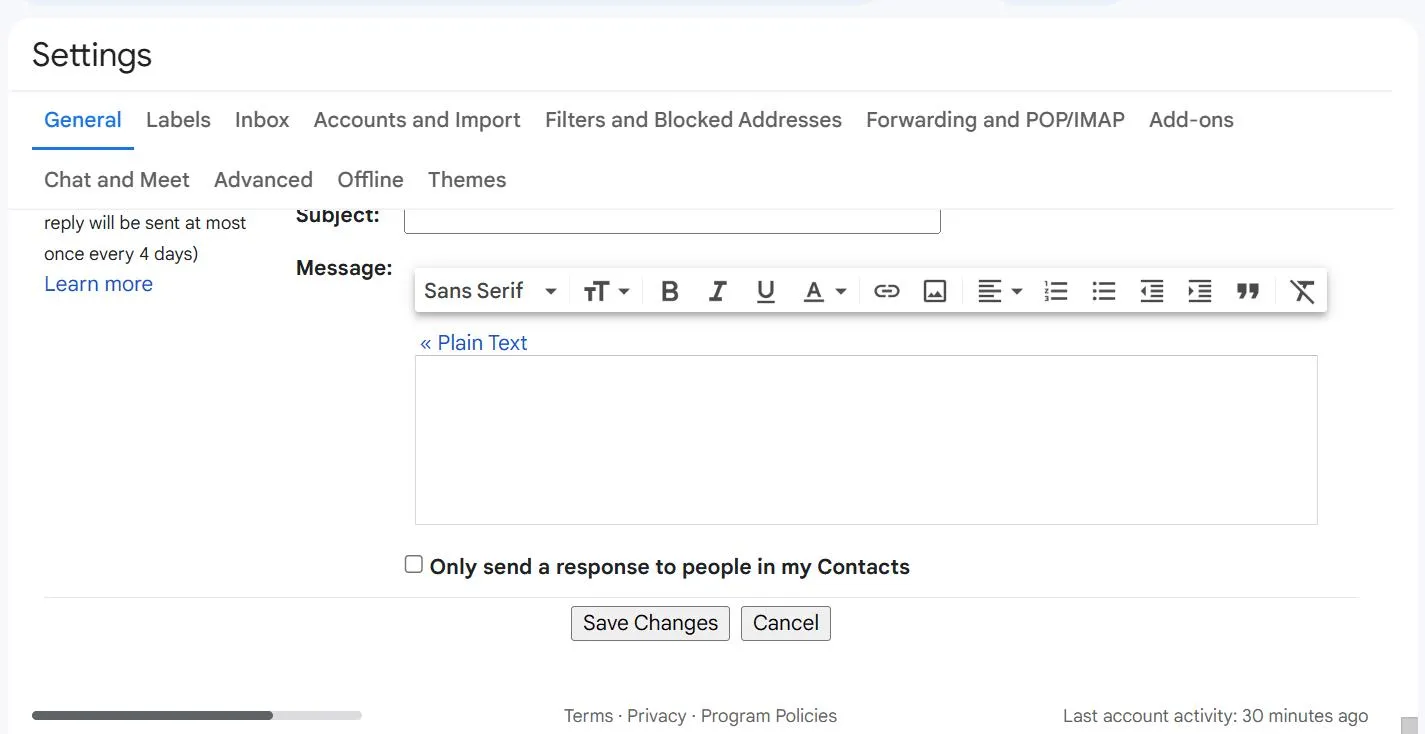
Step 8: Scroll down and tap on Save Changes.
Read Also: How to Remove your Gmail Account from Unwanted Websites?
How to Change Gmail Signature?
To change your signature in Gmail follow the steps below:
Step 1: Open your favorite browser, go to mail.google.com, and sign in with your email credentials.
Step 2: Now from the top-right corner of your screen, click the Gear icon and select See all settings.
Step 3: In the General tab, scroll down to the Signature section and tap the Pencil icon.
Step 4: Make the changes to your signature, scroll down, and tap on Save Changes.
Read Also: How To Create Folders and Labels in Gmail (Android, iOS, macOS, and Windows)
Conclusion
So, this is how you can add or change email signatures in Gmail at your will. Adding a signature to your email is a simple yet powerful way to enhance the credibility of your emails. Just follow the methods above and give your emails a professional look.
So, what are you waiting for? Go ahead & add an email signature and leave a long-lasting and professional impression with each email you send.


Leave a Reply