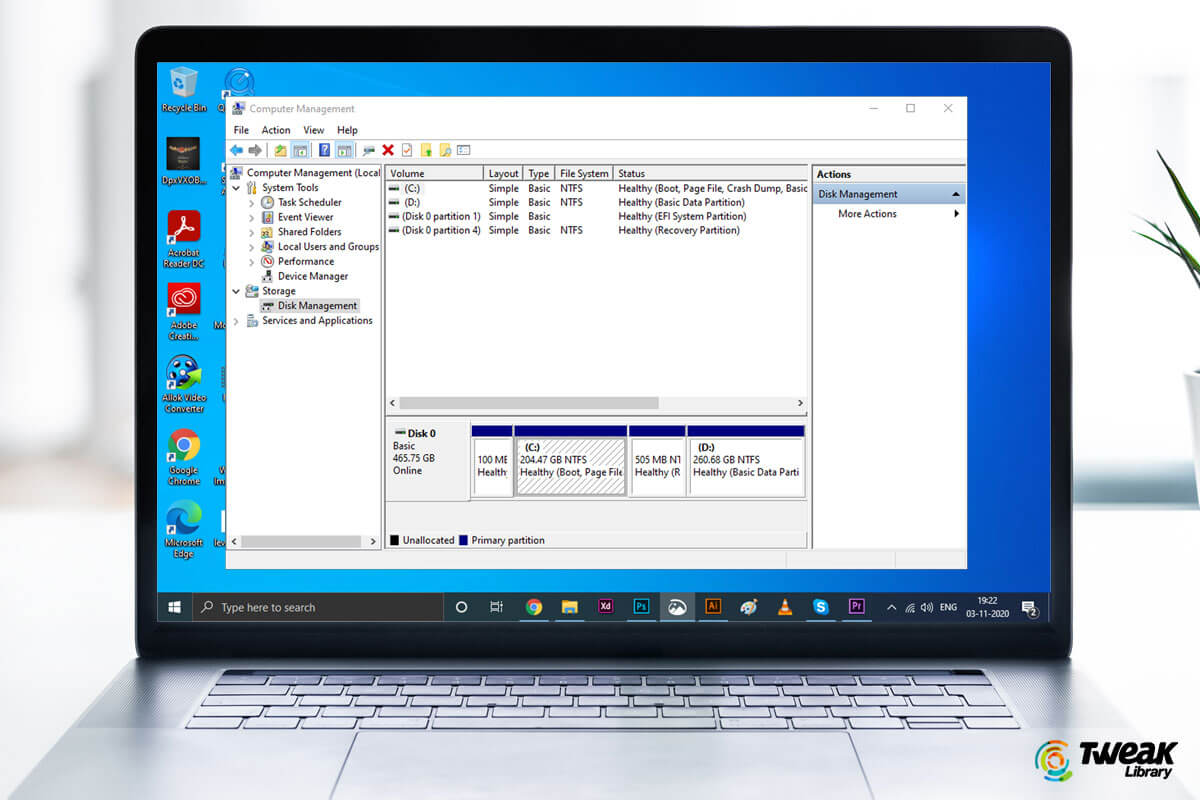
As we all know that the available hard drive space on our PC can be divided in different partitions. Later on, if the user decides to resize partitions, they can easily do so. Windows utility tool, Disk Management, provides all the required features to let you easily manage available space on your hard disk.
How to Extend Volume of a Drive on Windows 10?
The steps to extend volume in Windows 10 drive is pretty simple and intuitive. However, if you are new to Windows and looking for How to extend volume, here is how you can do so:
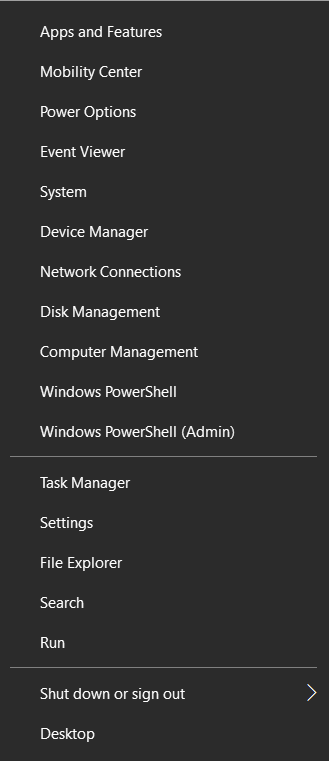
Step 1: Right Click on the Windows Icon on the bottom left-hand corner of the screen and click on Disk Management to open Disk Management utility tool.
Step2: Right-Click on the drive you want to extend the storage for and click on Extend Volume.
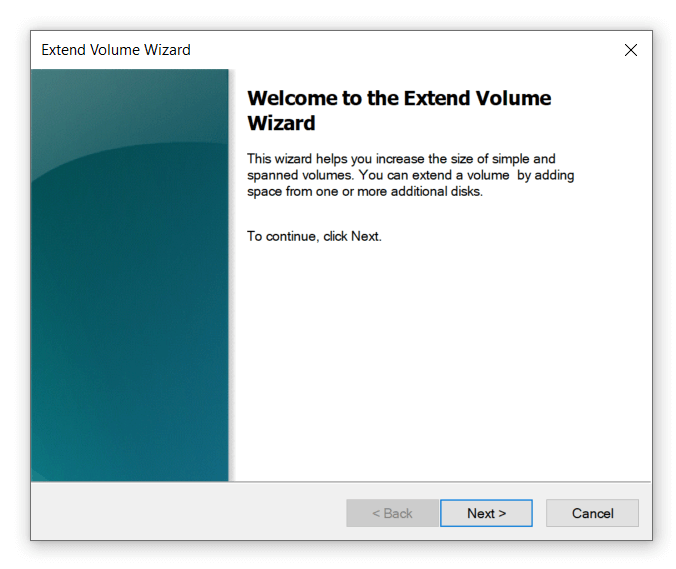
Step 3: Click on Next.
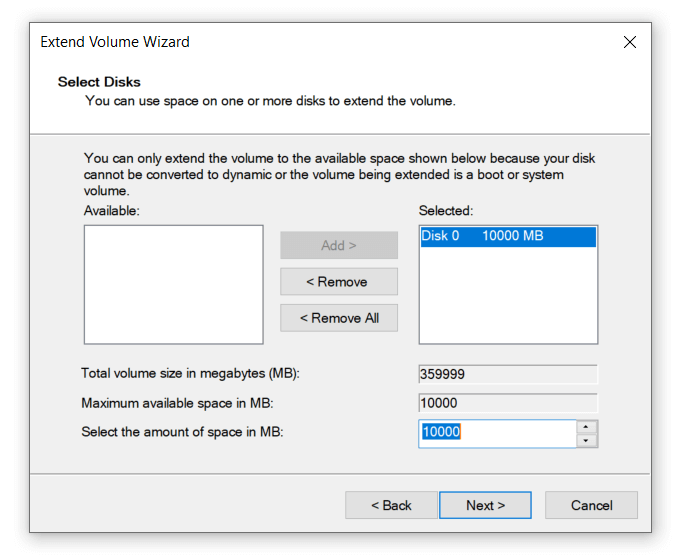
Step4: Enter the amount of space you want to EXTEND to the selected drive. The space has to be in MBs. You can see the available space that can be used to extend volume of the drive.
Note: You can’t extend the storage for more than the available space and you have to have the free space available on the computer.
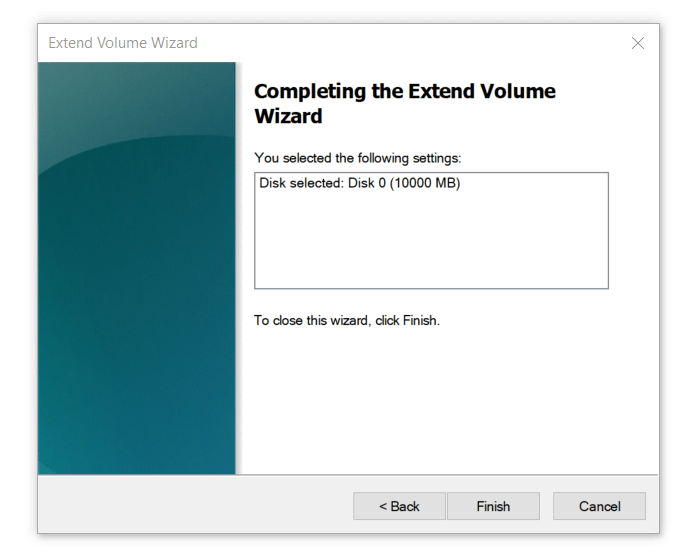
Step 5: Click Next to go the next step and Click Finish on the next tab.
Voila, you are done. This is how to Extend Volume easily.
How to Free Up space if you don’t have available space to Extend Volume?
In order to free up space on your hard drive to extend the volume of a drive, you have to shrink the volume of other drives or delete another drive. While extending volume of the drive by shrinking is the obvious option, deleting isn’t any harder. All you have to do is just make sure that the drive you wish to delete doesn’t have anything in it.
Reason why Extend Volume is Greyed Out?
A lot of people try and extend storage space in the Drive C because it is the drive we harshly underestimate the importance of and is most useful drive on the hard disk. Most of us choose to install Windows and other software on the system in the Drive C. There is a big chance that people who shrink the volume of other drive to extend the volume of Drive C will find Extend Volume greyed out.
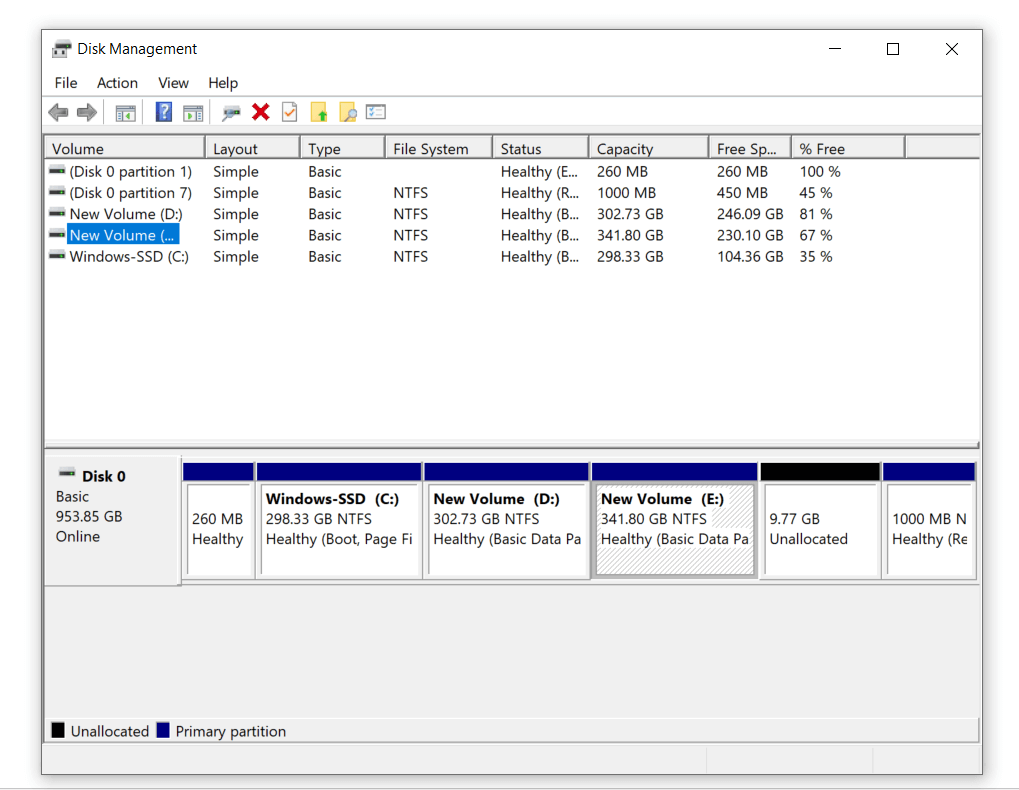
There is a small catch in the disk management that you have to keep in mind in order to extend volume of the drive. The Available Space has to be adjacent to the drive you want to extend in Disk Management.
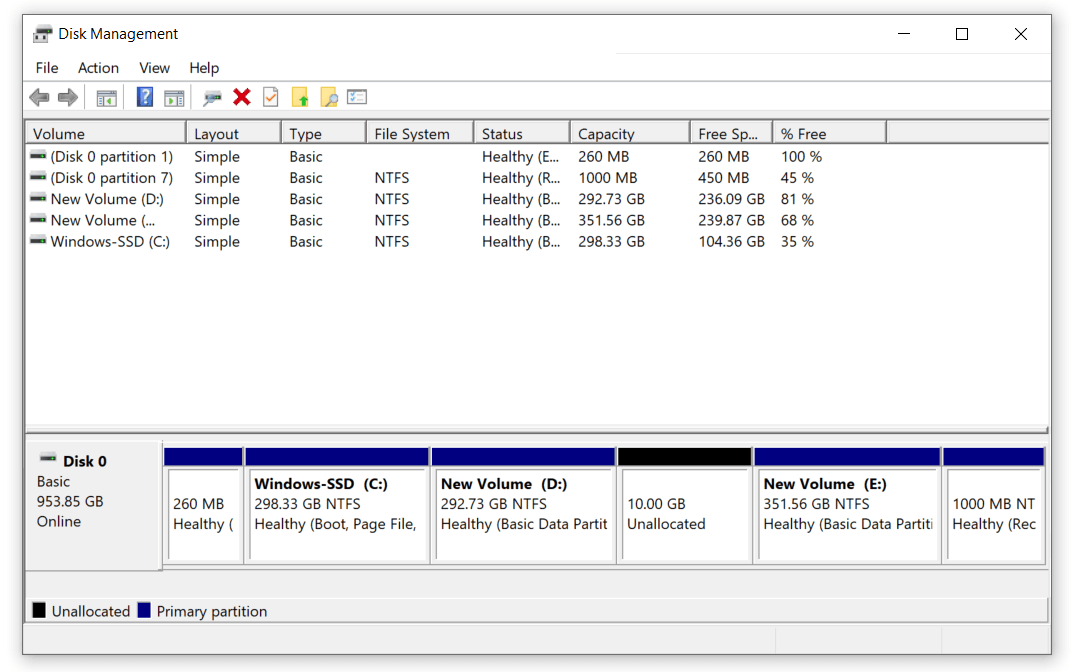
As can be seen in the image above, the Unallocated Space marked with the red outline is adjacent to Drive D and Drive E. Hence, when I would want to Extend Drive C, the Extend Volume option will be greyed out because the unallocated/available space isn’t adjacent to the Drive C. I know this sounds Stupid, but it is the way it is.
How to Resolve the Extend Volume Button Greyed Out error?
In the image above, the unallocated space isn’t adjacent to the drive I want to extend. To Extend Drive C, I will have to bring the available space near drive C. The obvious way to do so is Remove the drive between the unallocated space and the drive you want to extend.
In the example above, Drive D is between the Unallocated Storage and the Drive C (the drive we want to extend). Hence, we will have to delete Drive D.
Note: Before you delete a drive, make sure that you copy each and every file on the drive to some other drive or an external hard disk so that you don’t end up deleting your data while deleting the partition.
Step by Step guide to delete the Partition and Extend Volume:
Step 1: Once you are done copying all the files from the drive you want to delete, go to Disk Management tool and Right-click on the drive and click Delete Volume.
Step2: Once you delete the volume adjacent to the drive you want to extend, you will have a lot of available space to extend.
Step 3: Right click on the drive you want to extend and click on Extend Volume and follow the steps.
Note: Make sure you only use the required space to extend the volume because we are going to recreate the deleted volume again.
Step4: Once the volume of the drive is extended, right click on the Unallocated Space and click on Create Volume to create a new drive, follow the instructions to complete the setup.
And you are done, now you have successfully Extended the volume of the desired drive and you have again created the drive which you had to delete to resolve the error. Users can choose to recopy the content of the deleted volume back.
This is how you can simply resolve the error of Extend Volume greyed out and can’t extend volume. The catch you have to keep in mind is that the Unallocated space has to be adjacent to the drive you want to extend. Hope we were able to provide you the information you were looking for. Do let us know your views, we love hearing from you.
Next Read
How to Repair Bad Sectors on Hard Drive and SSD
Ways To Fix Hard Drive Format Error On Windows 10


Leave a Reply