Windows 10 has been around for a while now and users have taken to it quite well. Even though it’s a smooth operating system, users do experience issues or bugs on and off. The fact of the matter is whether you have just installed Windows 10 or have been using it for a while, issues are bound to happen. Here we are going to enlist some of the common Windows 10 problems or “bugs” and ways in which they can be flattened out.
1. Getting in Control of Updates
One of the common Windows 10 problems is getting updates even when you don’t need them. Just like a good operating system Windows 10 rolls out updates for the betterment of your system. There is also no denying the fact that Microsoft has been quite efficient with handling updates but let’s face it, there are times when these updates are forced.
But, the updates sometimes pop up and come across as too in-your-face. There are even times when these might take a toll on your system’s memory and eat up your data plan. If you are facing any such issues, there are several ways to tackle it.
We shall outline a very quick steps using which you can disable any automatic updates.
- Step 1
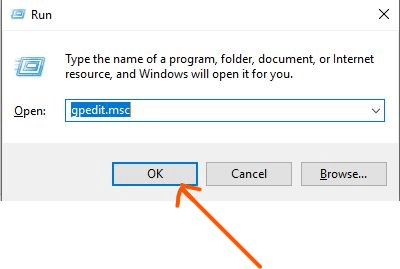
Press Windows + R button to open the Run command. Enter gpedit.msc and click on OK. This will open the Local Group Policy Editor.
- Step 2
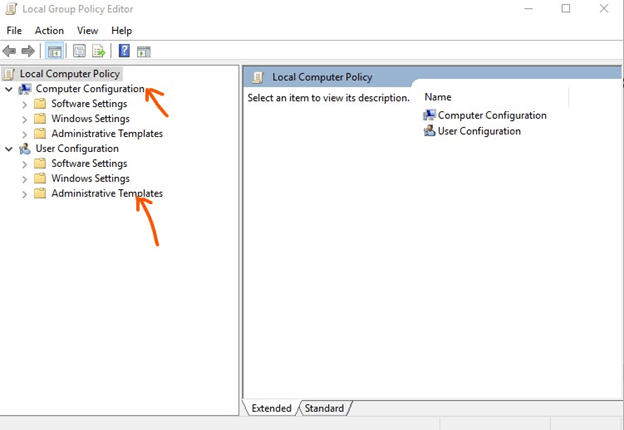
Once the editor window opens, find “Computer Configuration” under which you will find “Administrative Templates”.
- Step 3
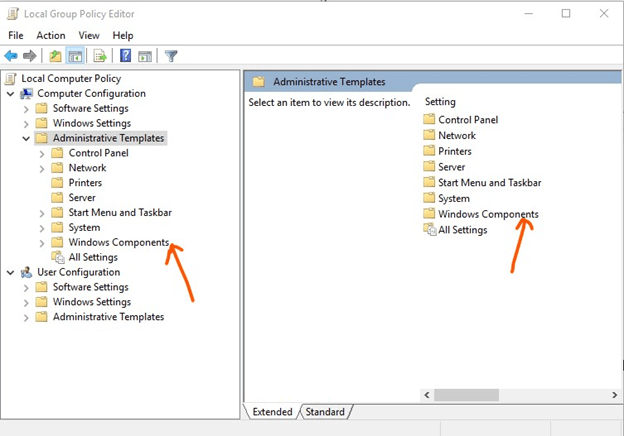
When you click on the “Administrative Templates” you will find a bunch of options on the right-hand side. From these options choose “Windows Components” and double-click on it.
- Step 4
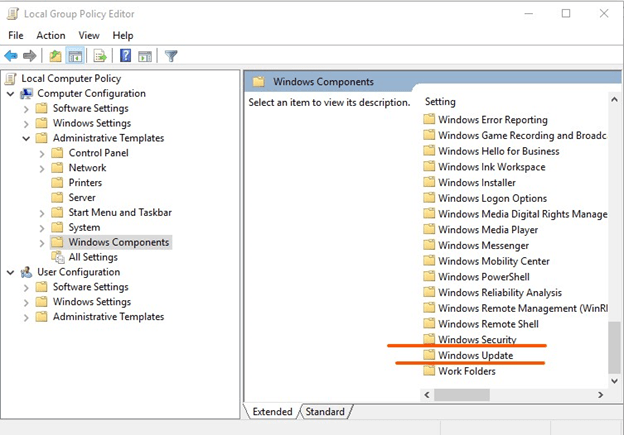
Next, when you double click on the “Windows Components” a long list will open. Scroll down to “Windows Update” and double click on it.
- Step 5
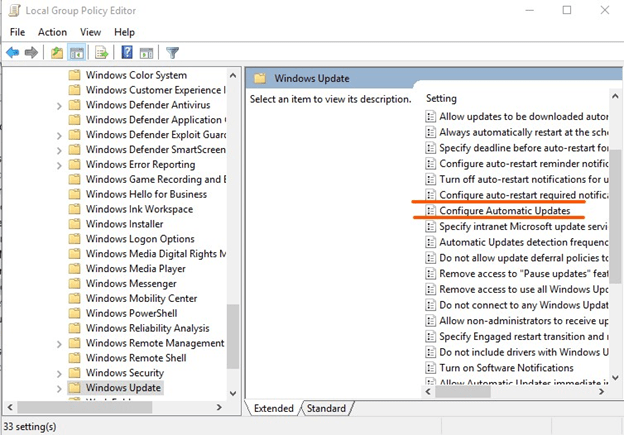
From a long list you will have to choose “Configure Automatic Updates” and double click on it.
- Step 6
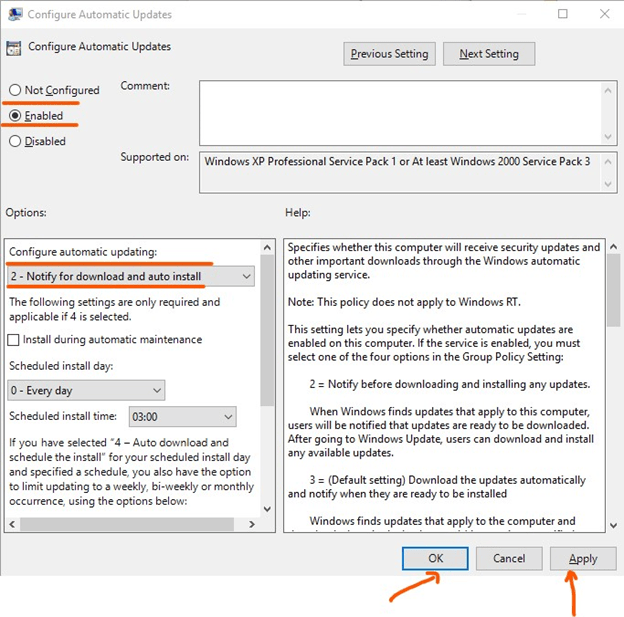
A new window will pop-up. On this window make sure that the “enabled” radio button is checked and from the drop down under the “Options” section choose “2-Notify for download and auto install”. Click on the “OK” and “Apply” button.
By following the above steps Windows will notify you first before downloading any update automatically.
Also Read: How to Fix USB Not Working in Windows 10
2. Privacy Issues
Immaterial of whether you have the operating system on Laptop or PC, Windows 10 privacy remains an issue amongst several people. Let’s take Wi-fi sense for instance. Whether “Wi-fi Sense” is a boon or a bane is a debatable topic for many but for hackers and miscreants who pry notoriously on your personal data and information it could be a boon in disguise. We’d recommend you turn it off since this option syncs all your browsing history and passwords across several devices, thereby leaving you vulnerable.
Figuring out how you can fix Windows 10 privacy issues? Follow the procedures below –
- Step 1
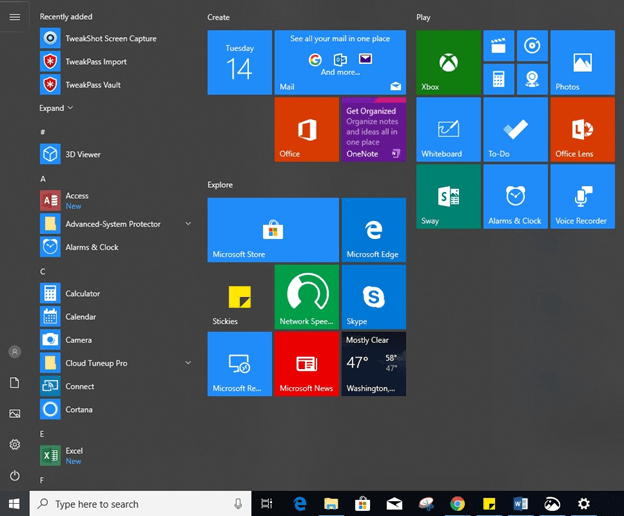
Go to the “Start menu” and then proceed to “Settings”
- Step 2

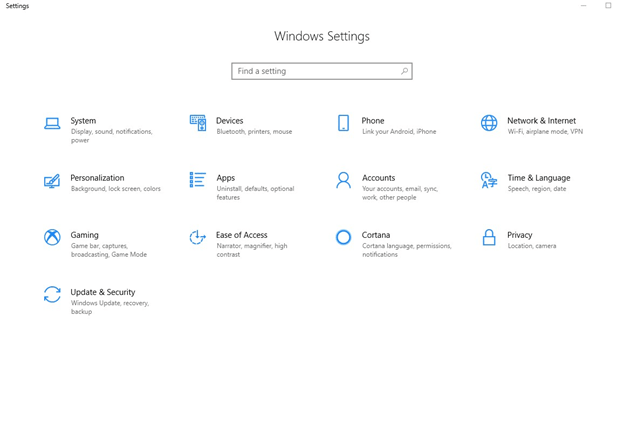
A “Windows Settings” window will open. Choose “Network & Internet”
- Step 3

Select “Wi-Fi”. After you have selected Wi-fi you will see “Manage Wi-Fi” settings on the right-hand side. Click on this to reach “Wi-Fi Sense” settings.
- Step 4

Find “Connect to network shared by my contacts” slider and slide it to “off”
This way you can disable Wi-Fi sense. Also, you can tweak windows and app permissions in the privacy section by following steps 1 and 2 above. But this time you will have to choose “Privacy” instead of “Windows settings” or any other setting. In the Privacy section you will find “Windows permissions” and “App permissions” and depending on your preferences you can choose whether or not to give Windows or Apps an access to your data.
3. Turn off notifications not needed
In case you use a considerable number of apps your action center can soon get cluttered with messages and notifications. There is a very convenient way of switching these off. You can do this by –
- Step 1
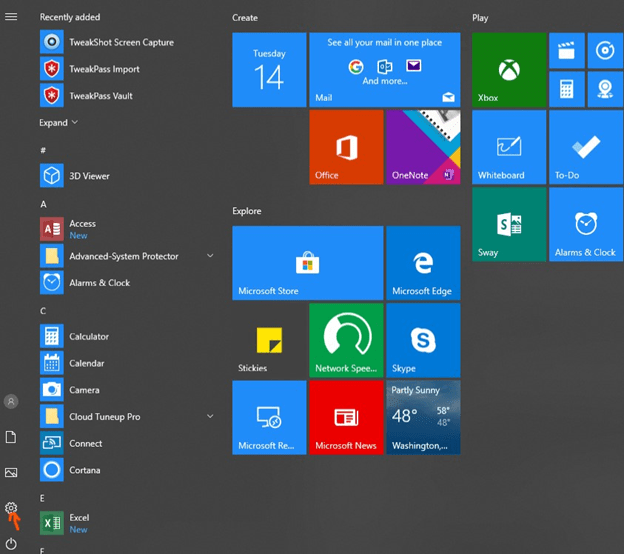
Go to “Settings” available in the “Start menu” and click on “System”
- Step 2
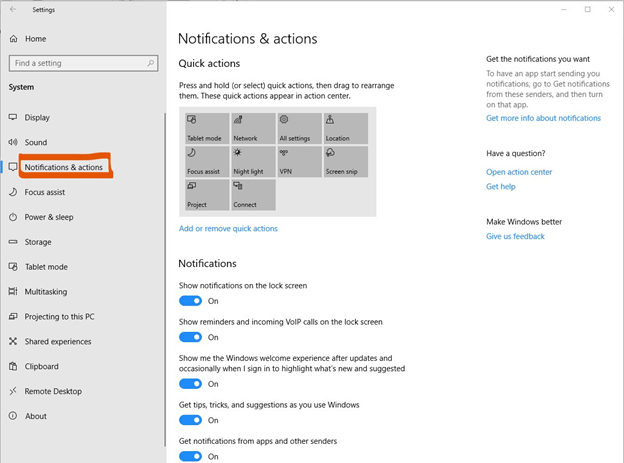
In the “System” settings you will find “Notifications & Actions” where you can control how and when you want the notifications to appear. These can be set on the basis on how you use an app.
Must Read: Why Upgrade From Windows 7 to 10?
4. Cortana doesn’t work
One of the best features of Windows 10 is its virtual digital assistant “Cortana”. The least she does is deliver solutions to you at your mere voice command. But what if she doesn’t function properly or what if you are not able to see Cortana at all. There are several ways through which you can get Cortana back. The first of the several ways is to reboot your PC. If you still find Cortana not working, follow the steps mentioned below –
- Step 1
Press Windows + I button to open Settings
- Step 2
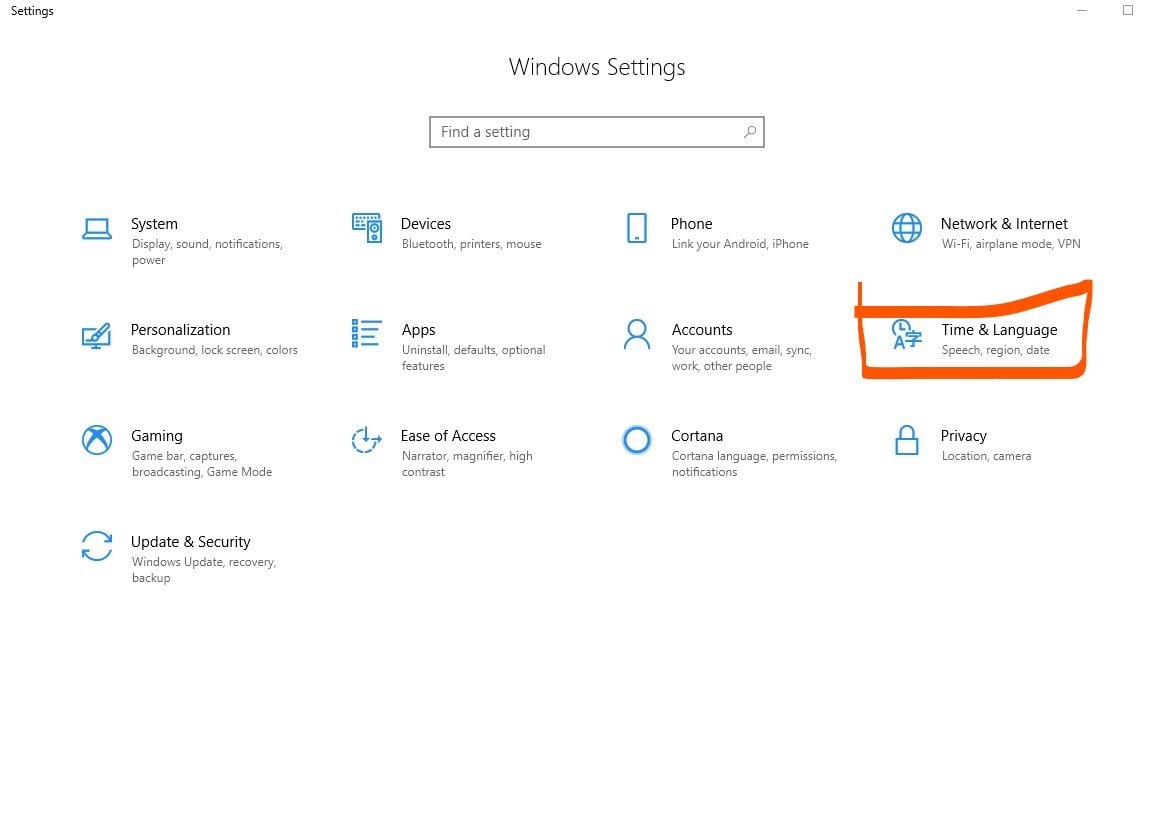
From the Windows Settings page open Time and Language settings
- Step 3
Make sure that in the Regions section, your region is selected.
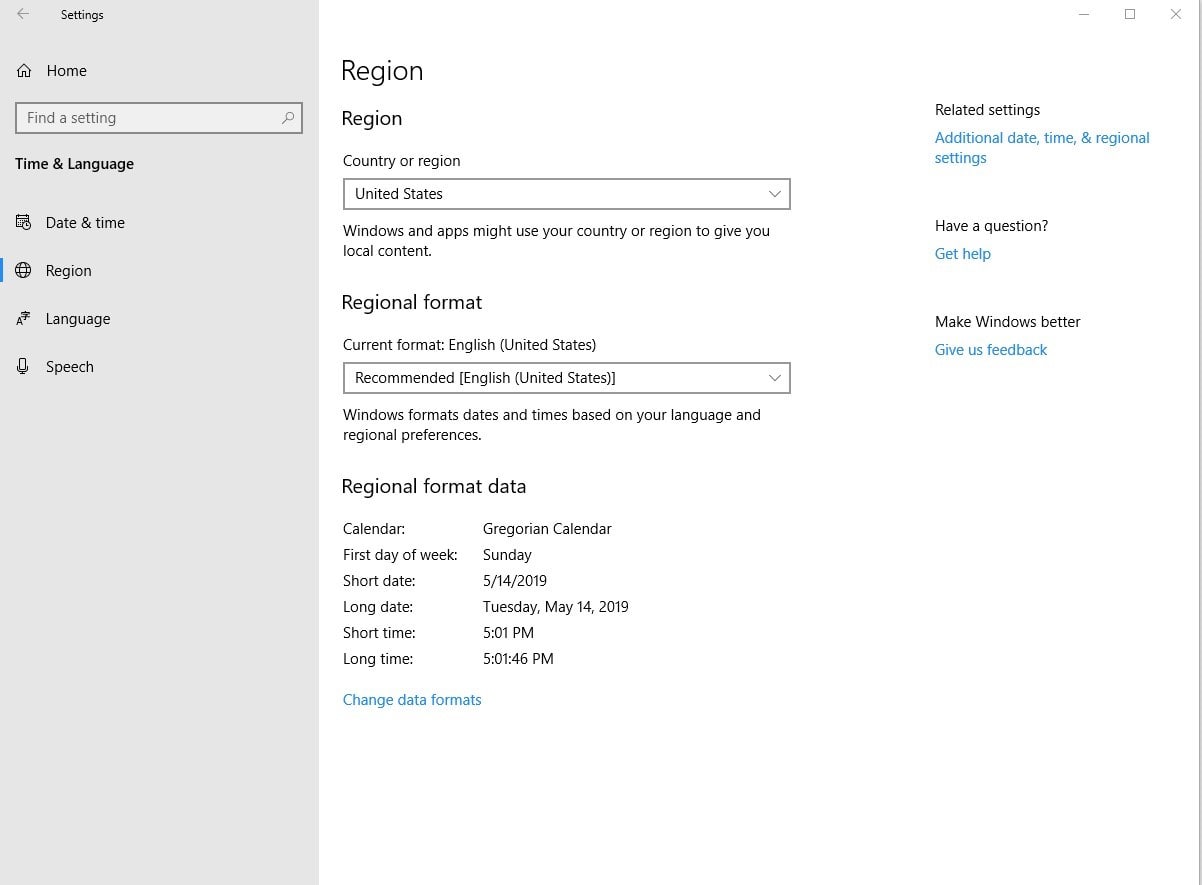
Similarly, in the Language section see that your language is selected.
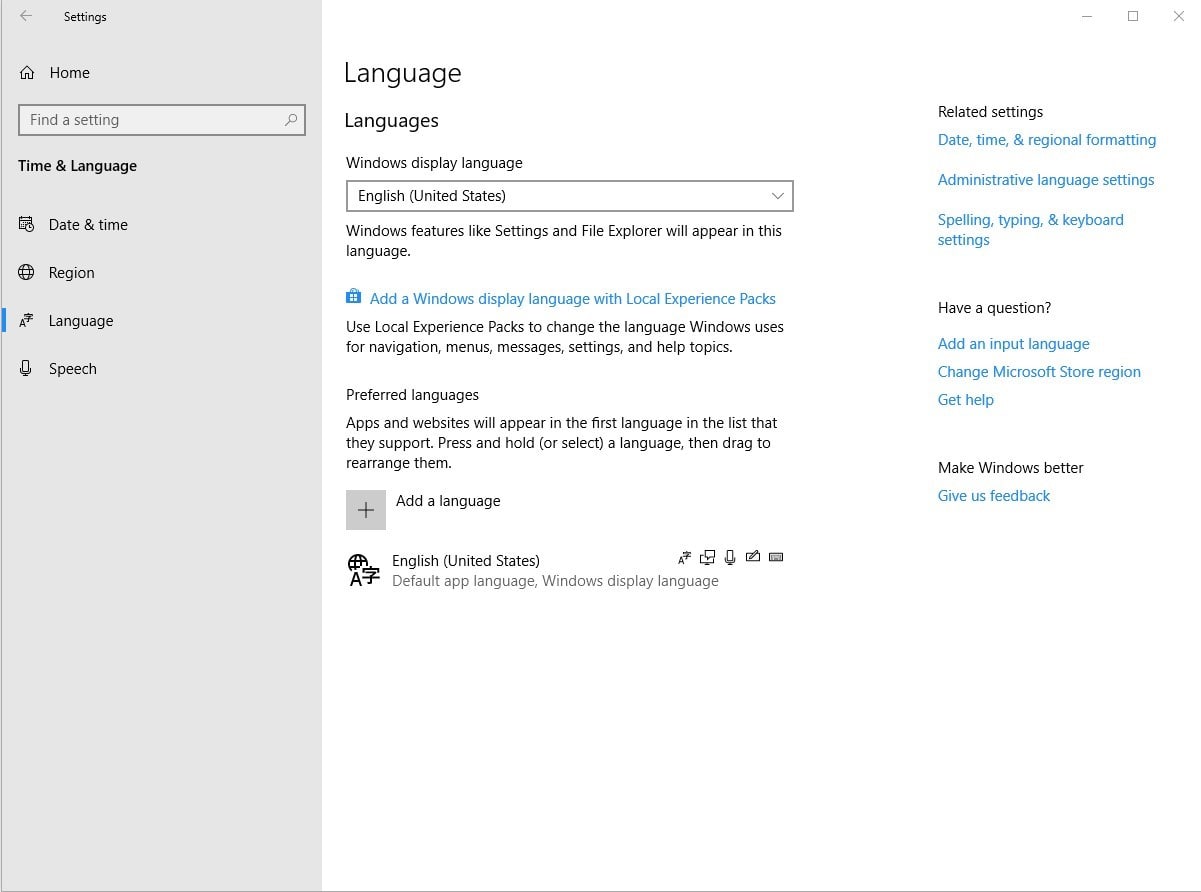
In most cases, you shall see that the Cortana will be up and running on your PC.
5. Windows booting slowly
A brand-new Windows 10 out of the box might be fast and quick but with wear and tear and constant use the booting might become slow. As with the case of many other issues, there are several ways of dealing with this too. Let’s have a look at two of the easiest ways.
Disable the programs that you don’t want at the startup
Make sure that you have only those programs at the start which you need. Accumulating more and more programs would put load on your booting speed. To enable and disable programs –
- Step 1
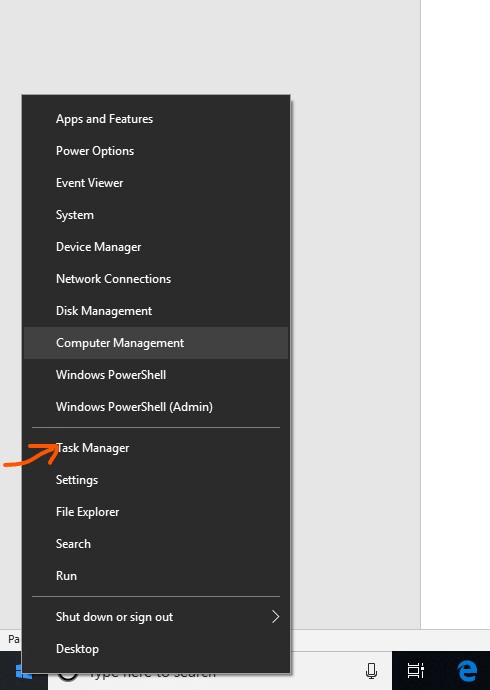
Right click on the “start button” and select “Task manager”
- Step 2
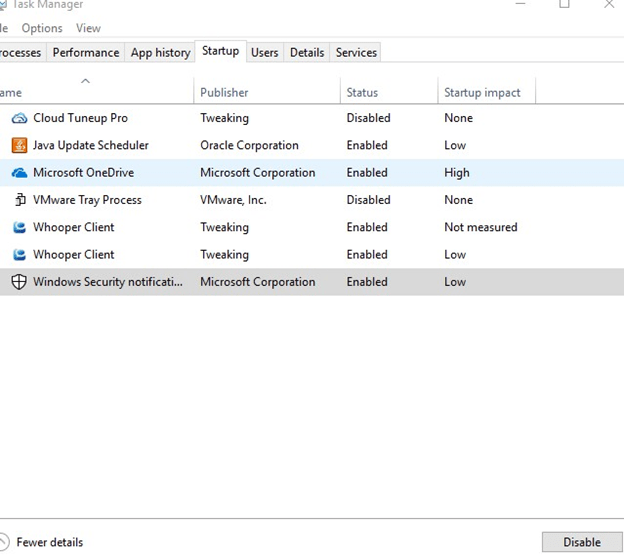
Click on the “Startup” Tab, select a particular program and then right click to choose “enable” or “disable”
Also Read: How to Optimize Windows 10 PC for Best Performance
Reset Windows
This method should be your last resort and should be used when you have tried everything and nothing else has worked for you. For this –
- Step 1
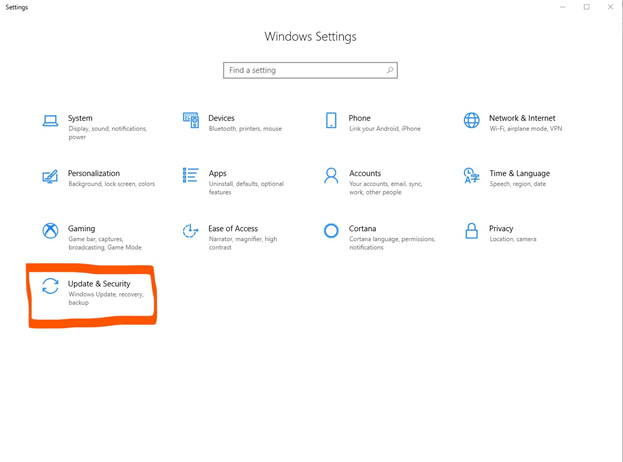
Press Windows + I. From the “Windows Settings” select “Update and security”
- Step 2
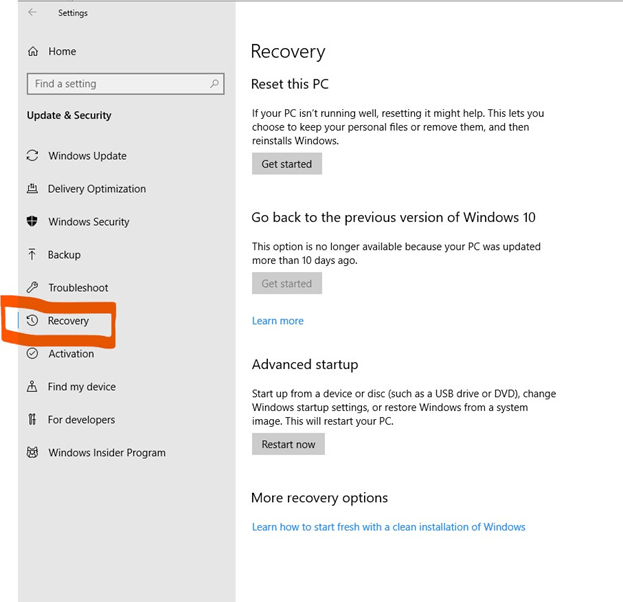
Then choose “Recovery”
- Step 3
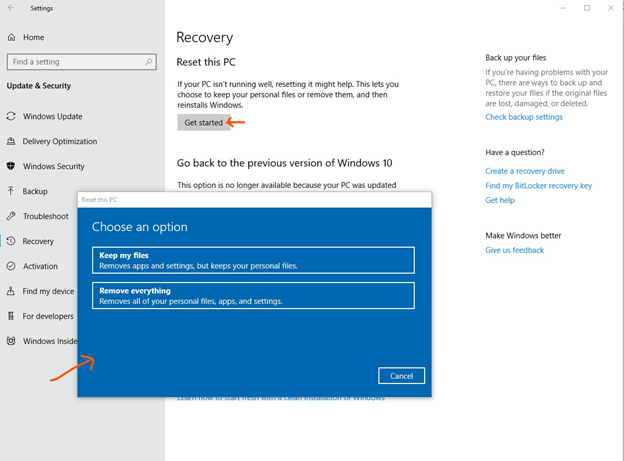
When you click on the “Get Started” tab option under “Reset this PC”, you can either choose to keep your personal files or remove everything.
Subject to what device you have or how you have installed Windows 10 for instance, you could encounter different set Windows 10 problems all together. Much before anything else, before heading on to any steps make sure you analyze the whole process and see that it matches the problem you are facing.


Leave a Reply