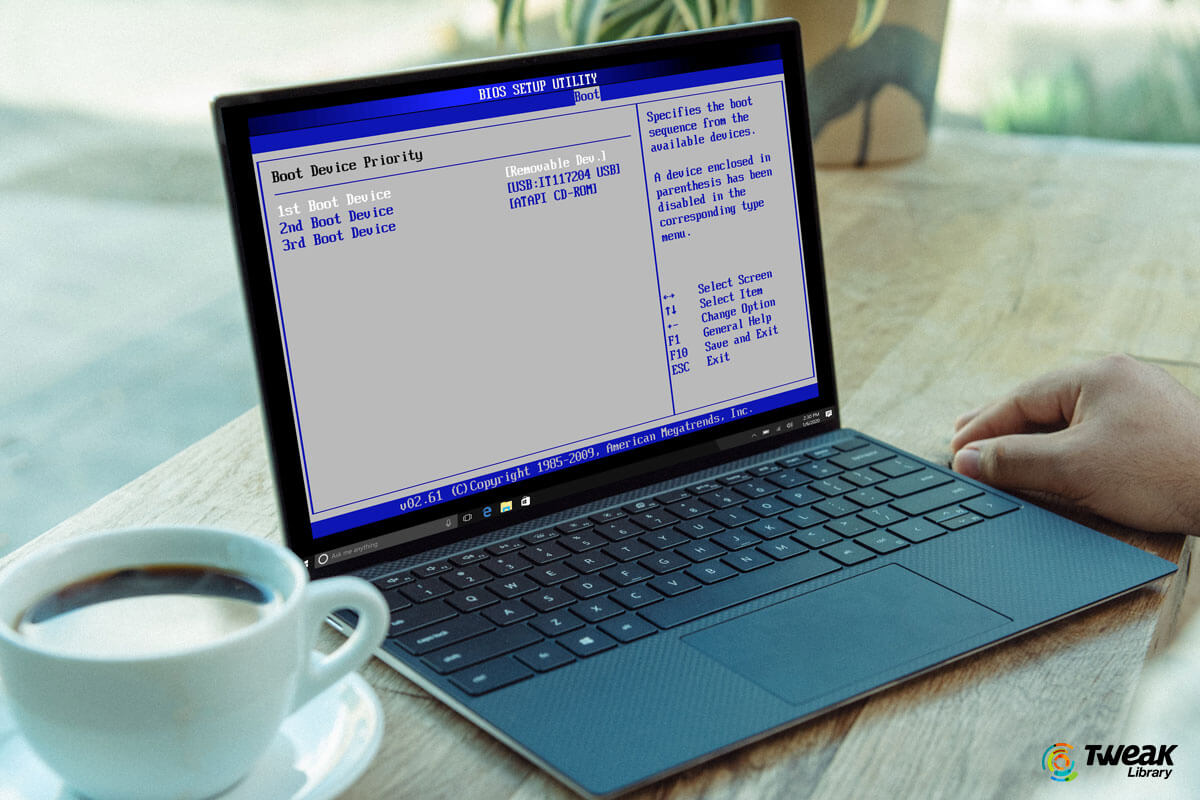
Whenever you boot your computer, it first loads up the Unified Extensible Firmware Interface (UEFI) Firmware, also known as Basic Input Output System (BIOS). BIOS does a lot of work in the background including which program to load, which hardware to use first, where to load from and what settings to apply on the screen.
Time arises when we need to boot from a different device like a USB or External Hard Drive to boot with different settings or let’s say a different operating system. In such scenarios, we need to change the boot sequence in Windows and load the computer using a different device. In older versions of Windows, it was only possible through getting into BIOS and changing the boot sequence however Window 10 has come up with other simpler ways to make different settings and manage advanced boot options in quick simple ways.
How to Enter BIOS in Windows 10
There are multiple ways to change the boot sequence in Windows 10 however the quickest way to do that is using Windows BIOS settings.
Step 1. If you are on the same computer, you will need to open these steps on a different device for easy navigation.
Step 2. If the device is turned ON, you need to restart the computer and keep tapping F2 or DEL key. These are the basic keys that you will find on the top row of your keypad. These function keys are brand specific, like in some computers, F11, F1, F10, Esc, or (Ctrl + Alt + Esc) key also takes you to the BIOS screen.
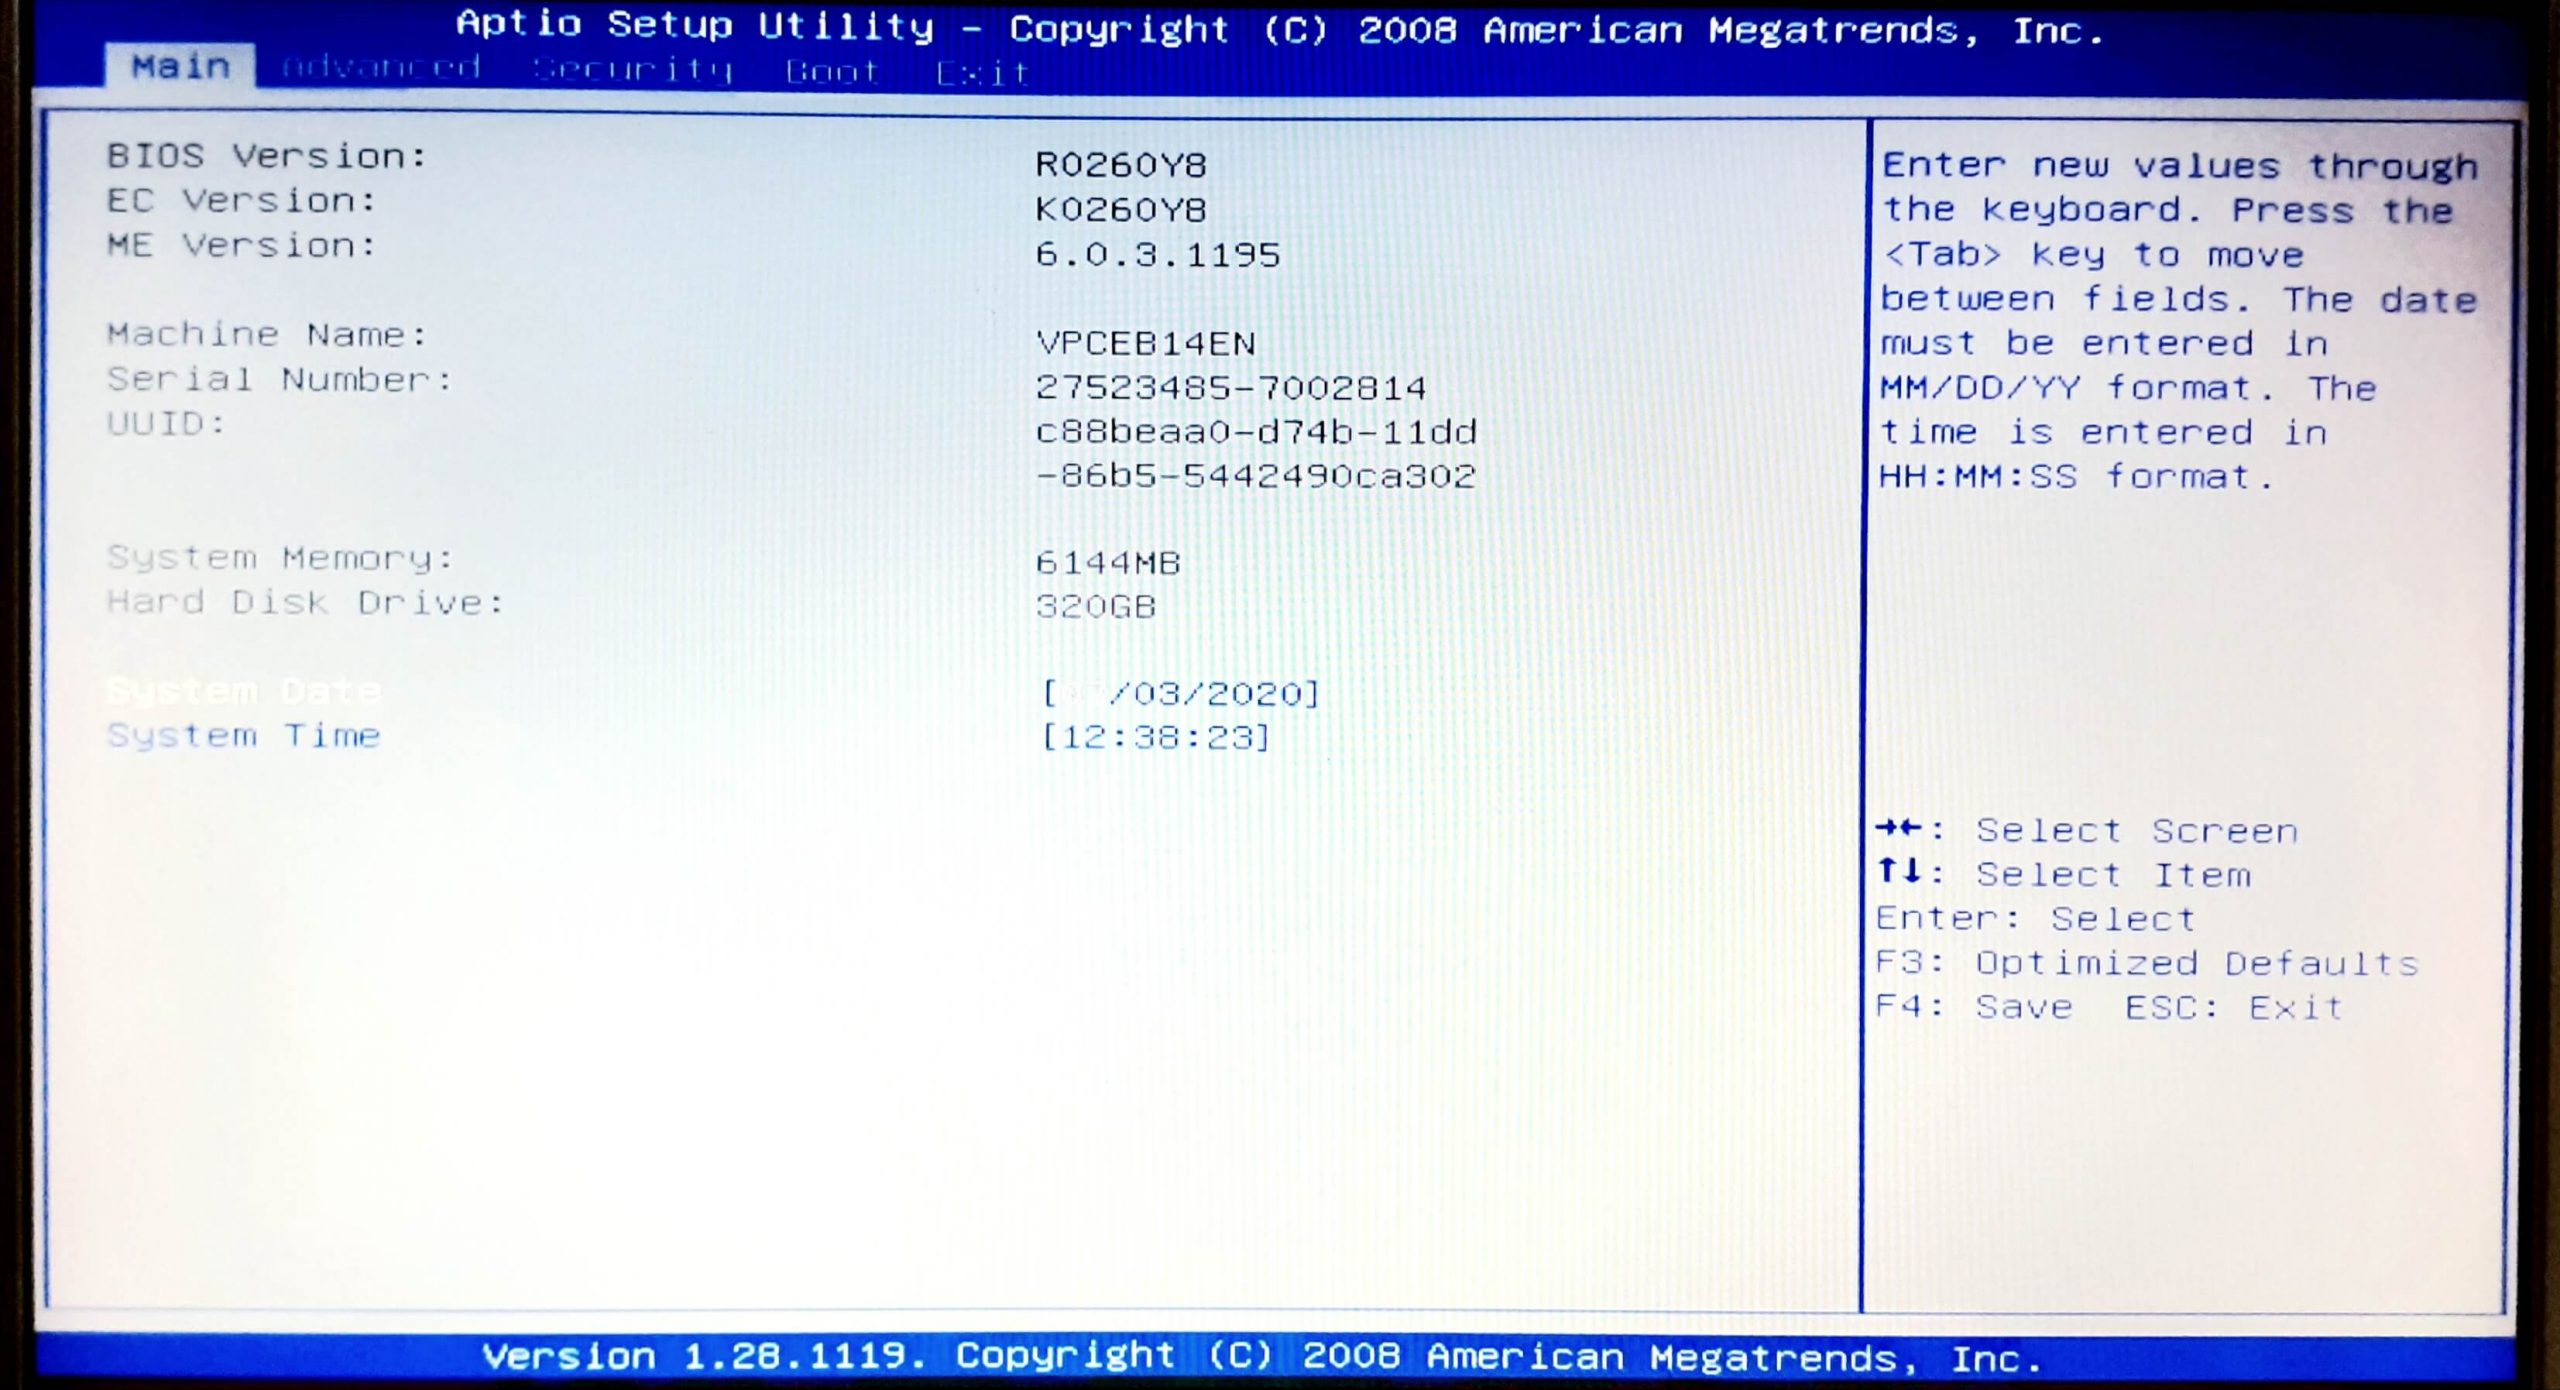
Step 3. You will reach the MAIN page of BIOS where you see the BIOS version and other details.
Step 4. Use the right arrow keys to come to the Boot Tab.
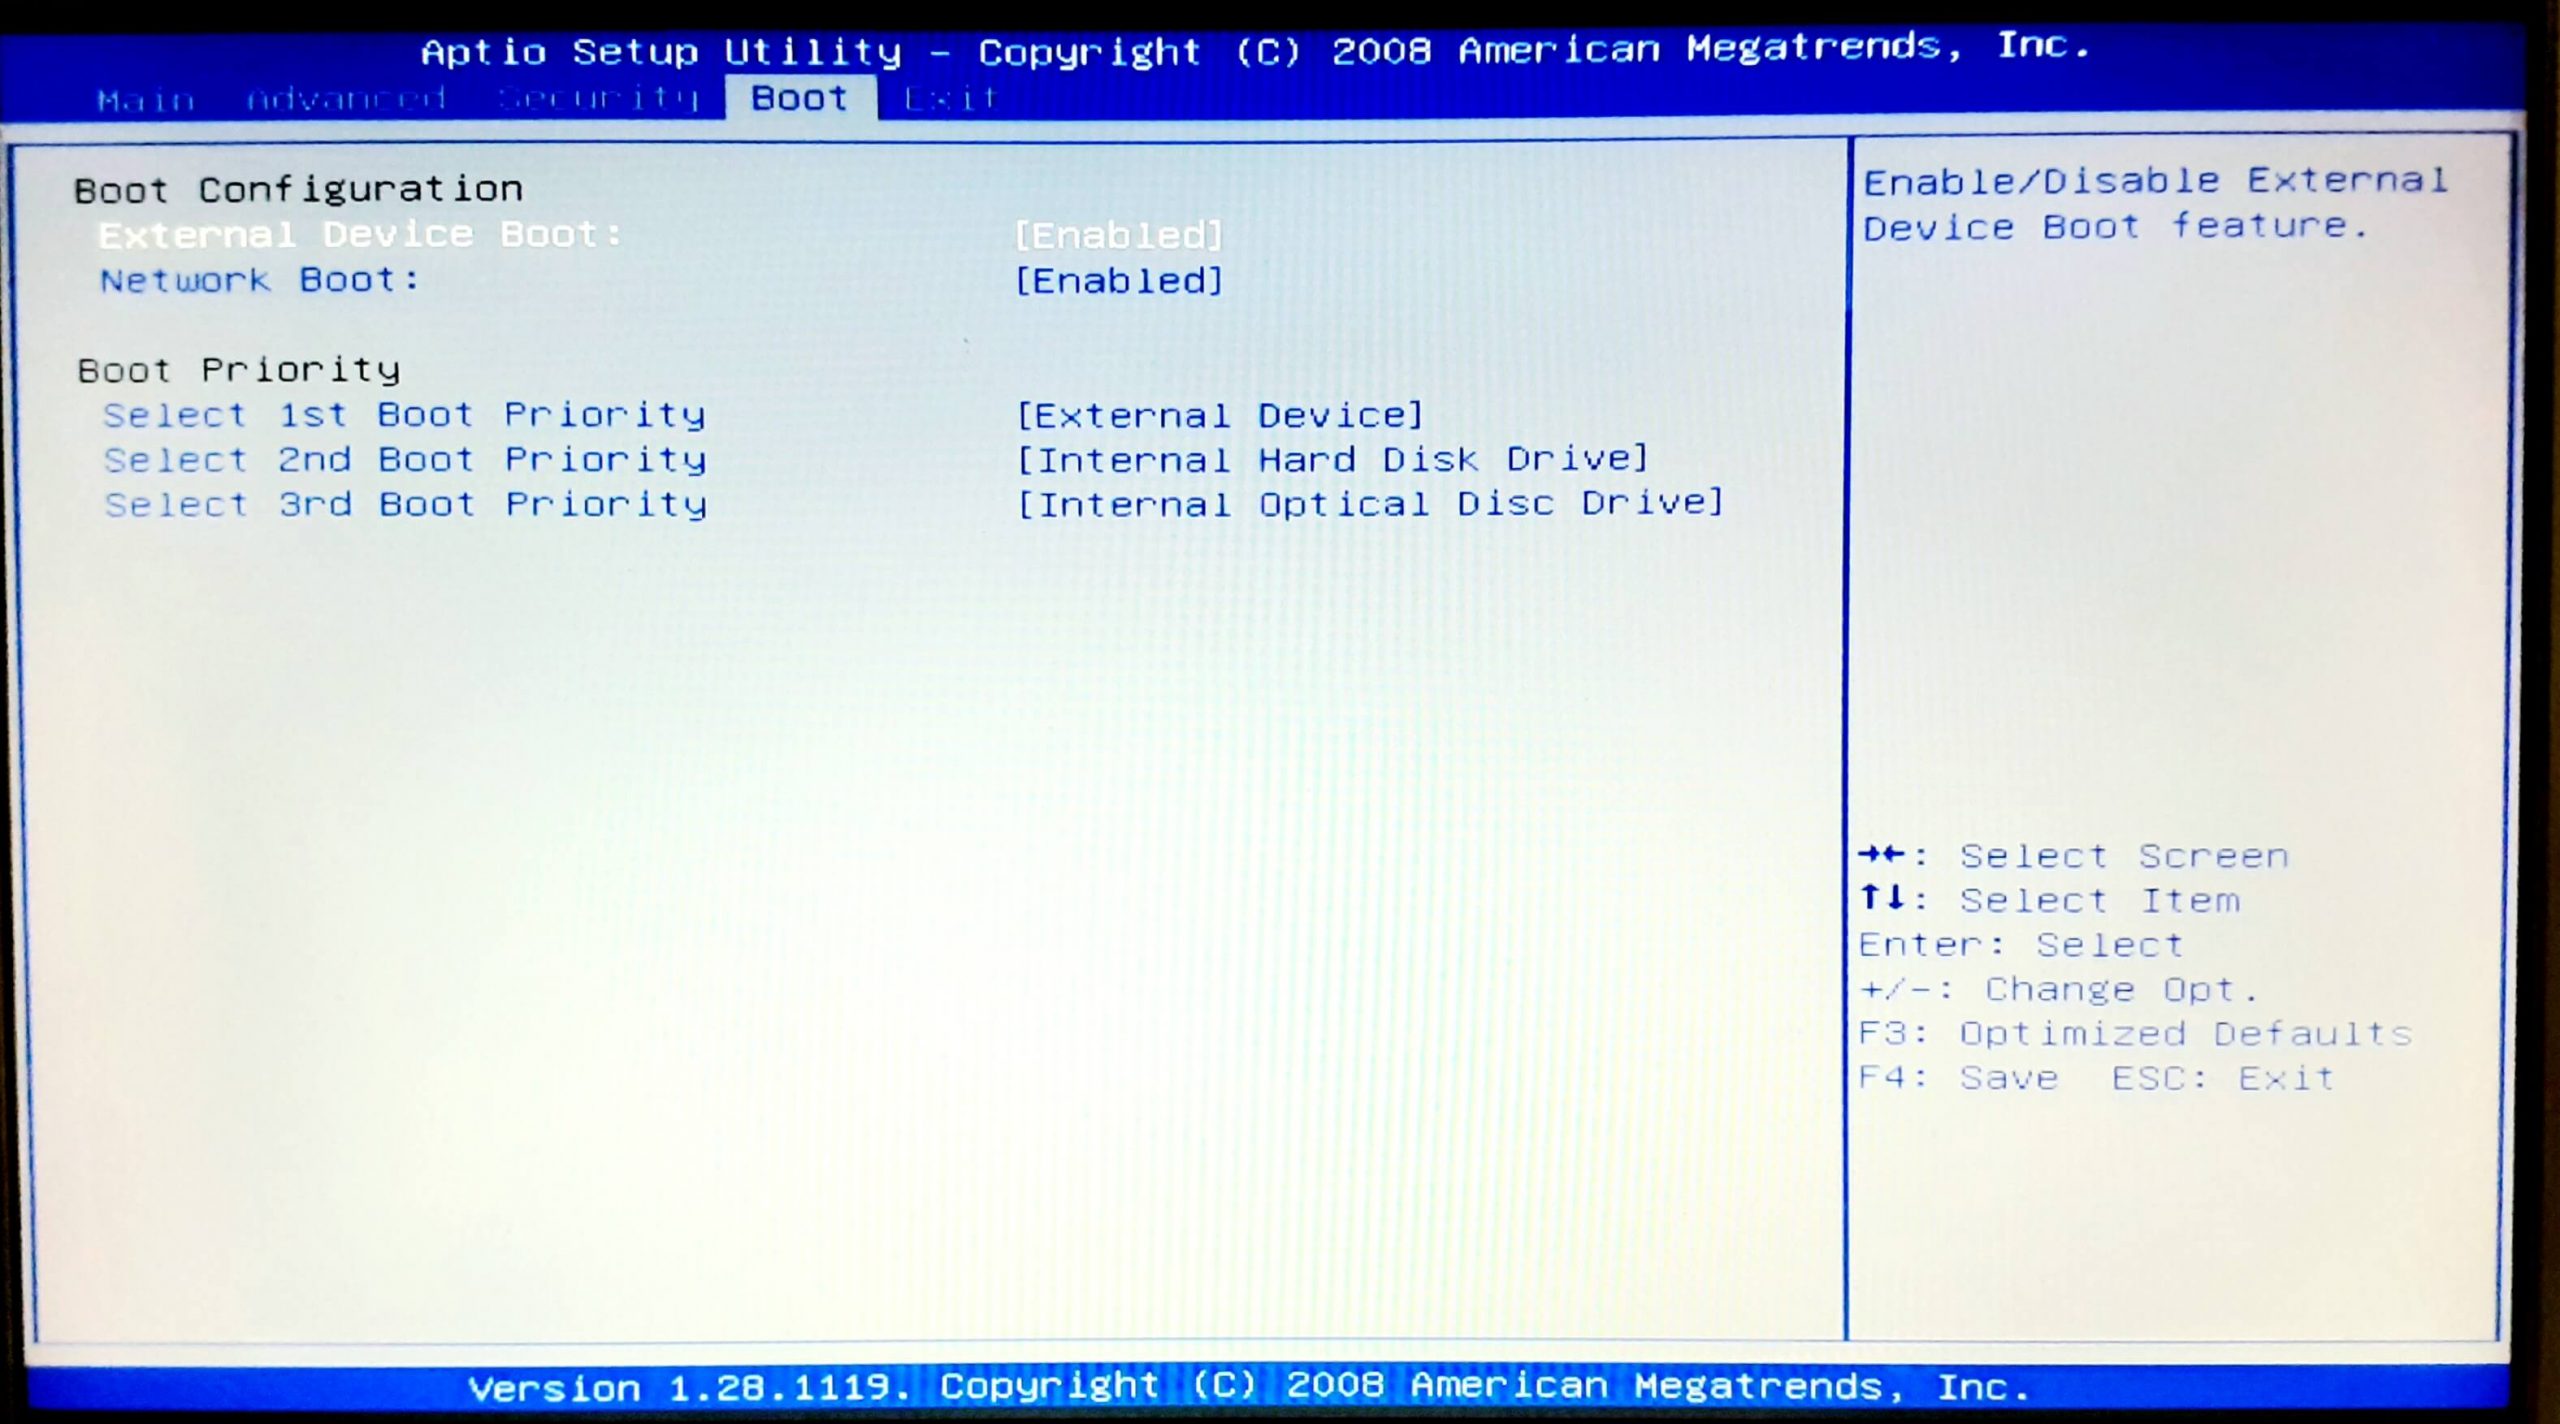
Step 5. Use Up / Down arrow keys and press Enter to change the Boot sequence.
Step 6. Make use of the Legend on the right-hand side bottom to finalize your boot sequence.
Hint: External Hard Drive can be selected as the first boot device if you wish to boot using an external hard drive or a PEN drive. You can set Internal Hard Drive as the second boot device. If you wish to use a Compact Disk (CD) as your first boot device, you can use the arrow keys and press the ‘Enter’ key to finalize your selection.
Step 7. Press F4 key to save changes and Esc key to exit out of BIOS.
The system will reboot to Windows welcome screen. Ensure that the selected boot device is connected to the computer before you restart the device.
Change Boot Order In Windows 10 Without BIOS
There are numerous ways to change the boot sequence in Windows 10. The easiest way to perform this is through the system settings app.
Step 1. Click on the start menu and then click on the ‘Settings’ gear icon on the left-hand side.
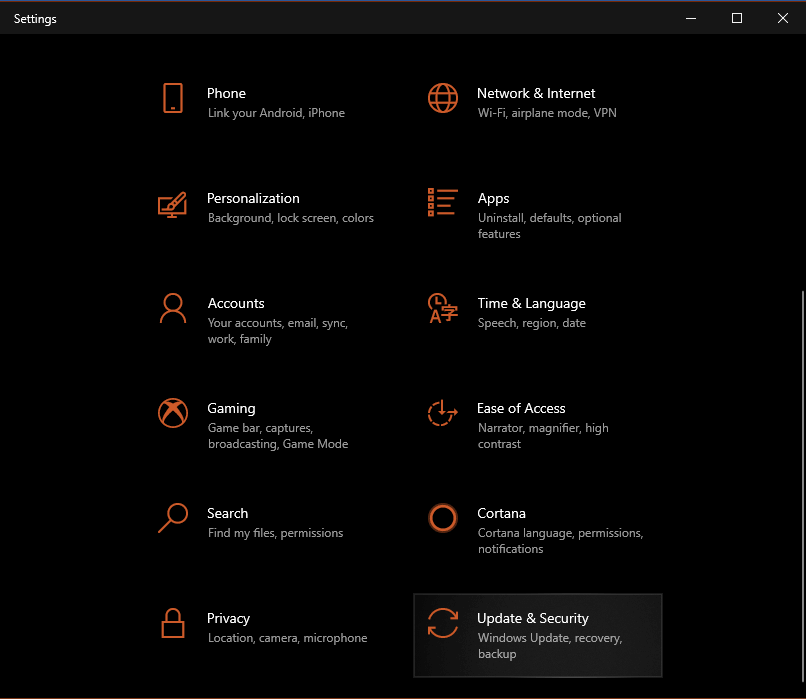
Step 2. On the settings window, click on the ‘Updates & Security’ option at the end of the screen.
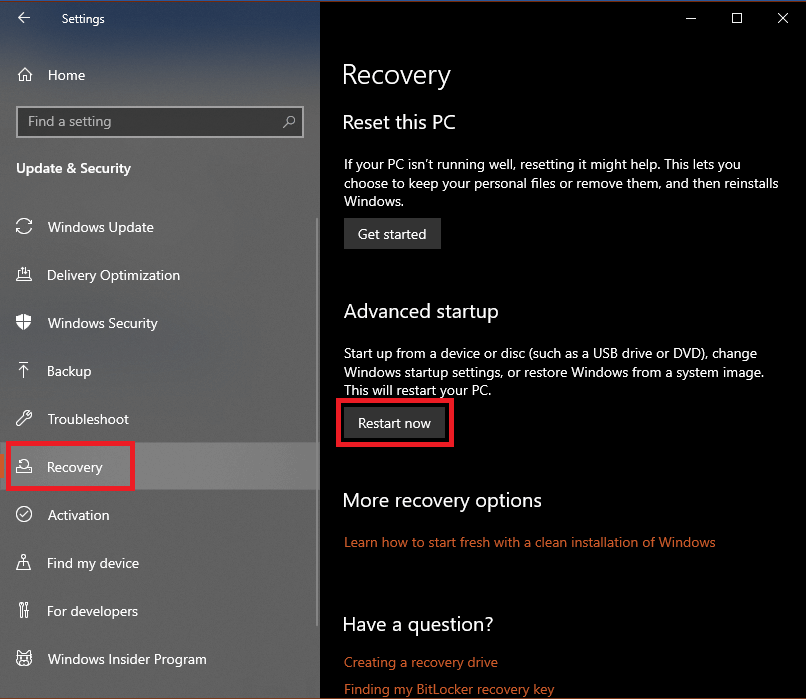
Step 3. Click on the ‘Recovery’ option in the left-hand side panel and then click on the ‘Restart Now’ button under ‘Advanced Startup’.
Step 4. Your PC will restart and you will get on a blue screen called ‘Choose an Option’.
Step 5. Click on the ‘Troubleshoot’ option and you will come to the ‘Advanced Options’ window.
Step 6. Here you will find options like ‘System Restore’, ‘Startup Repair’, and other options.
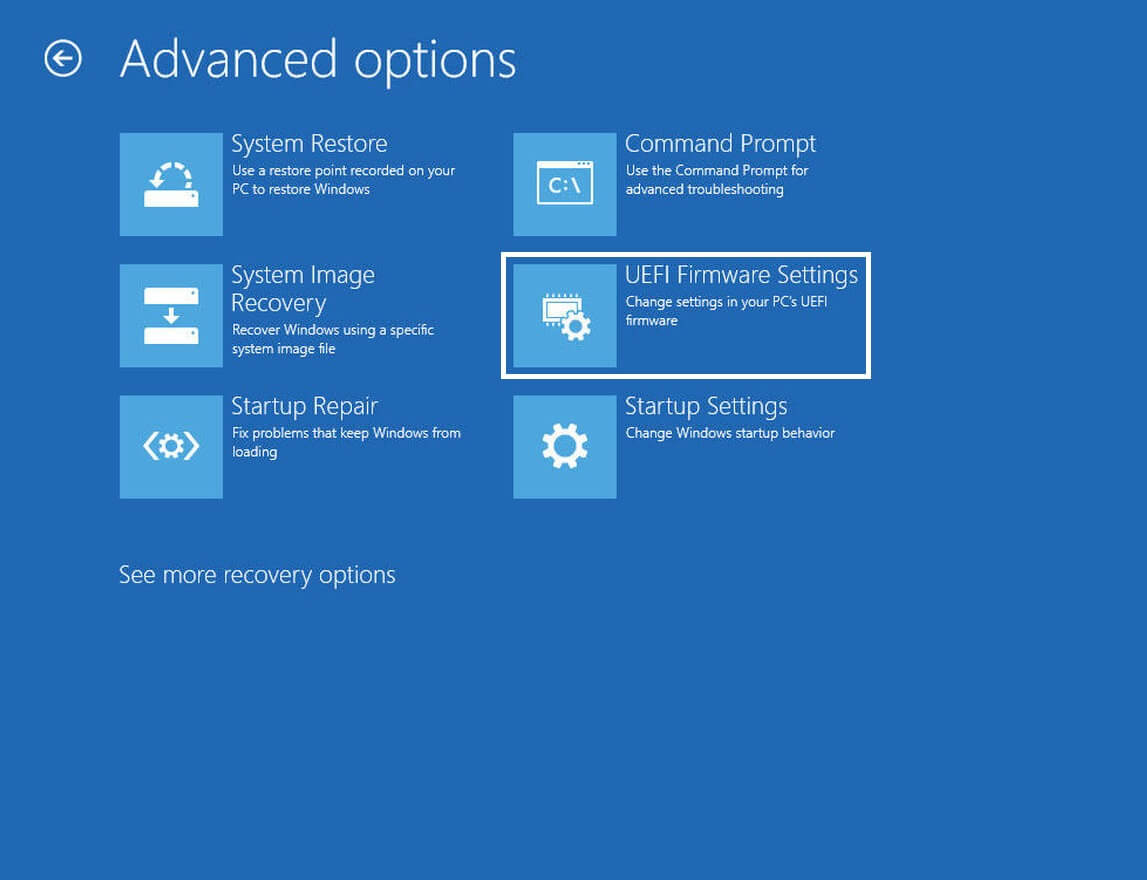
Step 7. Click on the ‘UEFI Firmware Settings’ option and it will restart the system once again.
Step 8. You will access BIOS in Windows 10. Here you need to follow the step 3 to step 7 as mentioned once you enter the BIOS screen. Here you can change the Windows boot sequence and restart the computer with your preferred device.
Change Boot Order in Windows 10 Using System Configuration Utility
This is again one of the easiest methods to change Windows boot sequence if you have a dual boot operating system on the same hard drive with different partitions.
Step 1. Click on the start menu and type in ‘System Configuration’ on the search bar.
Step 2. Click on the ‘System Configuration’ app on the top search results and a new window will open.
Step 3. On the top of the screen, you will find tabs like General, Boot, Services, Startup and Tools. Click on the ‘Boot’ Tab.
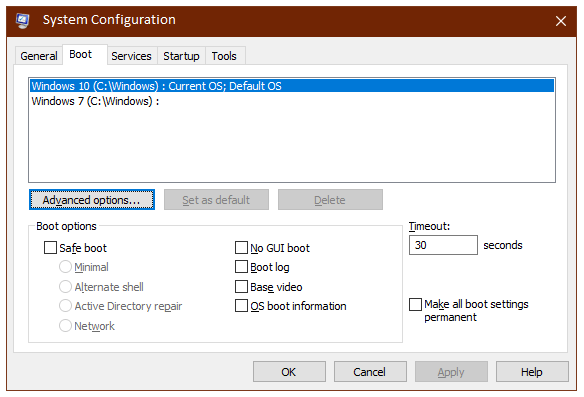
Step 4. Here you will find all the installed operating systems on your hard drive or on an external hard drive. You can also use a bootable PEN Drive if you wish to boot to a different operating system.
Step 5. Just click on the operating system that you wish to boot to and click on the ‘Set as Default’ button. Reduce the timer if you wish to and then click on the ‘Apply’ button to save changes. On the next boot, it will give you the option to choose
the operating system for specified seconds and then boot to the selected operating system. Ensure that you have the external devices connected.
Summing Up
This article was a quick help to enter BIOS in Windows 10 and change the boot sequence in Windows 10. There are other options that you can use however we just talked about the quickest and easiest options to change the boot order in Windows 10 without BIOS. Switch between multiple OSs and explore the different world of operating systems on the same computer.
Next Read:
How To Fix Driver Power State Failure In Windows 10 PC
What Is Tamper Protection On Windows 10


Leave a Reply