Mobile Hotspot feature in Windows 10 has been around for a few years now, and it’s definitely one of the most valuable functionalities that are worth reminded of.
Several people ask why, in this age of affordable home Internet connections & Wi-Fi everywhere, you would ever need to set up your PC into a wireless hotspot. Well, there could be many reasons to it:
- Maybe you still have a wired Ethernet connection that you would like to share with your friends & family (as normally they are faster than wireless).
- Or, you own a laptop that has powerful 4G connection via dongle.
- Maybe you’ve paid to connect to a public Wi-Fi, so you want to use it to connect your other devices as well to make the most out of it.
Having the ability to share your Internet connection can really be lifesaver at times. So, without further ado, let’s learn how to setup a mobile hotspot in your Windows 10 PC.
Also Read : How to Fix Print Spooler Service Not Running Error in Windows 10
How To enable Mobile Hotspot in Windows 10?
To create a mobile hotspot on your Windows 10, make sure to fulfil the following prerequisites: Your system is connected to an existing network, whether by Ethernet or Wi-Fi. It should have a working Wi-Fi adapter & it’s not disabled on your system.
To check Wi-Fi adapter settings or to enable it: Go to Settings > Network & Internet > Status > Change adapter options > Right-click on the network adapter > and Enable it if its disabled by default.
Setting Up The Mobile Hotspot
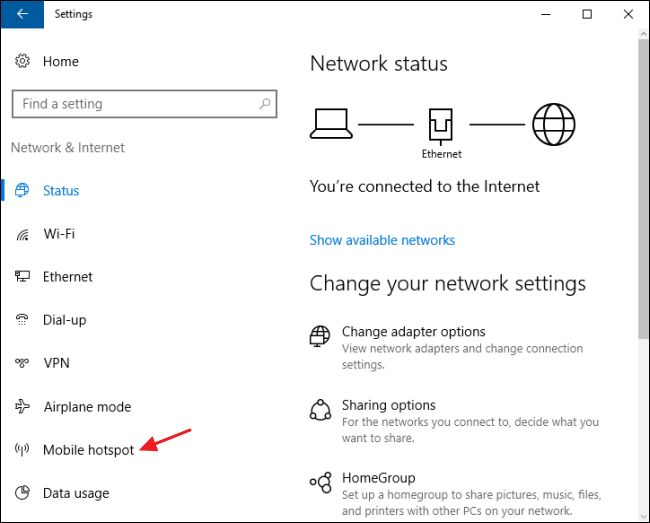
- Head towards Settings menu.
- Click Network & Internet.
- Click on Mobile Hotspot tab.
- If you have a system that is simultaneously connected to your broadband through both Wi-Fi & Ethernet. You have to choose from where you would like to share your Internet connection.
- Under Share my Internet connection from, choose Ethernet or Wi-Fi.
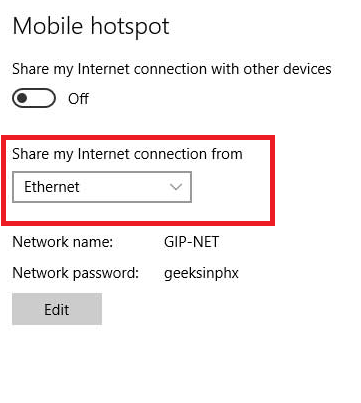
- Next click on the Edit button to change your default hotspot’s name & password.
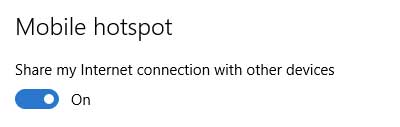
- Enter the new name & password > click Save & turn on Share my Internet connection with other devices.
- Now the next step is to connect your other devices to the Hotspot.
- To connect your smartphone, tablet or even laptop to the new hotspot: Go to your device’s Wi-Fi settings > locate the hotspot name > tap on it & enter the password to enable it.
Keep in mind Windows 10 Mobile hotspot feature only allow up to eight devices to get connected.
Read Also : How to Setup Find My Device in Windows 10
Also, we suggest, to toggle off the ‘Turn on remotely’ option on your system. It will help you stop other devices from remembering your wireless networks & they won’t be able to connect to them automatically later.


Leave a Reply