PowerPoint slides are a great way to showcase information with graphics, animations, transitions, and other effects. Indeed, they are a great way to communicate ideas.
But, what if you intend to involve other elements such as voice overs, screens of other applications, live streams, etc? In such a case, you would need to convert your PowerPoint to video first.
Also, what if the person with whom you want to share the presentation doesn’t have PowerPoint on their device, or they want to see the presentation on the go?
Here too, a wise move would be to convert the PowerPoint presentation to video and share it with them.
In this post, we’ll have a look at various ways in which you can turn your PPT slides into videos.
Best Ways To Convert PPT To Video Format
Solution No. 1 – Use A Screen Recording Tool
The only prerequisite here is to craft great Powerpoint slides and decide from where you want to begin the presentation.
Once you have your presentation ready, open it and follow the steps below to see how you can screen record your PowerPoint presentation and save it as a MP4 file –
Step 1 – Download Advanced Screen Recorder for the button down below and run the installation file.

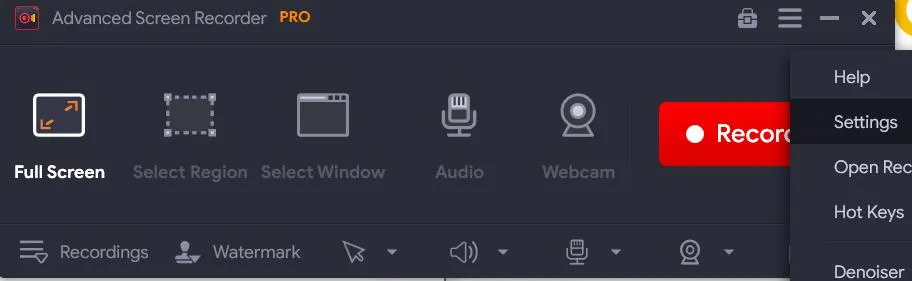
Once installed, open the application, click on the three horizontal lines (hamburger icon) from the top, and select Settings.
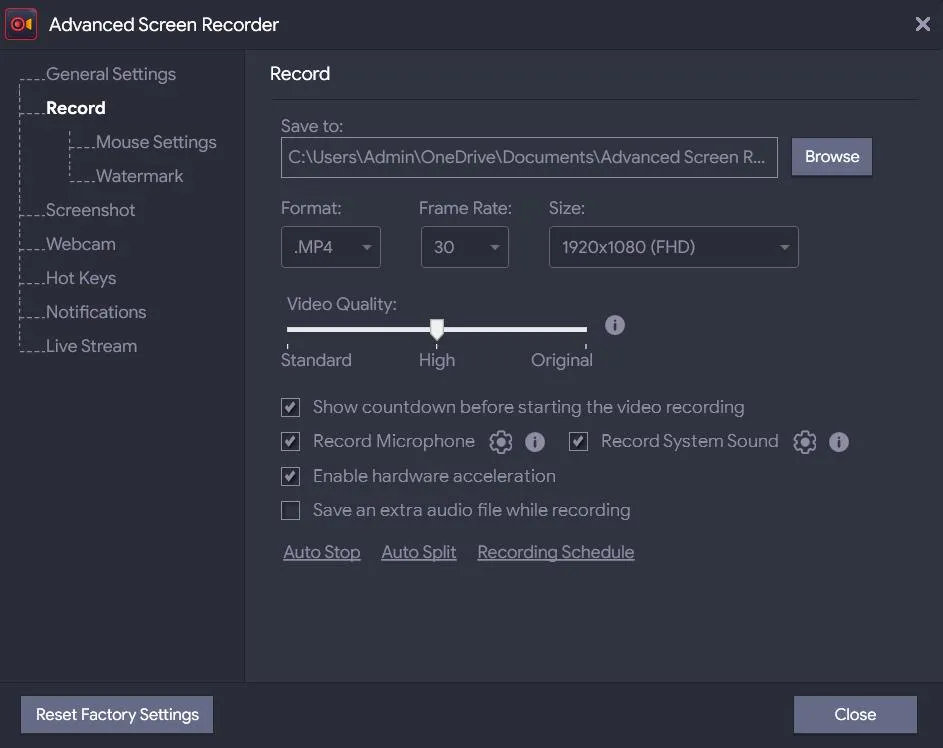
Step 2 – From the left, click on Record. From the right-hand side, you can choose the resolution, enable/ disable timer, etc. But, the main point here is to click on the Format dropdown and select MP4.
Step 3 – Open the PowerPoint presentation that you want to record.
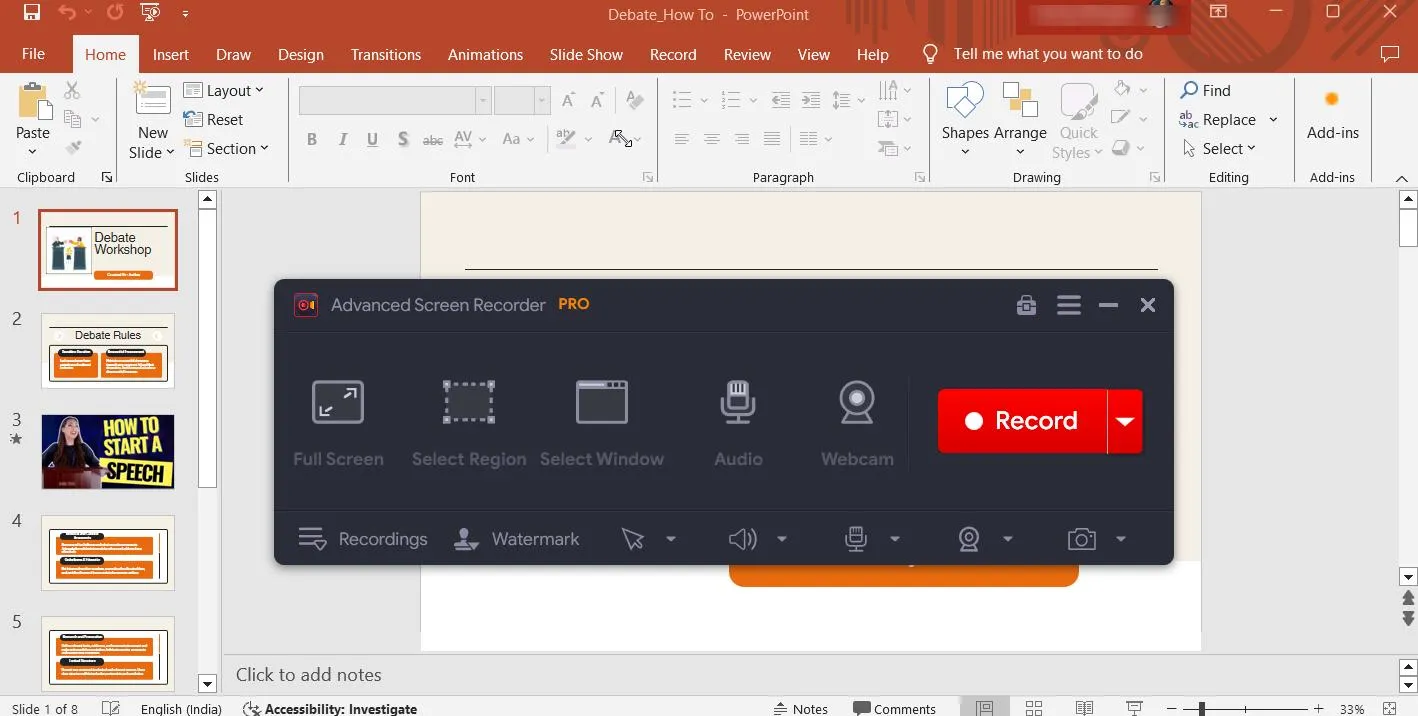
Step 4 – Open Advanced Screen Recorder. Select the region that you want to record. We suggest that you go with the Full Screen option.
Step 5 – Go back to your PowerPoint presentation and choose your Slideshow settings. In case you don’t see the screen recorder, click anywhere on the screen.
Step 6 – If you are unable to see Advanced Screen Recorder’s interface, press the F9 key once. Prior to recording, first, select the region that you wish to record. Since, in our case, we intend to record the complete screen, we will go ahead with the Full Screen option as can be seen in the screenshot below.
Once you have selected the region, it’s time to click on the red-colored Record button.

Step 7 – On the next screen, you can choose your sound settings – System Sound, and Microphone Sound. Here you can choose if you wish to keep both sounds or either of them. You can even tweak their volume.
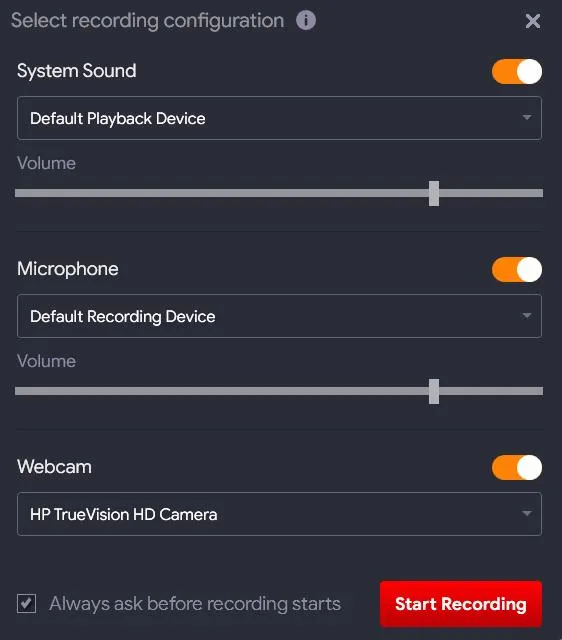
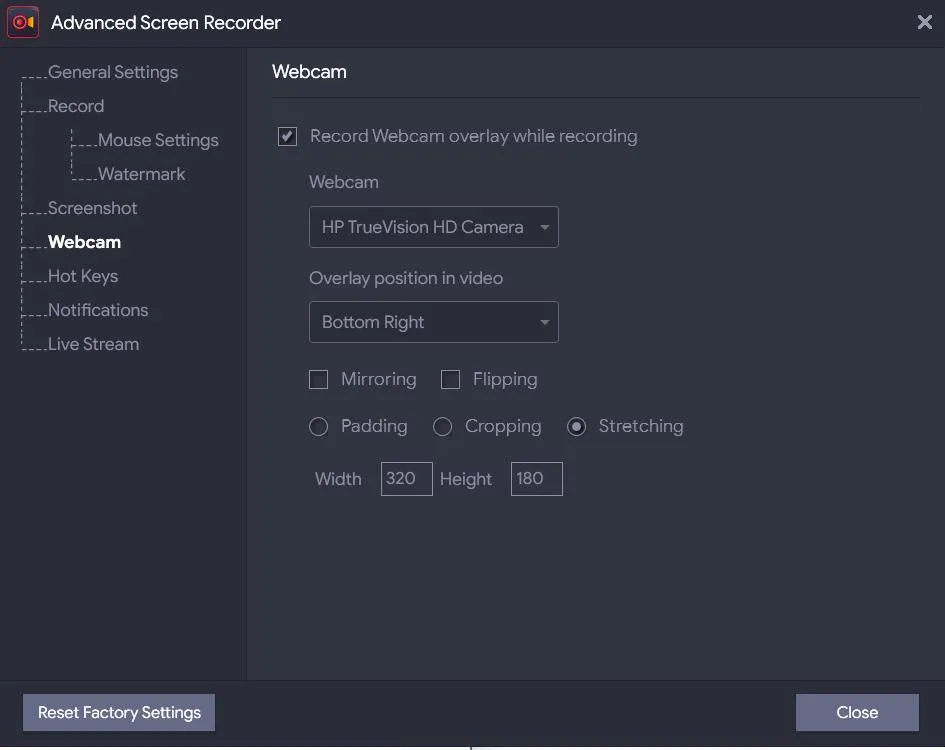
Additionally, choose whether or not you wish to overlay your webcam. To change webcam overlay settings, head back to the main screen, click on the three horizontal lines (hamburger icon) from the top, and select Settings. From the left click on Webcam, and configure the webcam settings to your liking.
Step 8 – Once you are satisfied with all the settings, click on Start Recording.
Step 9 – During your screen recording, you can pause the recording when for instance, you want to jump to a specific slide or if you wish to switch to some other application running on your screen.
Step 10 – Once you are done with recording your PPT, click on the Stop button. It will be saved to a preassigned location. Now you can locate it and view and share it easily.
Why Use A Screen Recording Tool To Convert PPT to MP4?
Using a screen recording tool like Advanced Screen Recorder instead of PowerPoint’s inbuilt export functionality offers several advantages such as the ones mentioned below –
- Add annotations in real-time.
- Schedule screen recording at your desired time.
- Trim unwanted parts from the video.
- Better control of audio – you can choose system or microphone audio.
- Add a custom watermark to your MP4 video.
- Overlay the webcam in a better manner.
- Remove background noise.
To dive deeper into the various features of Advanced Screen Recorder, check out this review.
Solution No.2 – Using Microsoft PowerPoint To Turn PowerPoint Into MP4
The latest versions of Microsoft PowerPoint let you record your presentations as video. Here are the steps –
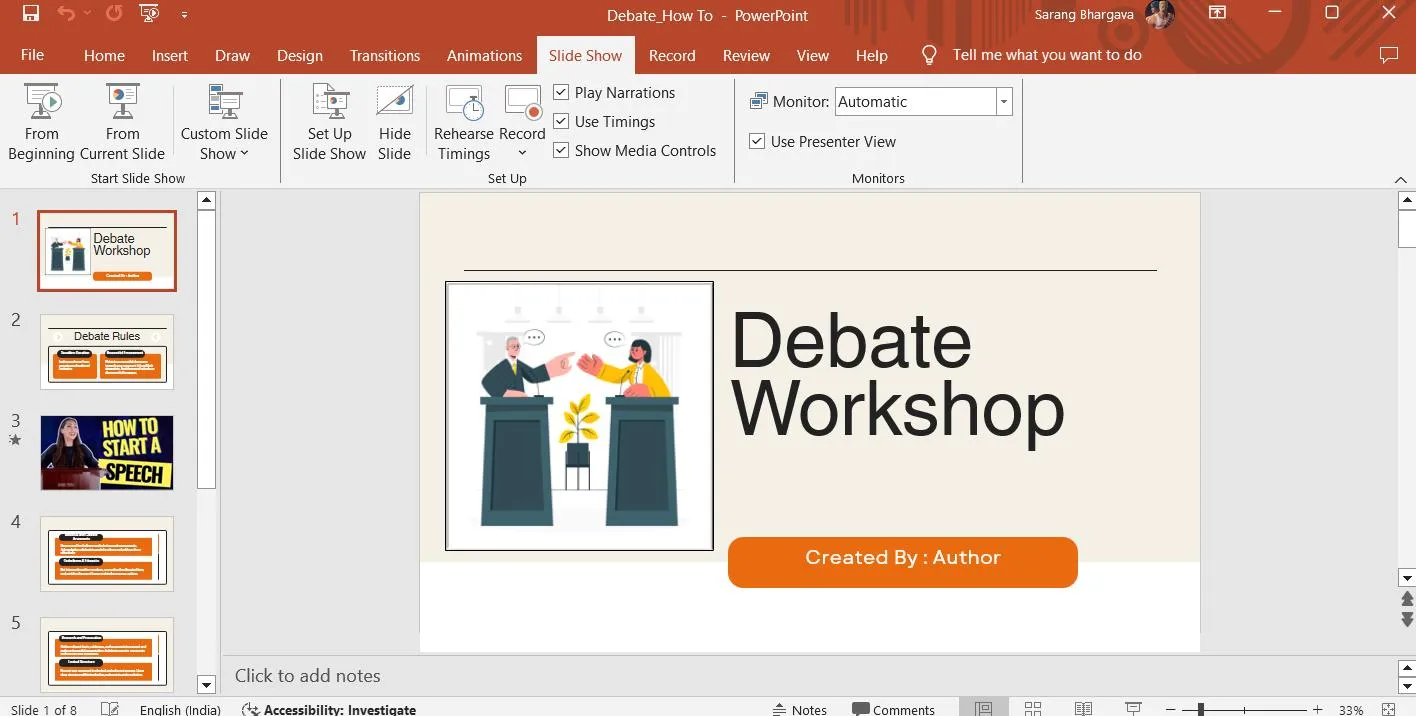
Step 1 – Open PowerPoint and the presentation whose slides you wish to record.
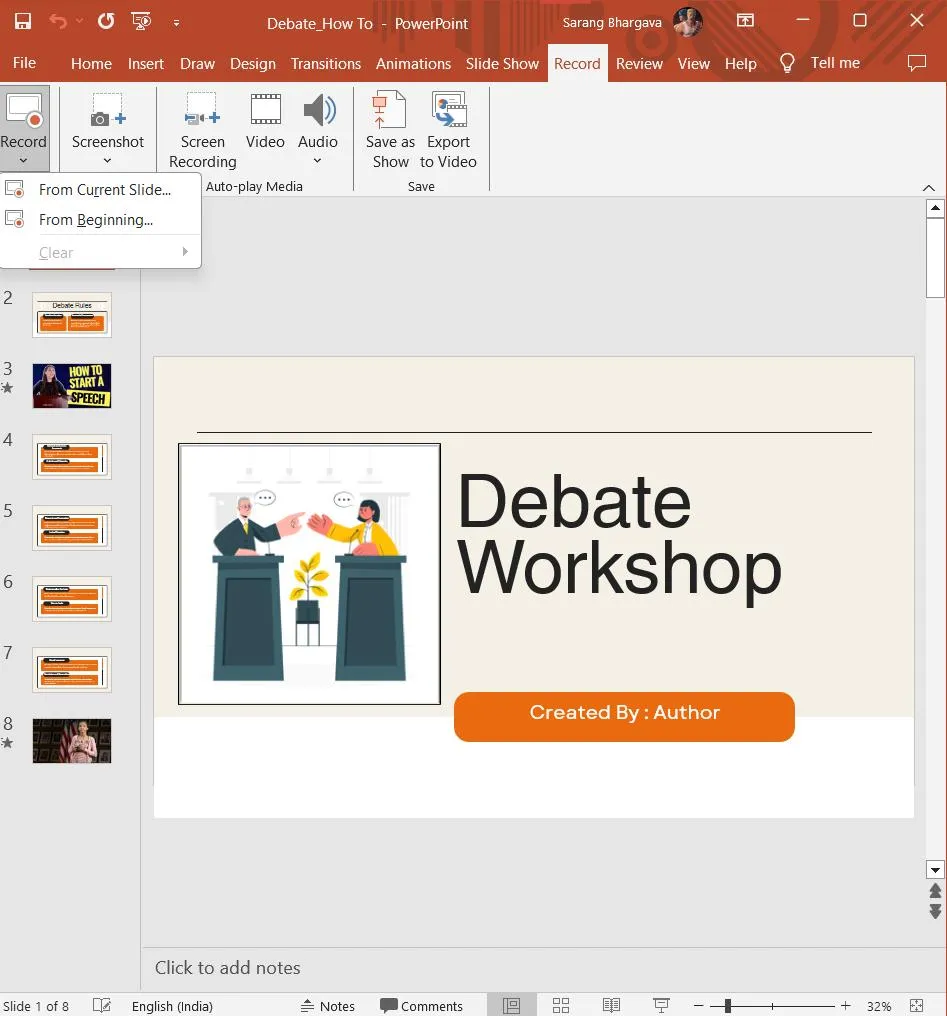
Step 2 – From the top, click on Record.

Step 3 – Click on the Record dropdown and select from where you want to record the slide – from the current slide or from the beginning. You can also select your Microphone and camera settings, and annotate on your slides as well.
Step 4 – Once you have selected the settings, click on the Record button to initiate the recording.
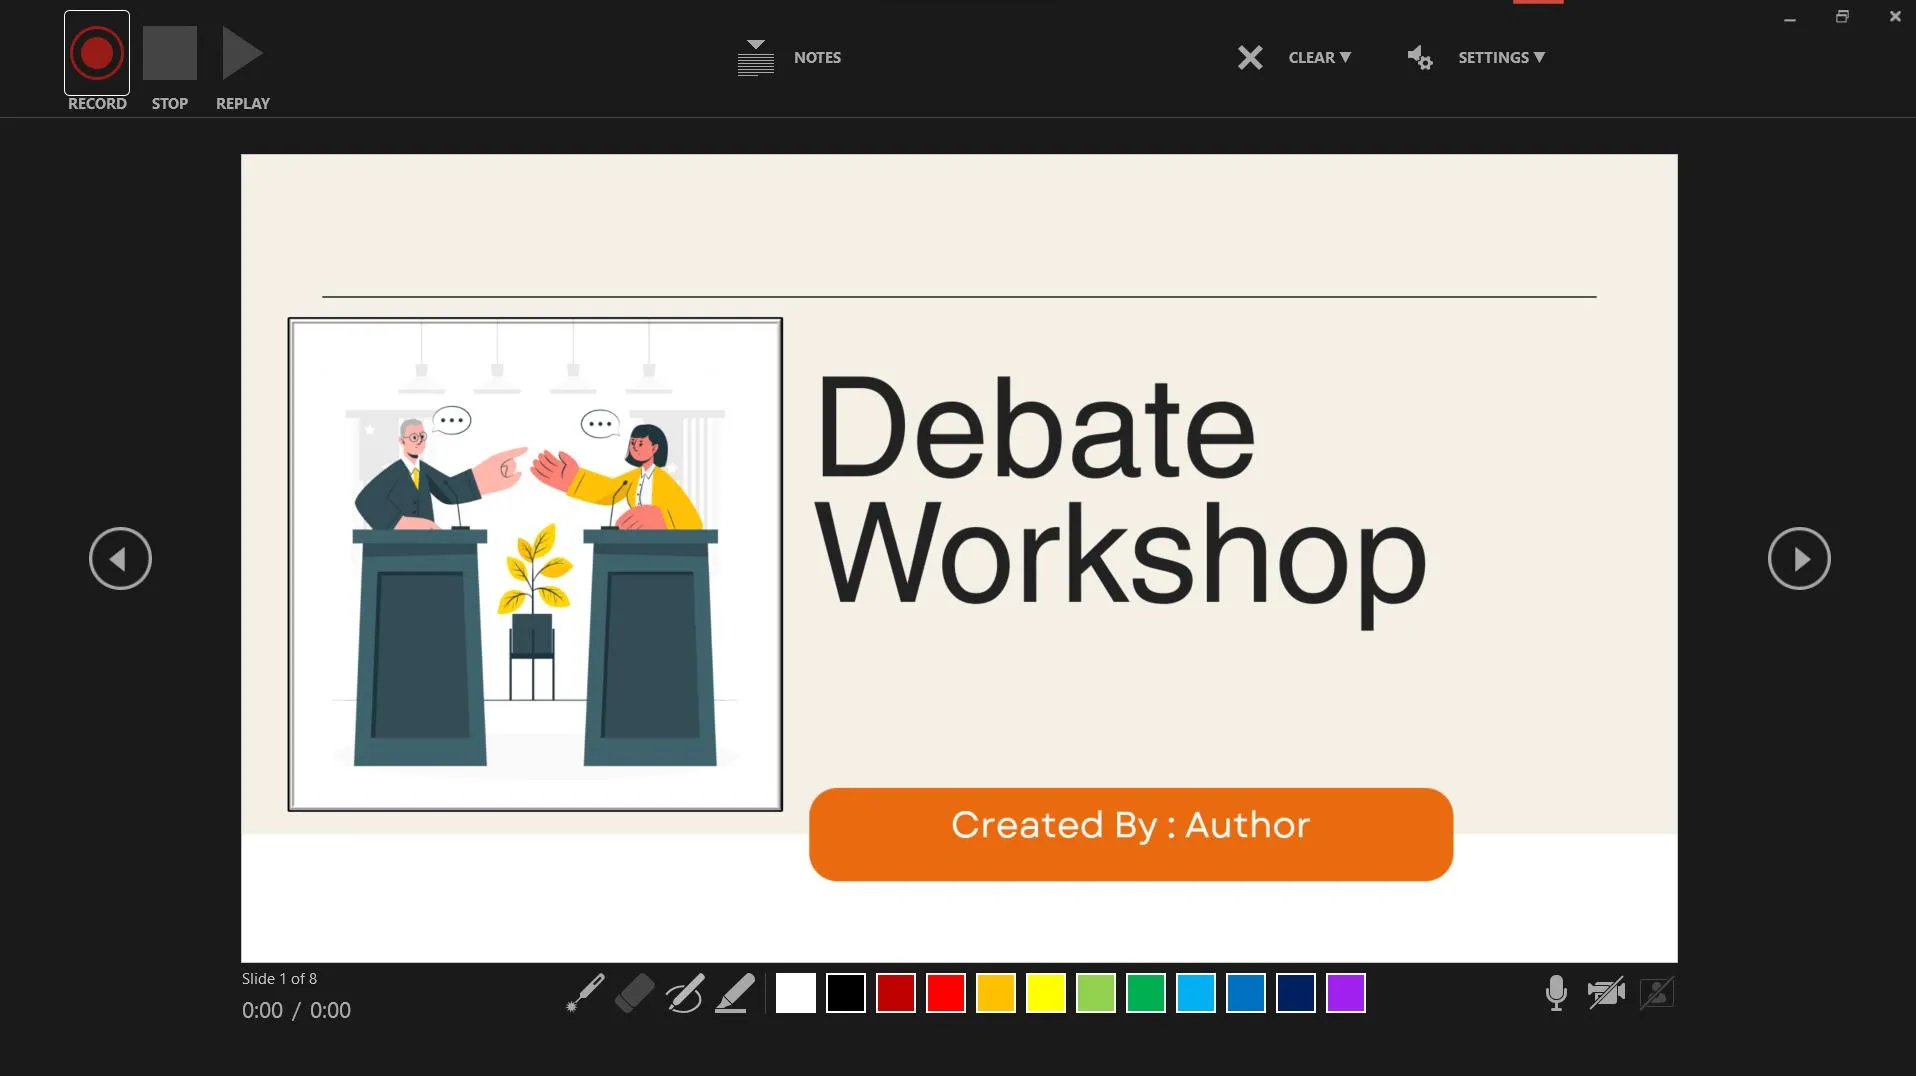
Step 5 – When you are done recording the slides, click on the Stop button.
To save the PPT as MP4 –
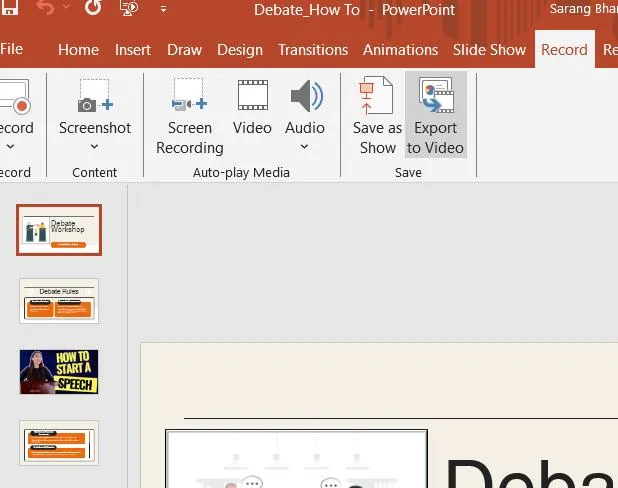
Step 1 – Click on the Record tab and click on Export to Video.
Step 2 – Click on Create a Video from the right-hand side.
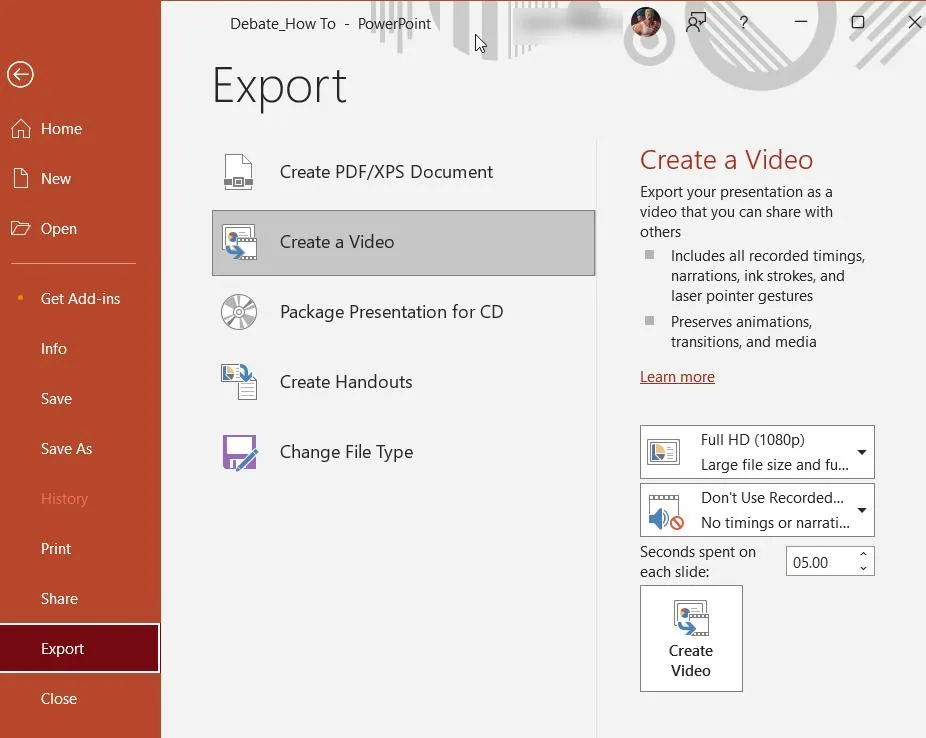
Step 3 – Choose your desired resolution, and other settings and click on Create Video.
Step 4 – Save the converted video to a location on your computer.
Solution No. 3 – Convert PPT To MP4 Online
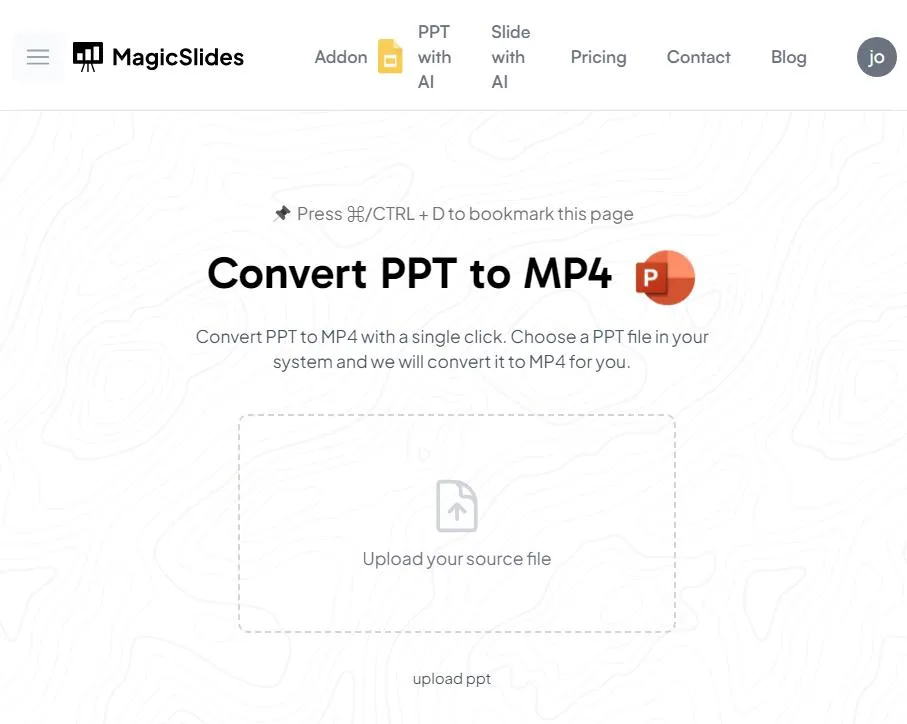
If your end goal is to just convert your PPT to video (MP4 format) for one time, there are several online platforms that can help you. For example, you can head to MagicSlides and here’s how you can turn your PowerPoint into video –
Step 1 – Go to this website.
Step 2 – Click on Upload your source file.
Step 3 – Sign Up if you haven’t already.
Step 4 – Select the PPT from your computer to convert to MP4. Wait for the file to upload.
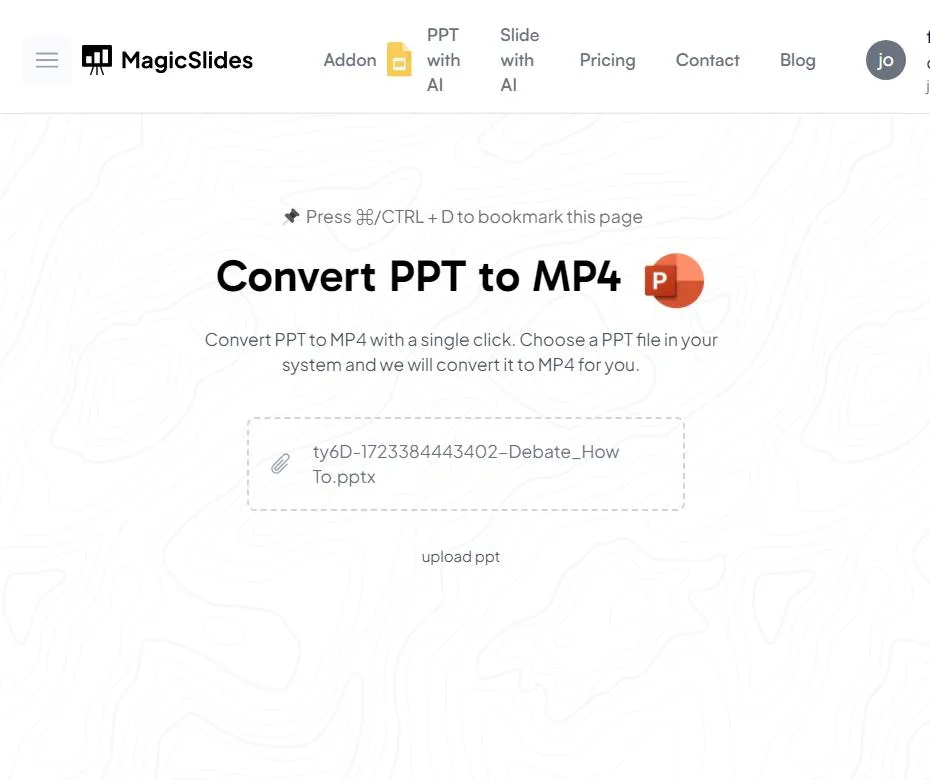
Step 5 – Click on the Download MP4 button.
The drawback here is that you won’t be able to add any annotations, trim unwanted parts, add voice overs, etc. However, you can always use a video editing tool to make changes to the converted video.
Share Your PPT Slides Effectively – Convert Them To MP4 Format
By converting your PowerPoint presentation into video, you unlock a world of possibilities. For instance, you can share it with users who are trying to access the presentation on different devices that may not have a PowerPoint application.
You can also upload the converted MP4 file to a variety of social media platforms and gain a wider audience.
What is your reason for converting your PowerPoint presentation to video? Do share with us in the comments section below. For more such content, keep reading Tweak Library.


Leave a Reply