Many of us save our work which is originally in text documents as PDFs. If you are looking for some of the best ways to convert Word to PDF, check out this post.
Let’s presume that you have converted your text file to PDF. Great! But, before you decide to share this PDF with other users, take a moment and check if you have watermarked your PDF document.
Wondering why? Because it’s your hard work. It’s something that you have created. You need to make it clear to your end users how they should manage the contents of the PDF.
Real-Life Examples of Users Adding Watermarks To Their PDF Documents |
| 1. You are a story writer who has drafted a story or screenplay. You used Google Docs, Microsoft Word or a similar app and later converted it into a PDF to share. Before mailing it to a prospective company reader or publication, it is advisable that you watermark it with “Only for evaluation”, or “Copyrighted material”.
2. You are a professor at a university who has set up a mock test paper for upcoming semester exams. It is advisable that before you print the PDF, you watermark a PDF with the name of your university so that the material can’t be copied. |
Whether it is your first time watermarking PDFs or if you are unsure of how to add a watermark to a PDF, here are some of the best ways –
How To Add Watermark To PDF?
Solution No. 1 – Use PDF Editing Tool To Add Watermarks
Straight up! PDF editing software is the best way to add watermarks to your PDF documents. The reason – you can customize the watermark however you want. Let’s take the example of Systweak PDF Editor, which is one of the best PDF editing software for Windows. Here’s how you can add a watermark using Systweak PDF Editor.
Step 1 – Download Systweak PDF Editor, and run the installation file.

Step 2 – Click on Edit from the top.
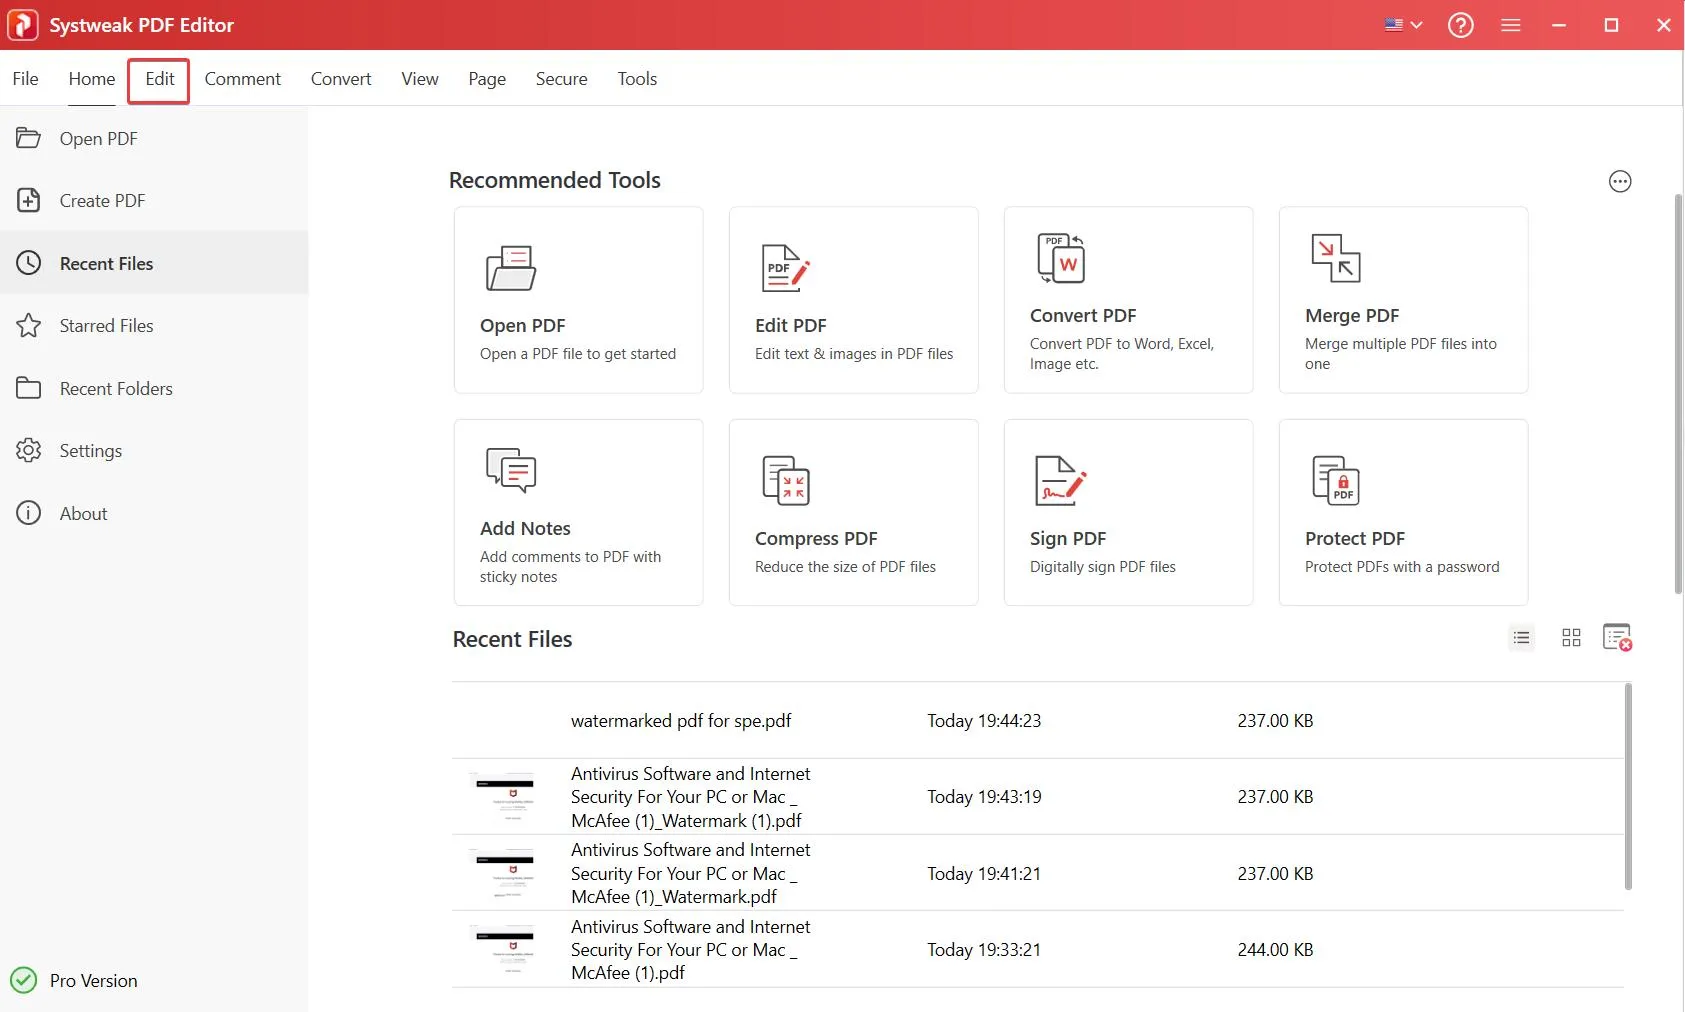
Step 3 – Open a PDF file on which you want to insert a watermark.
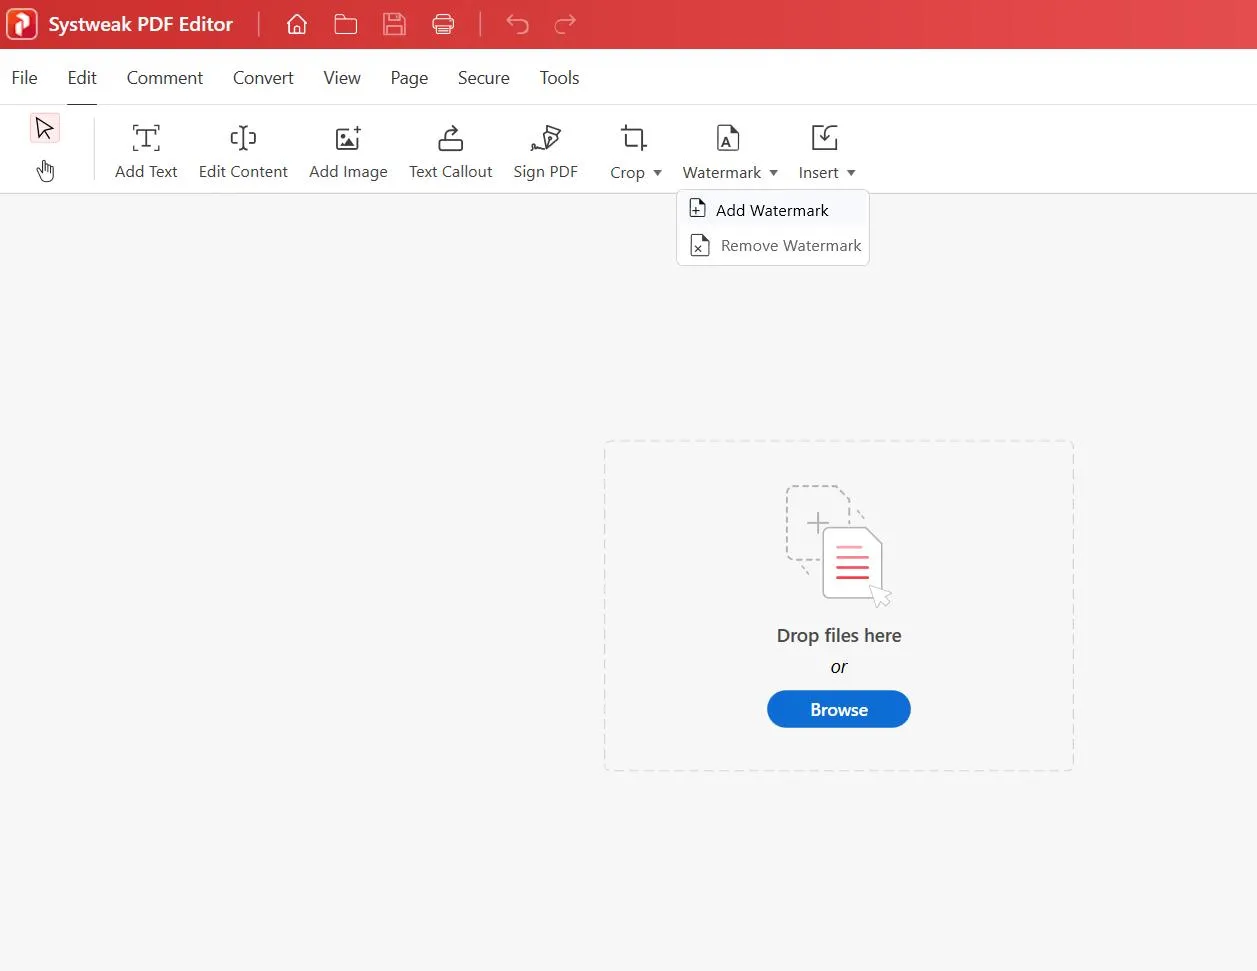
Step 4 – From the top, click on the dropdown next to Watermark and select Add Watermark.
Now comes the interesting part. You can add both text and image as a watermark on your PDF document. And, that’s not all. Here are a bunch of things you can configure and get a perfect watermark on your PDF file.
– Choose a Page Range
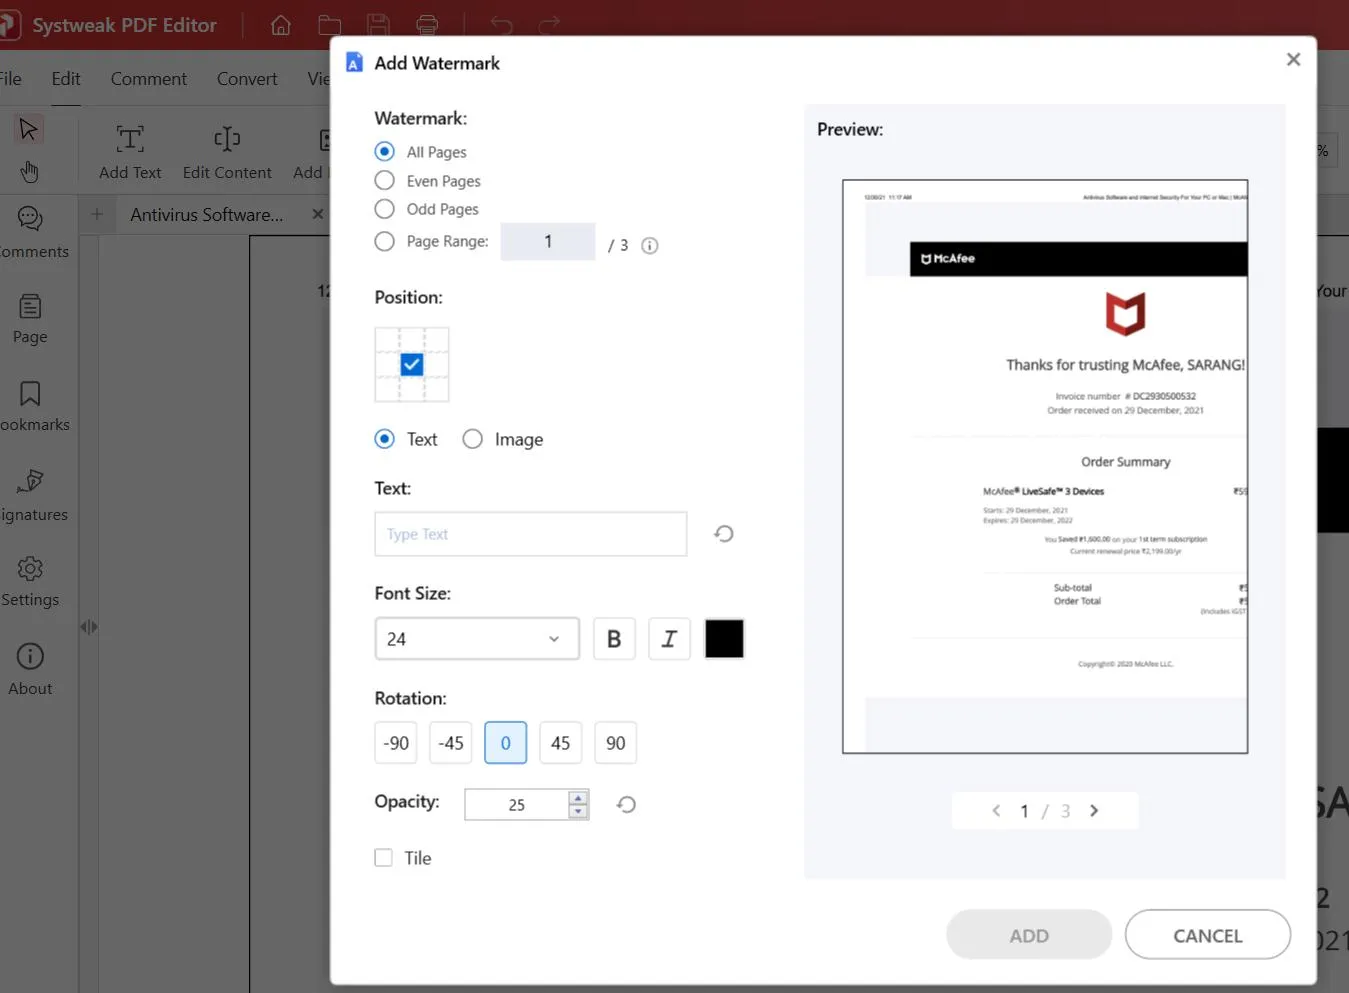
You can add a watermark on all the pages of your PDF, or you can select specific pages to insert the watermark.
– Get Your Watermark At The Right Spot
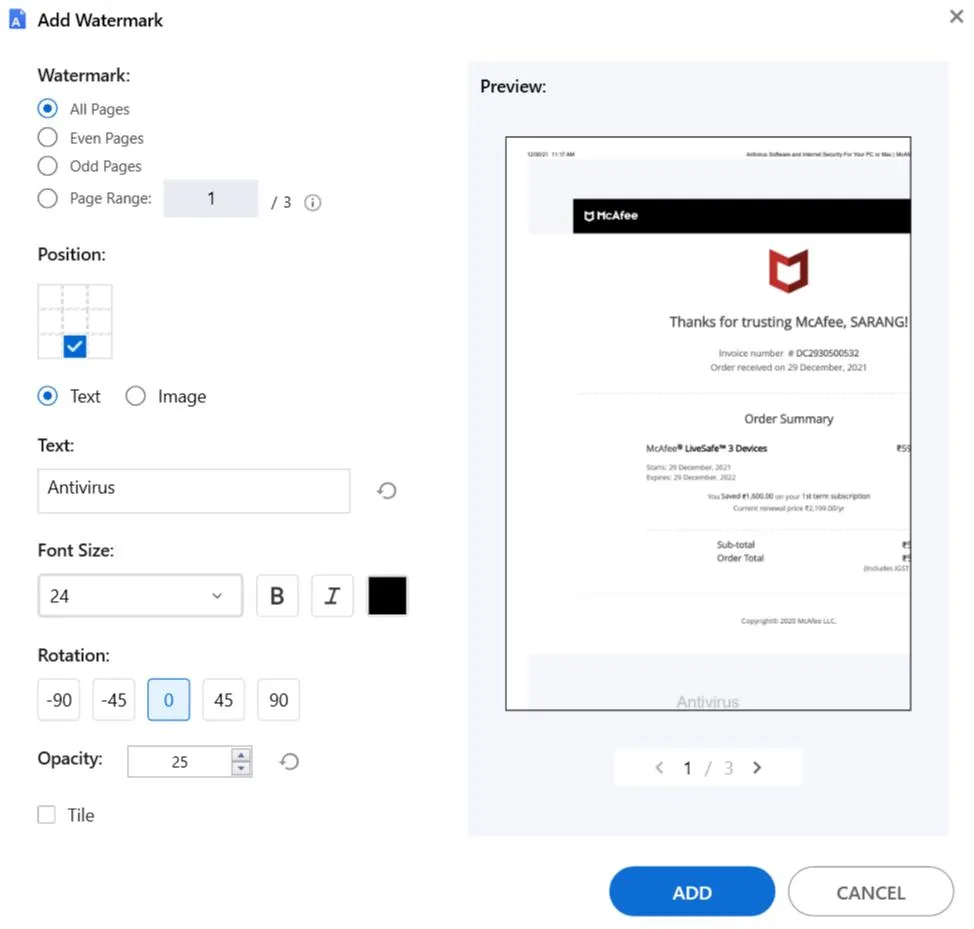
Knowing that the placement of the watermark is important, Systweak PDF Editor lets you choose the exact position where you want to place your watermark.
– Customize Your Text or Image
Systweak PDF Editor supports both text and images as a way to insert watermarks. You can –
- Change the font size and color of the text.
- Put the text in bold or italics.
- Rotate text or image at a particular angle.
- Tweak the opacity of text or image.
- Scale the image to up to 500%.
Apart from Systweak PDF Editor, Wondershare PDFelement, SwifDoo PDF, and many others are some great alternatives that can help you add watermarks to your PDF documents.
Solution No. 2 – Use Google Docs to Add a Watermark on a Doc and Then Save as PDF
If you use Google Docs as a way to write your documents, here is a way to add a watermark on them. Once you have finalized the document, you can save it as a PDF. We have outlined the steps below –
Step 1 – Open Google Docs and create a document.
Step 2 – Click on Insert > Watermark
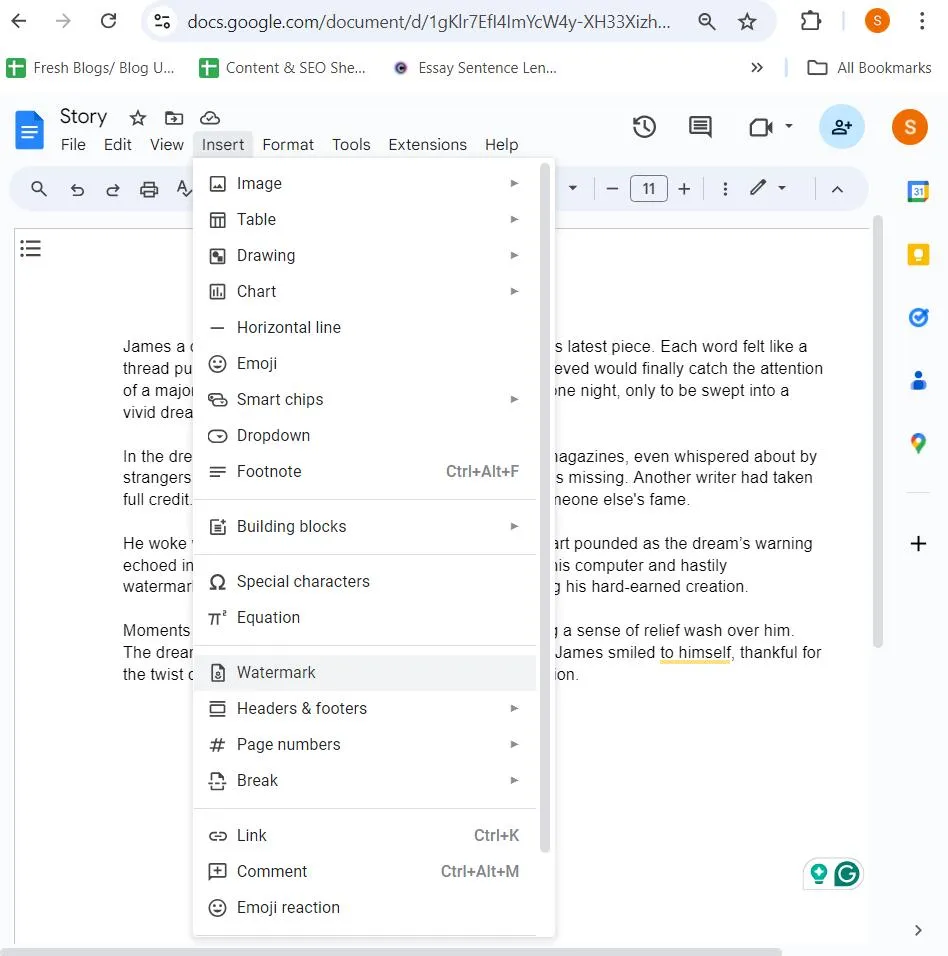
Step 3 – You can now insert an image or text as a watermark. There are a bunch of settings you can configure and insert a watermark as per your expectations.
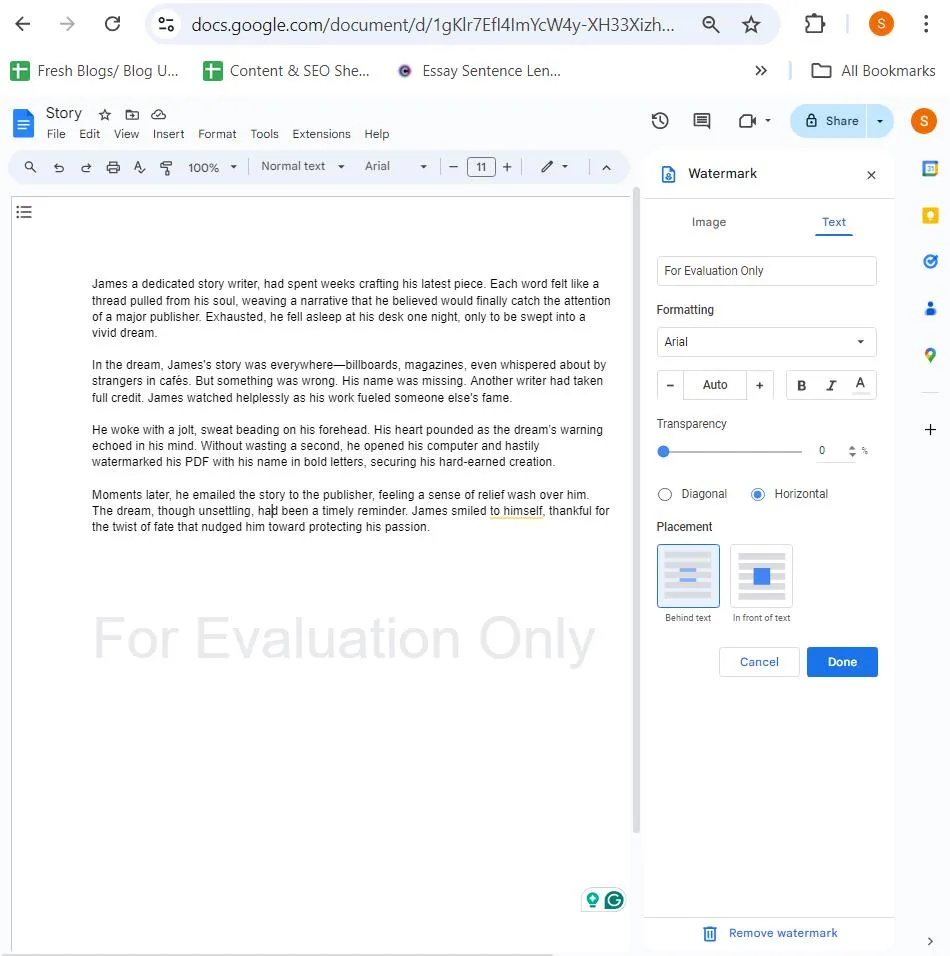
Step 4 – Click on Done to add the watermark.
Once you have created the document and have added the watermark, click on File > Download > PDF Document (.pdf)
You will now be able to see that the document is saved as PDF with the watermark on it.
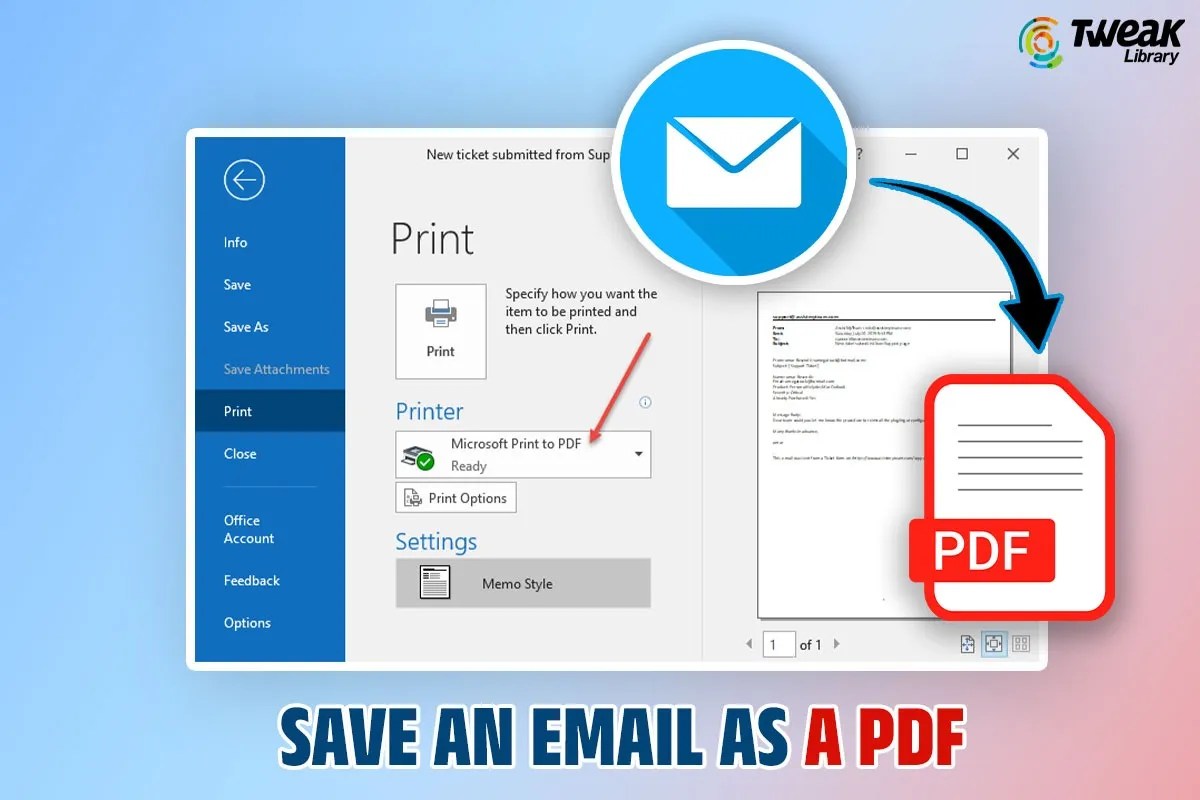
Solution No. 3 – Use Microsoft Word to Insert a Watermark on a Document and Then Save As PDF
If you use Microsoft Word to draft documents, here are the steps to add a watermark to your documents. Eventually, you can save your Word files as PDFs.
Step 1 – Open Microsoft Word and create the document.
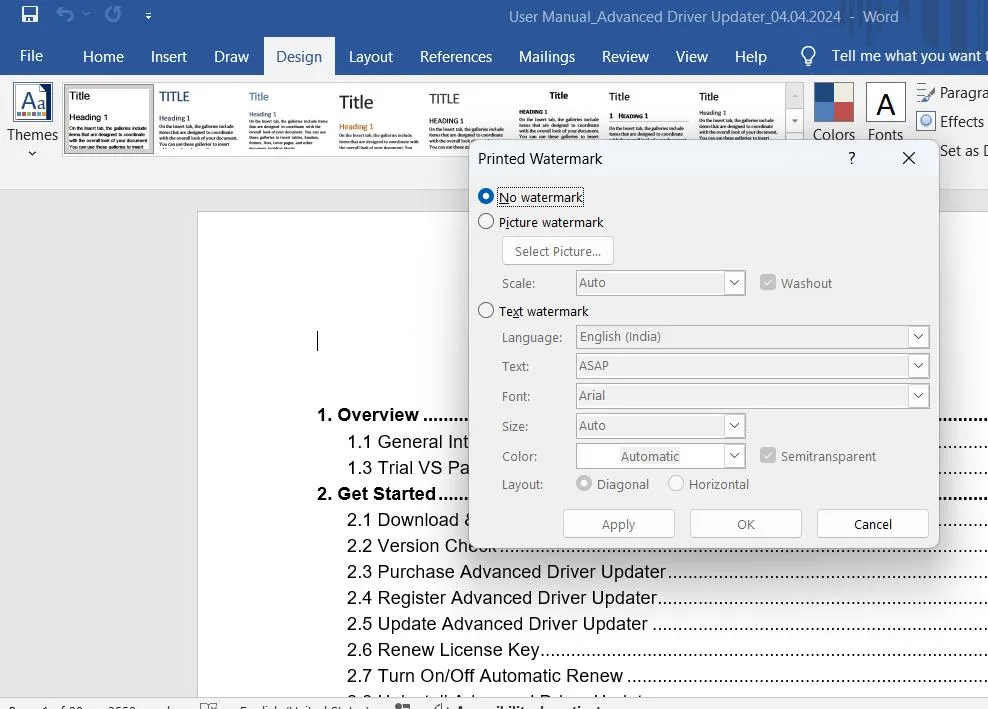
Step 2 – Click on Design, and click on the dropdown on Watermark.
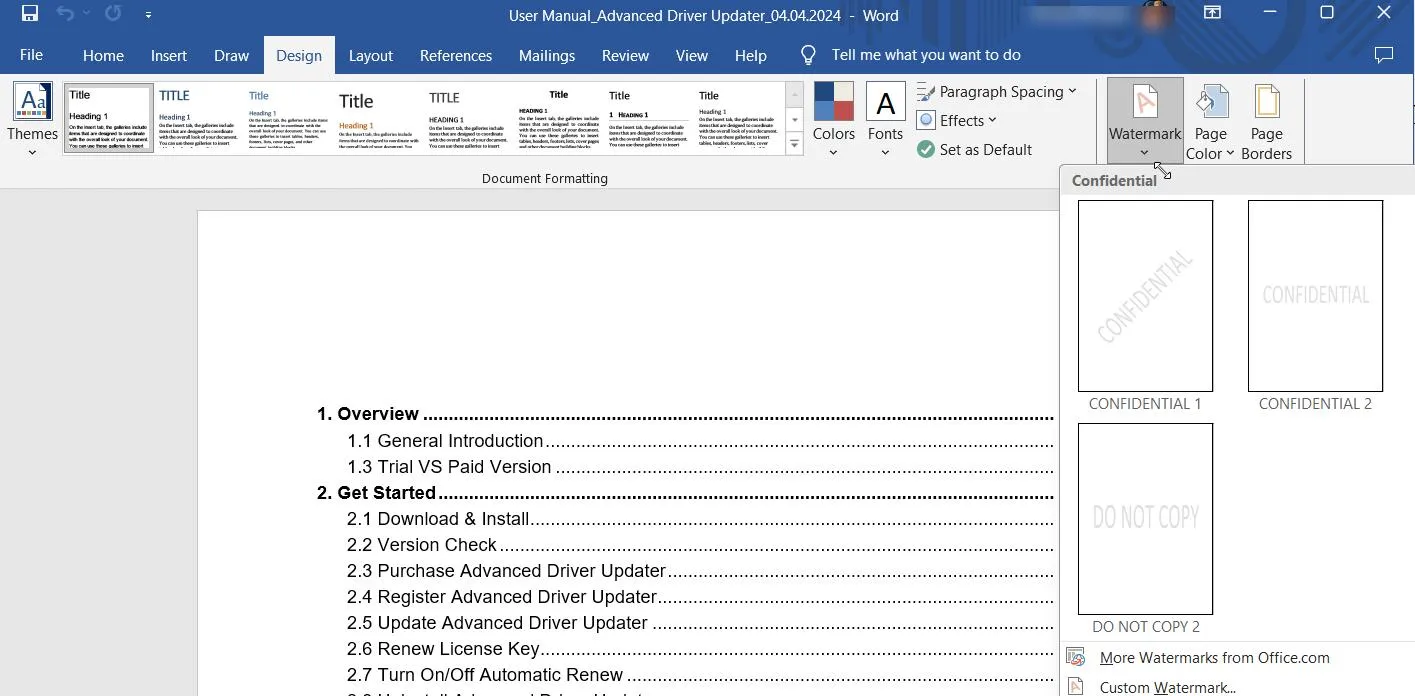
Step 3 – You can either choose a watermark from existing templates or create a custom watermark. When choosing a custom watermark, you can add a personalized text or image as a watermark and insert it into your document.
Step 4 – Lastly, click on Save As > click on the dropdown next to Save as type, and select PDF > Save. You will now be able to see that the document is saved as PDF with the watermark on it.
Solution No. 4 – Add Watermark To PDF Online
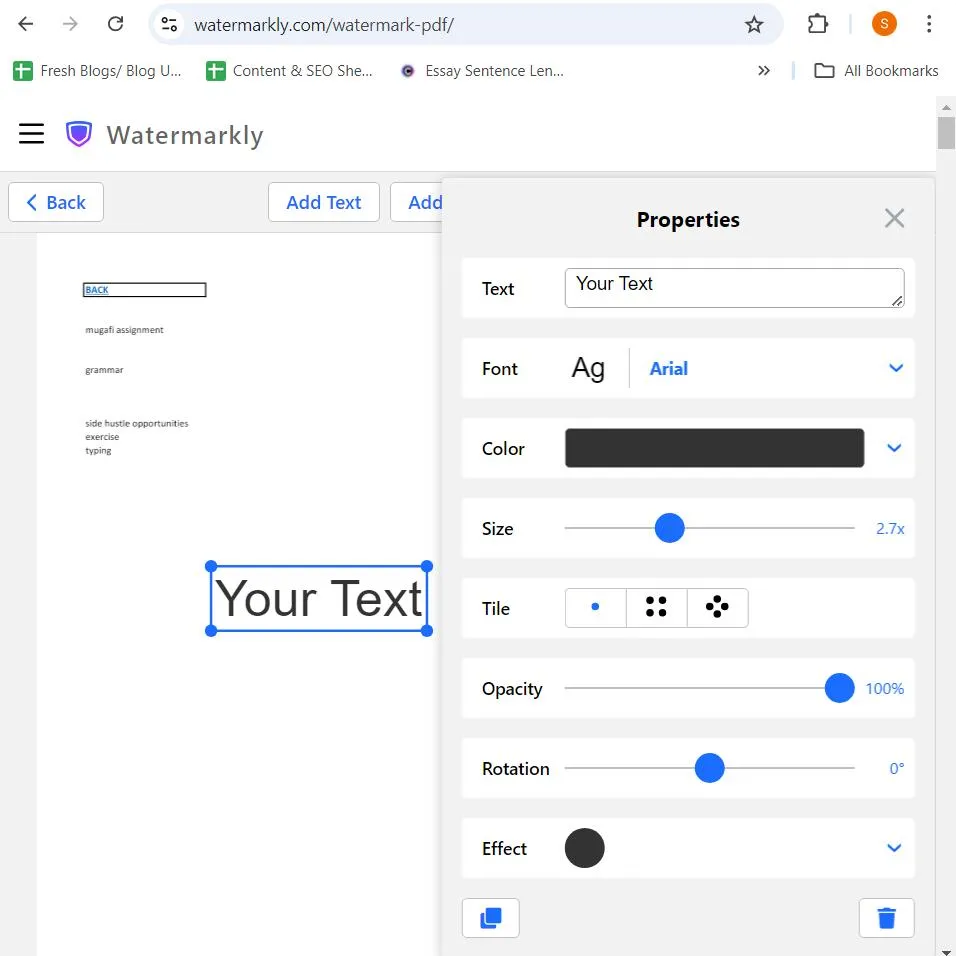
There are several online platforms where you can upload your PDF files and stamp them with a watermark in the form of text or image. Watermarkly is one such website. To put a watermark on your PDF using iLovePDF –
Step 1 – Visit Watermarkly.
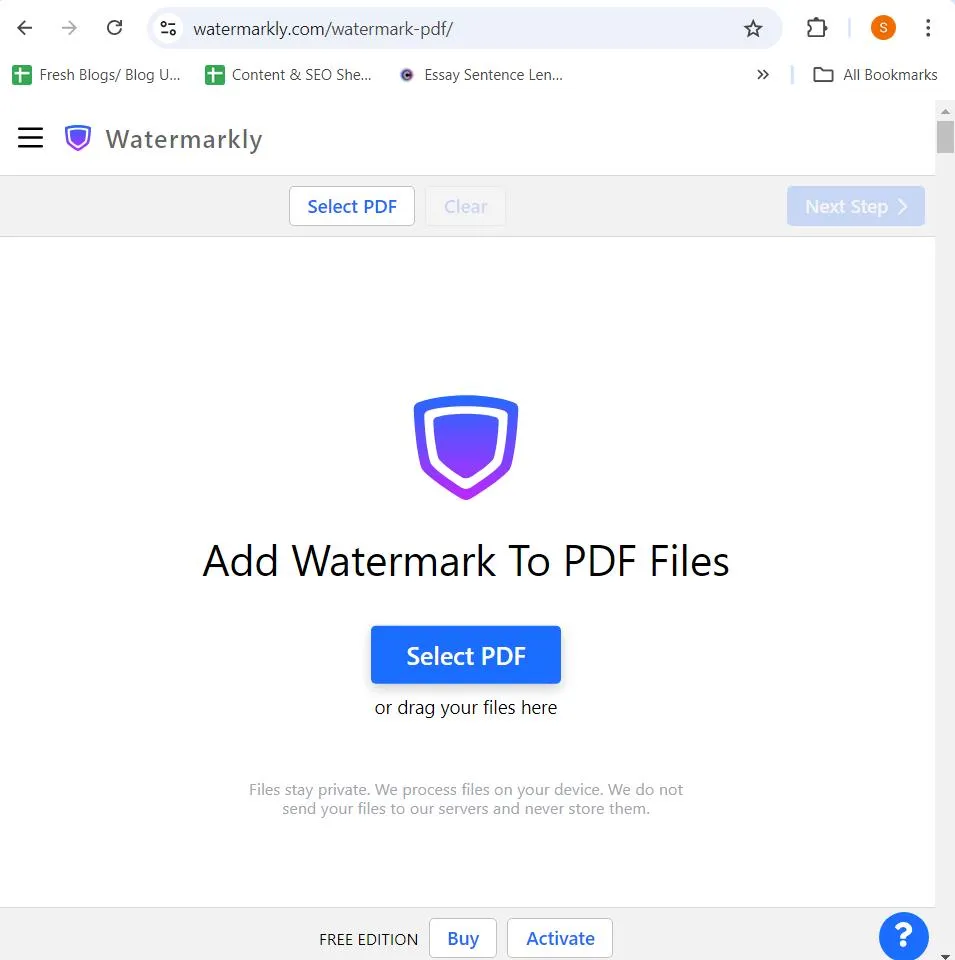
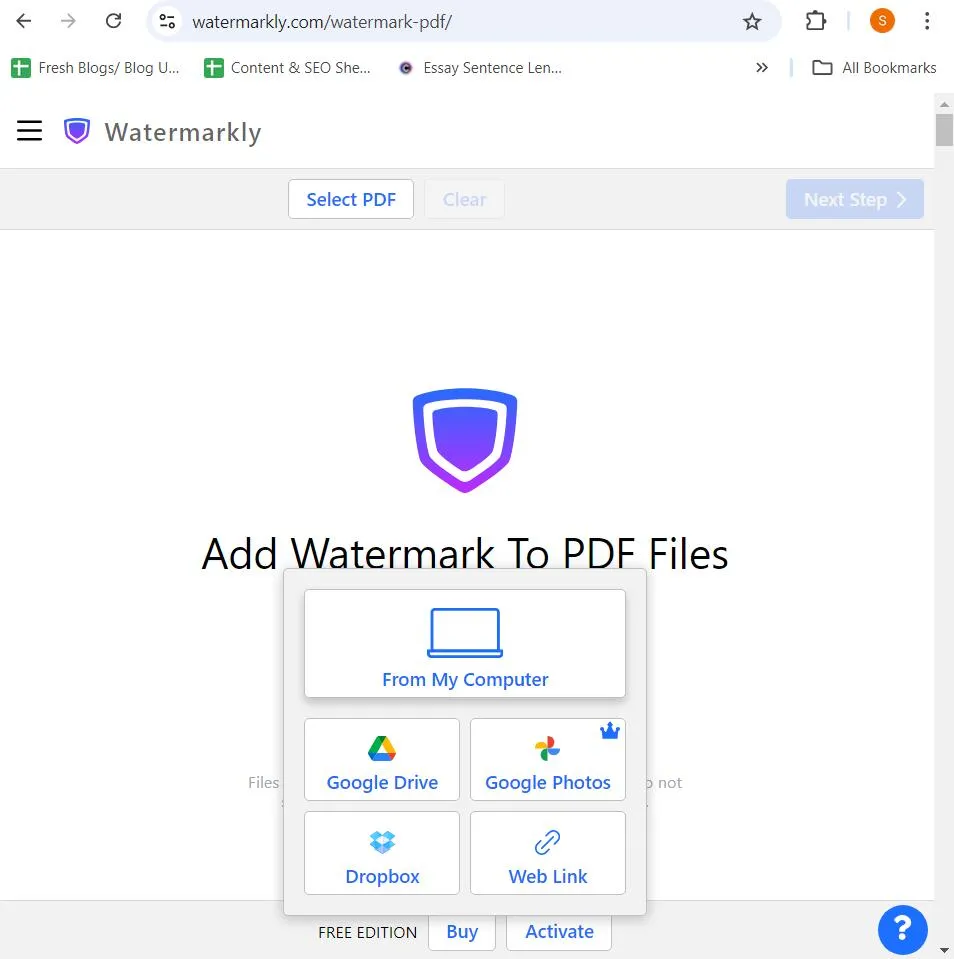
Step 2 – Click Select PDF or drag and drop the PDF you want to insert the watermark on. You can also add PDF files from Dropbox, or Google Drive, or even add a web link.
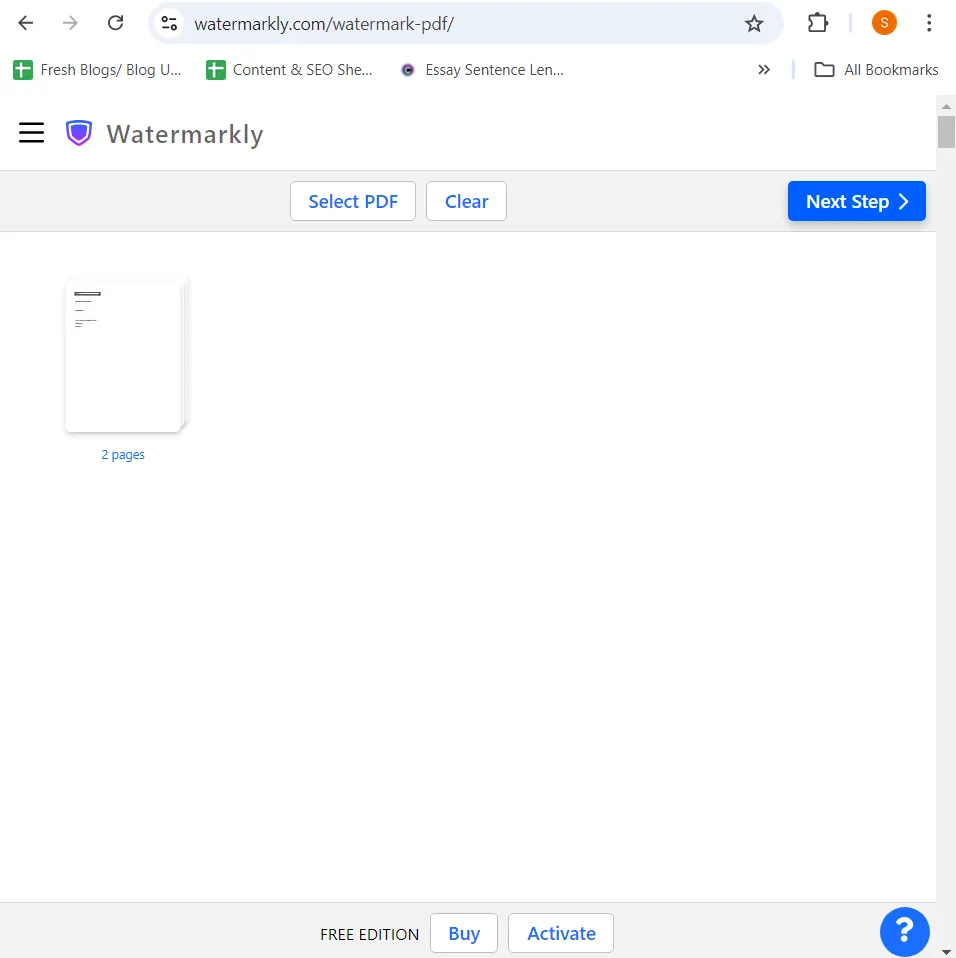
Step 3 – Click on Next Step from the top right corner of the screen.
 Step 4 – You can choose to add your text or logo, and tweak aspects like font type, color, size, opacity, etc. As for selecting a logo as a watermark, you can insert an image from your gallery or pick from the logo options offered.
Some other great alternatives to Watermarkly include Sejda, iLovePDF, PDF Candy, etc.
Ensure Ownership and Security With Watermarks
To protect your PDFs from unauthorized use, watermarking them can be a great step forward. It ensures that your ownership is clear and it discourages others from distributing or copying your hard work without your prior permission.
In this blog, we have outlined some easy and effective ways in which you can insert watermarks in your PDFs. Do let us know which is your preferred method in the comments section below. For more such content, keep reading Tweak Library.


Leave a Reply