Your business meeting will be in next 15 mins? Well, we hope you are fully occupied with all the dockets and presentations.
But wait before heading toward the conference room, have you checked your laptop is able to screen share with other PC?
Snap! No, an error message of ‘Your PC Can’t Project to Another Screen’ started flashing on the desktop screen.
What will you do? Searching some quick fix on the browser or looking for solutions from your colleagues?
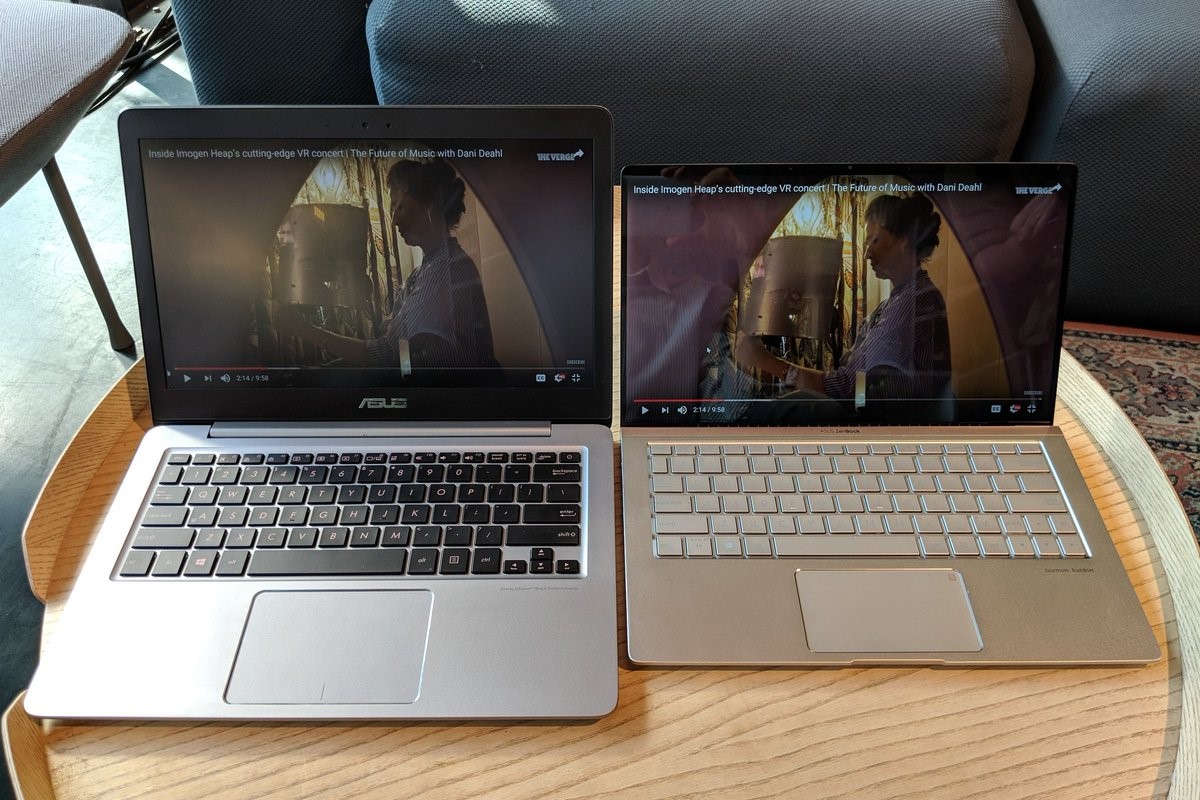
Hence to end this quest, Tweak Library will show its effective methods which will surely help you to resolve this issue!
But wait, we have something for you! The Smart Driver Care which is an Automatic Driver Updater.
When you can get rid of such technical glitch automatically then why to go for manual methods? But we completely understand manual methods are equally important as an automatic one.
Hence among various Driver Update Utility tools, we have chosen the best one to offer the desired results.
Use Smart Driver Care
As we know, this issue is may caused by outdated drivers, so Smart Driver Care will automatically update all the outdated drivers, resulting in resolving this issue. Below are the steps:
- Download and Install Smart Driver Care in your system from below downloading button.
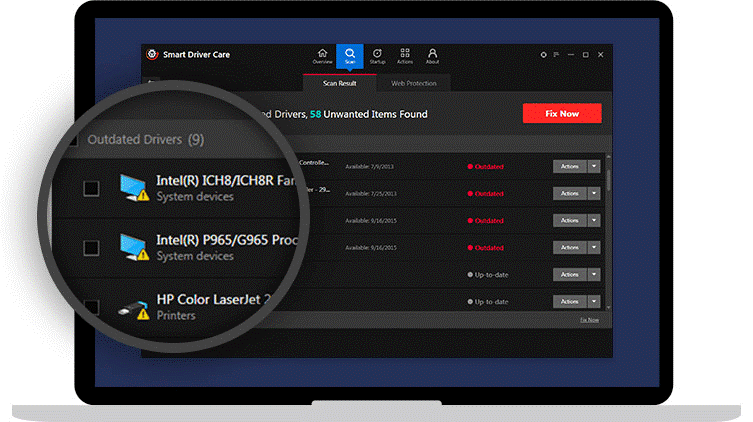
- Launch the tool and it will scan all the outdated drivers from your system.
- Now, you will get the list of all outdated drivers.
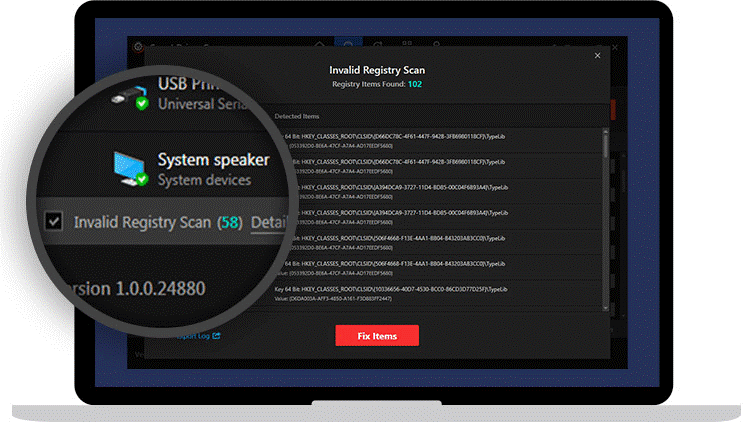
- Moreover, you will also get the list of invalid registries on Windows 10.
- Select update option to update all the outdated drivers. Hence your system’s drivers are all updated. You can check the issue whether it is resolved or not.
Fix 1- Check With Hardware Settings
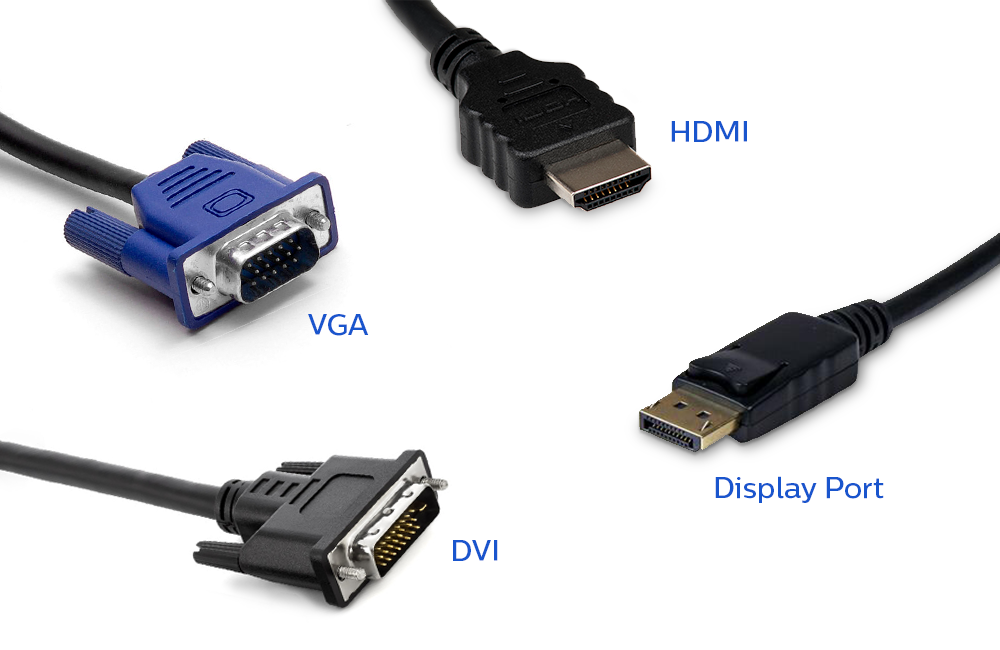
Before proceeding with other efficient fixes, we will foremost make sure all the cables are plugged into the correct ports such as HDMI, DVI, VFGA and Display Ports.
Fix 2 – Uninstall Display Drivers
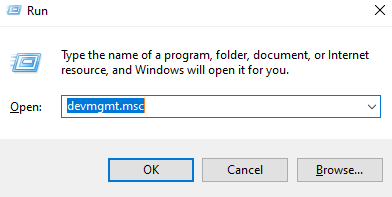
- On the keyboard, press Windows Key and R together to open Run Box.
- Now, type msc and press enter.
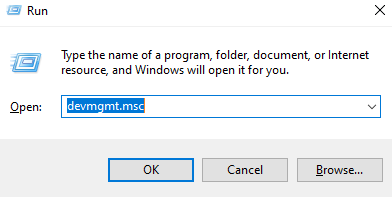
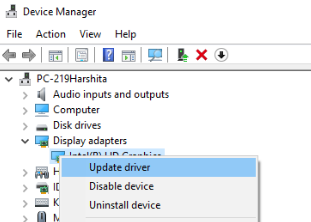
- Look for display adapters from the Device Manager’s List.
- Now, double click on the Display Adapters > uninstall the driver by double-clicking on it.

- A new confirmation prompt will open to uninstall the device. Select Uninstall.
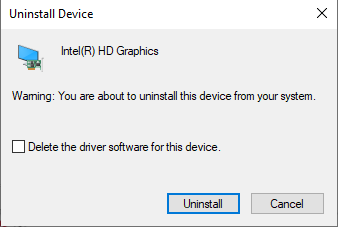
- Now click on the Action tab and click on Scan for hardware changes.
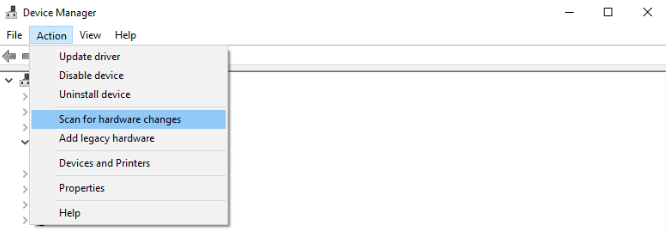
- Close the device manager and check whether the issue us resolved or not.
Fix 3- Run System File Checker or SFC
- Open CMD as an administrator by typing CMD on the search box and press enter.
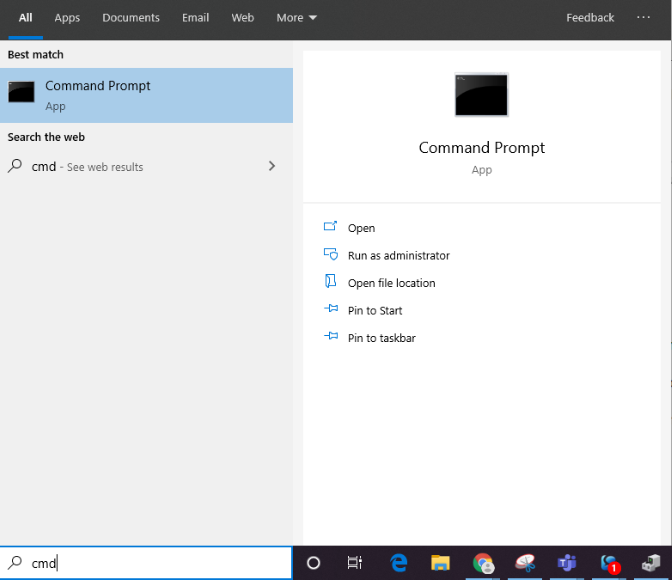
- In the command prompt box enter the following command sfc /scannow and press enter.
- Within a minute verification process will take place. Wait until the process gets completed.

- Now restart your system and check whether this fix helps in resolving the “Your Pc Can’t Project To Another Screen” error message.
Fix 4- Update Display Drivers
- On the keyboard, press Windows Key and R simultaneously to open Run Box.
- Now, enter msc command and press enter.
- Look for display adapters from the Device Manager’s List. Follow the same step as above Fix 2.
- Now, double click on the display driver > update the driver.
Final Word
If you are looking to Screen Share on Windows 10, we have listed the effective fixes to resolve Your PC Can’t Project to Another Screen Error flashing on your desktop screen. If you want to use automatic way through Driver Update Utility tool, all you have to download and install Smart Driver Care.
However, if you have any other way to resolve this issue don’t hesitate to share it with us. We hope you will like this article. Don’t forget to upvote, share with fellow technophiles. Subscribe to our Newsletter for some helpful tips and tricks.


Leave a Reply