One of the most terrifying Windows errors is the Blue Screen Of Death errors which is also known as BSOD. Did you know that all BSOD errors are not the same and appear due to different reasons? There is a code with each BSOD, and in this article, we will discuss the best ways to fix VIDEO_DXGKRNL_FATAL_ERROR on Windows 11. This error code appears when there is an error with the graphics subsystem.
Why Does The Video DXGKRNL Fatal Error Occur?
This BSOD error occurs because of the following main reasons.
- Outdated, missing, and corrupted Graphics drivers.
- Missing Windows updates.
- Corrupted and faulty system files.
- Overheating GPU or Power issues.
- Malware Infection.
- Faulty hardware like RAM, etc.
Best Effective Methods To Fix Video DXGKRNL Fatal Error On Windows 11/10.
Method 1 – Reinstall Graphics Drivers.
The Video DXGKRNL Fatal Error occurs mostly due to driver issues. We will first begin with a complete uninstallation of drivers, followed by reinstalling them. Here are the steps.
- Press Win + X → Device Manager
- Expand Display adapters.
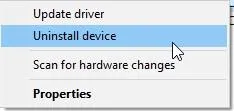
- Right-click your GPU → Uninstall device → check Delete the driver software for this device.
- Restart your PC
Method 2 – Update Graphics Drivers.
The next method to fix BSOD issues is to update the graphics driver. There are two ways to update the drivers – Manually downloading them from the OEM website or using Advanced Driver Updater to automatically update them.
Update Drivers Manually.
Go to your GPU manufacturer’s website and install the latest driver.
NVIDIA Drivers
AMD Drivers
Intel Drivers
Update Drivers Automatically.
The Advanced Driver Updater allows users to update drivers with a few mouse clicks. It also allows users to schedule driver updates automatically. Here are the steps to use this tool.
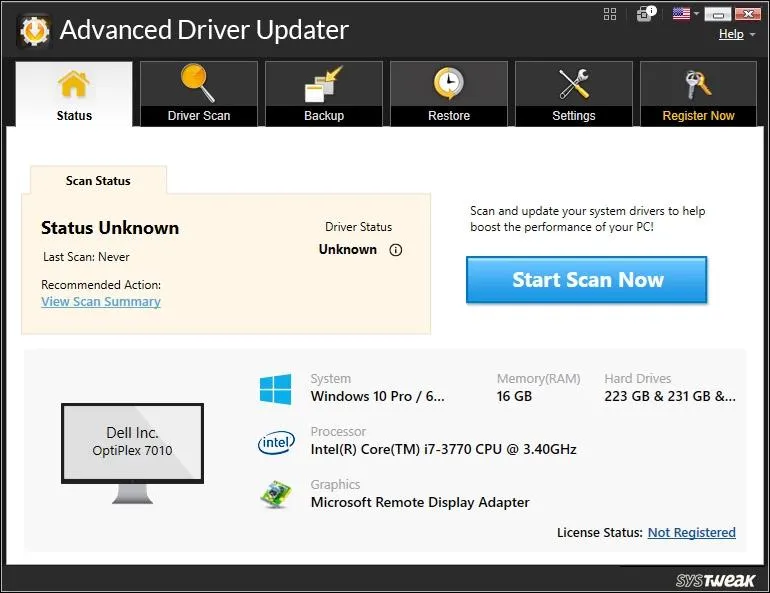
- Download & Install Advanced Driver Updater on your PC.

- Launch the app and click on the Start Scan Now button.
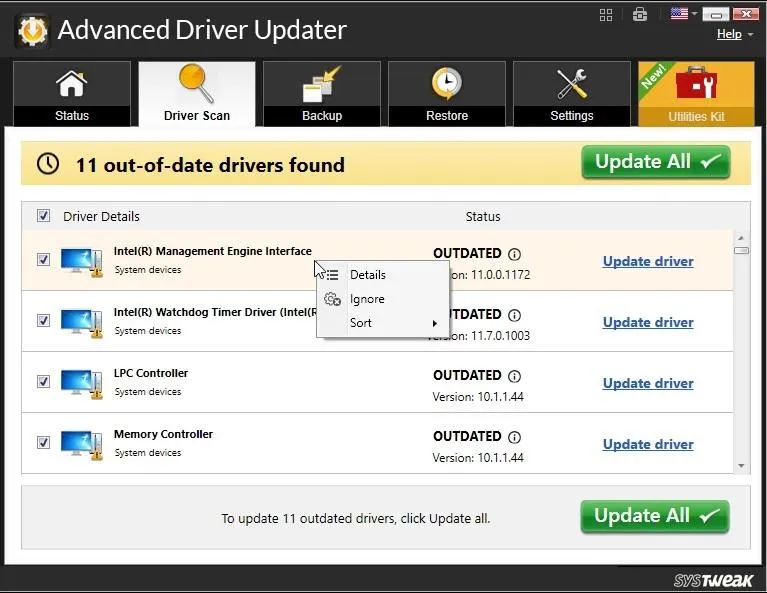
- Click on the Update link next to the Graphic driver.
- Reboot your PC.
Method 3 – Run The DirectX Diagnostic Tool.
The DirectX Diagnostic Utility is a Windows tool which provides information about a PC’s drivers, hardware, and system configuration. This information helps to troubleshoot issues related to DirectX, sound, display, and more.
- Press Win + R → type dxdiag → Enter
- Check for any errors or warnings under the Display tab.
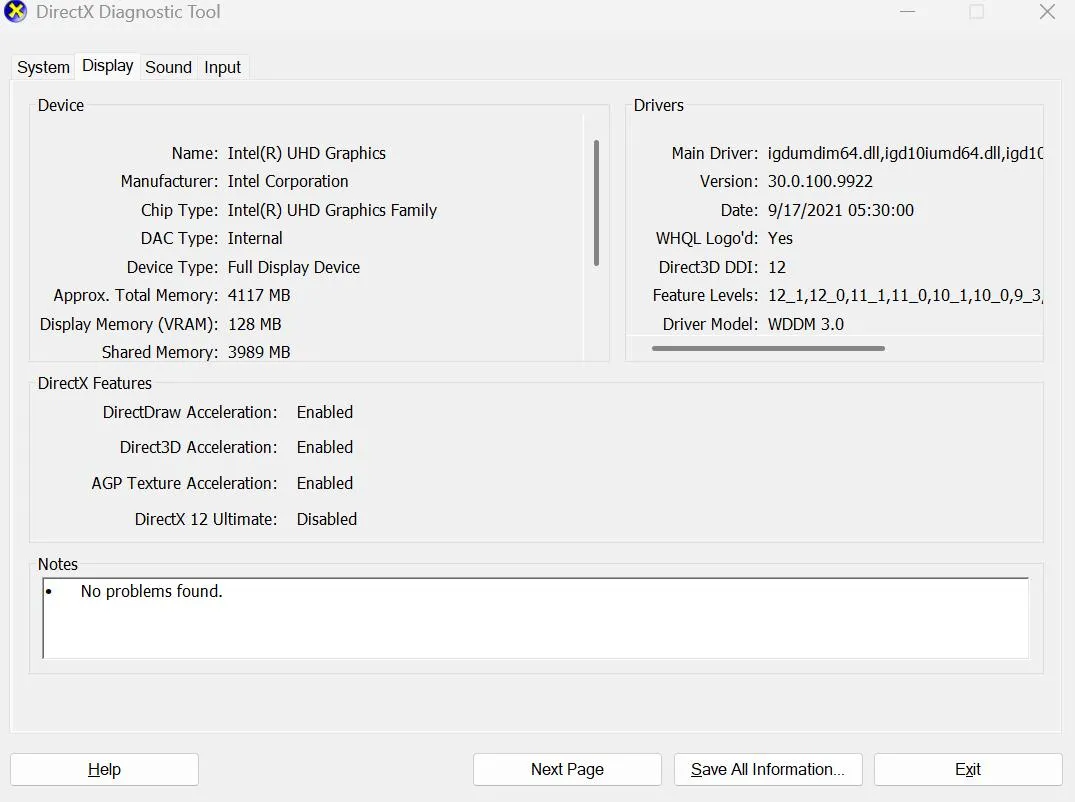
- If DirectX is outdated or corrupted, then download the latest DirectX End-User Runtime Web Installer from Microsoft.
- Restart after installation
Method 4 – Turn Off Hardware Acceleration
Sometimes applications like Chrome, Discord, or certain games trigger this BSOD. We have explained the steps to turn off hardware acceleration in the Chrome browser.
- Open the Chrome browser and click on the three buttons in the top right corner.
- Go to Settings → System → Turn off “Use hardware acceleration when available”.
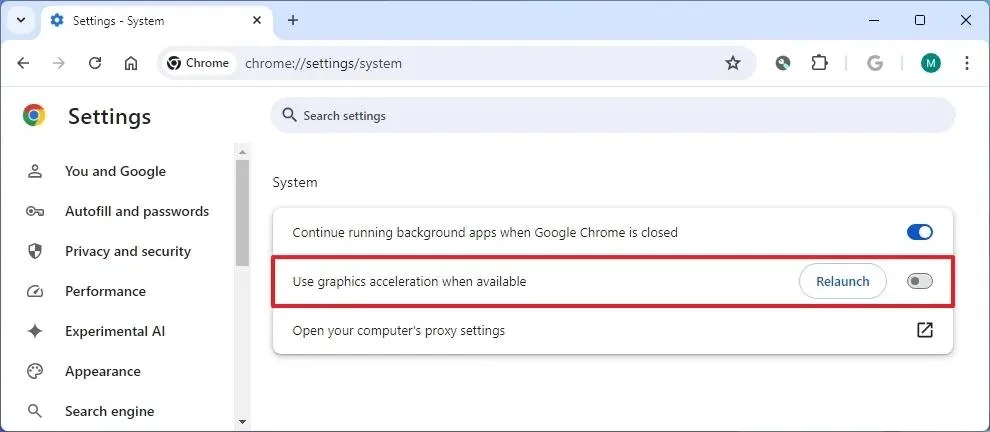
- Restart the browser.
Method 5 – Check System Files (SFC)
The next step is to fix the system files by using the System File Checker app. Here are the steps.
- Press the Windows key and type “Cmd”.
- You will see Command Prompt appear as the Best Match result.
- Click on Run as Administrator.
- Copy and paste the following command followed by Enter.
sfc /scannow
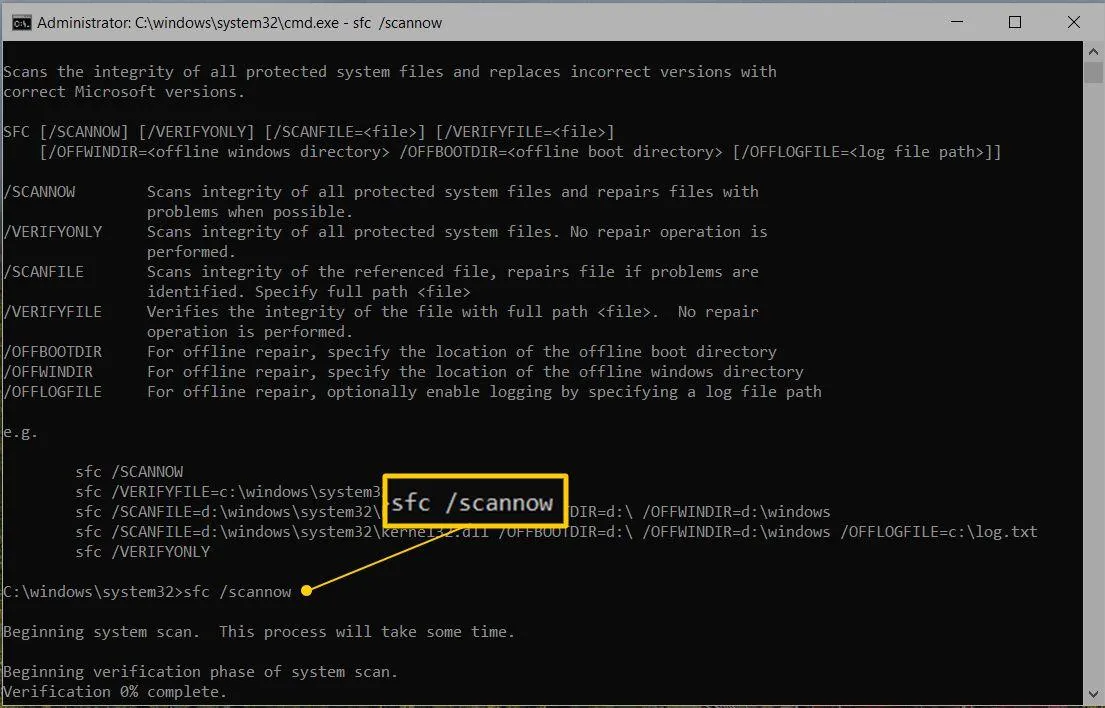
- Let the scan complete and reboot the PC.
Method 6 – RUN DISM Tool.
After the SFC tool, it is necessary to run the DISM tool to check for system image errors. Here are the steps.
- Press Win + R to open the RUN box.
- Type “cmd” and press Ctrl + Shift + Enter to open the Command Prompt in admin mode.
- Copy and paste the following command.
DISM /Online /Cleanup-Image /RestoreHealth

- Restart the PC after the process is complete.
Method 7 – Check GPU & System Temperature
Overheating can cause kernel fatal errors.
- Use MSI Afterburner or HWMonitor to check temps
- Clean dust from fans
- Make sure the GPU is not overclocked (reset to default settings)
Method 8 – Check for Windows Updates
Windows Updates contain security patches, bug fixes, new features, and other useful components have help to fix minor and major issues on Windows PC. Here is how to update your Windows.
- Go to Settings → Windows Update → Check for updates.
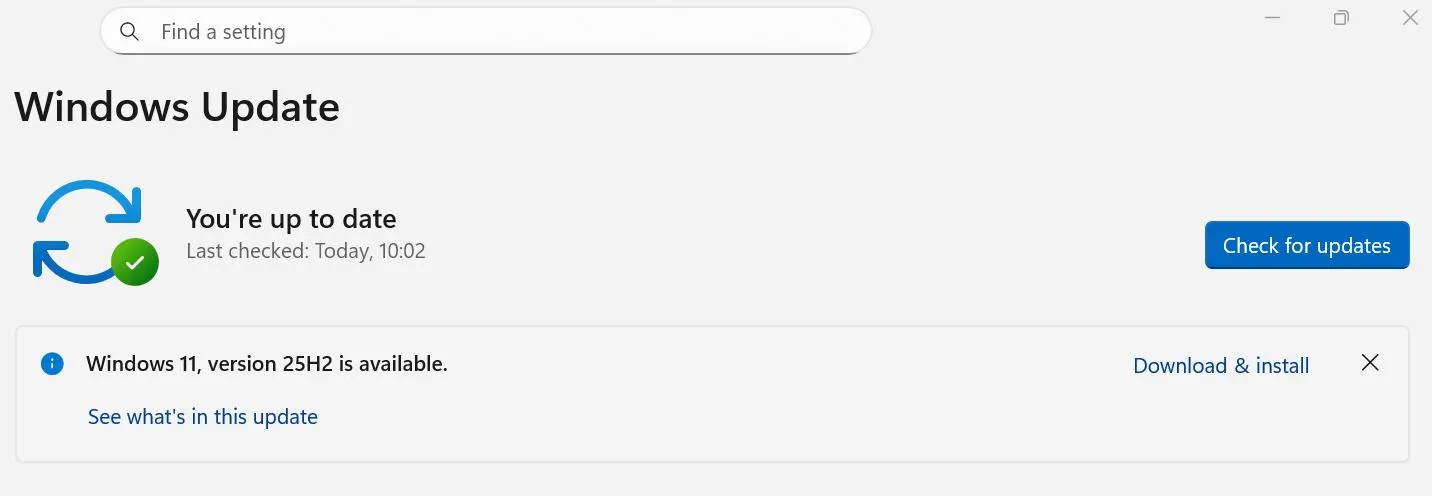
- Install all updates available.
- Reboot your Computer.
Method 9 – Run a Memory Diagnostic.
The Memory Diagnostic tool is an in-built tool which helps scan the memory and detect errors. Here are the steps.
- Press the Win key, type “Windows Memory Diagnostic,” and click the result with the same name.
- A new dialog box will open, and click “Restart Now…”.
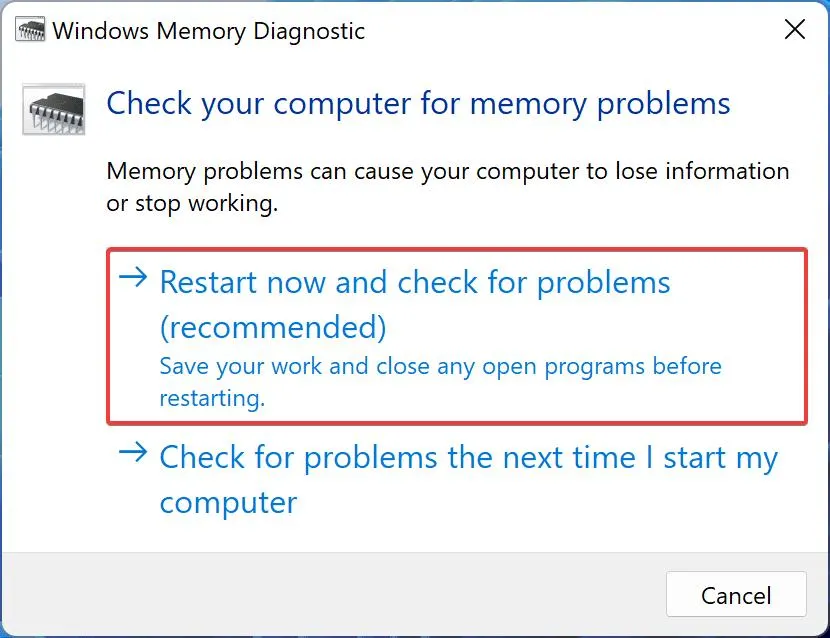
- Adhere to the instructions, and this utility will check and fix error if any.
Method 10 – Run Hardware And Devices Troubleshooter.
- Press Win + R to launch the RUN window.
- Copy and paste the below-mentioned command and hit the Enter key.
msdt.exe -id DeviceDiagnostic
- A Window will open where you have to click the Advanced link.
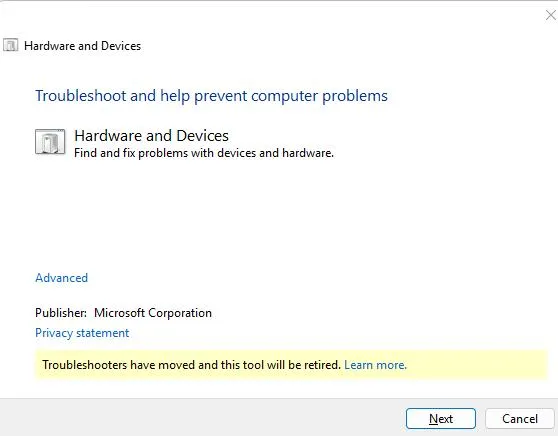
- Make sure that “Apply Repairs Automatically” box has been checked.
- Click on Next button and adhere to the onscreen instructions.
- Reboot your Computer.
Method 11 – Disable Fast Startup.
- Open RUN box (Win + R) and type Control.
- Click on the OK button.
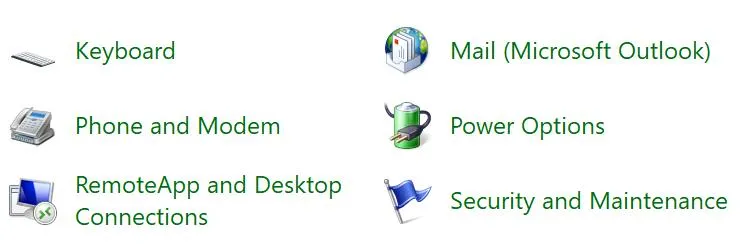
- In the Control Panel window, click on Power Options.
- Click on Choose what the power buttons do in the left panel.
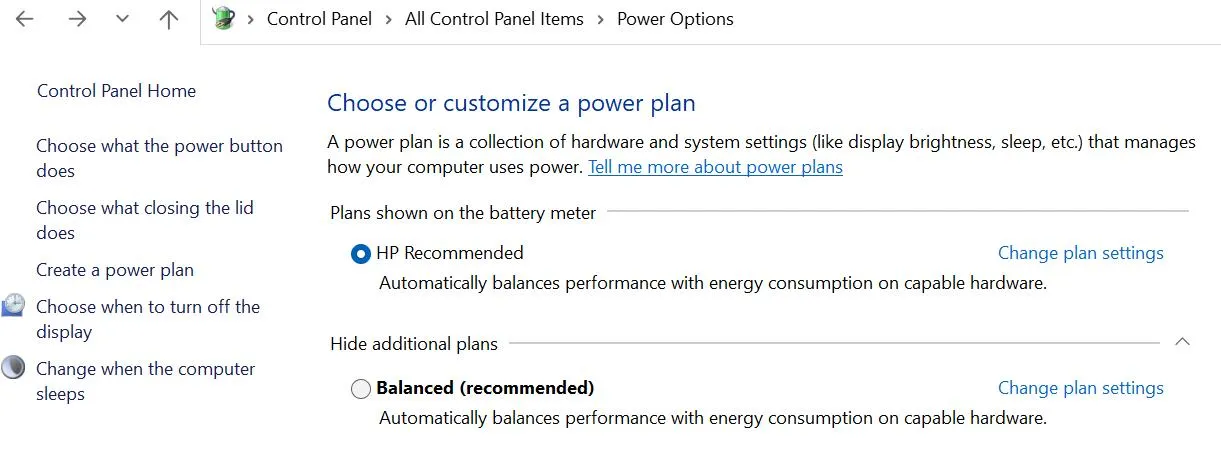
- Click on Change Settings That Are Currently Available.
- Remove the check mark before Turn On Fast Startup.
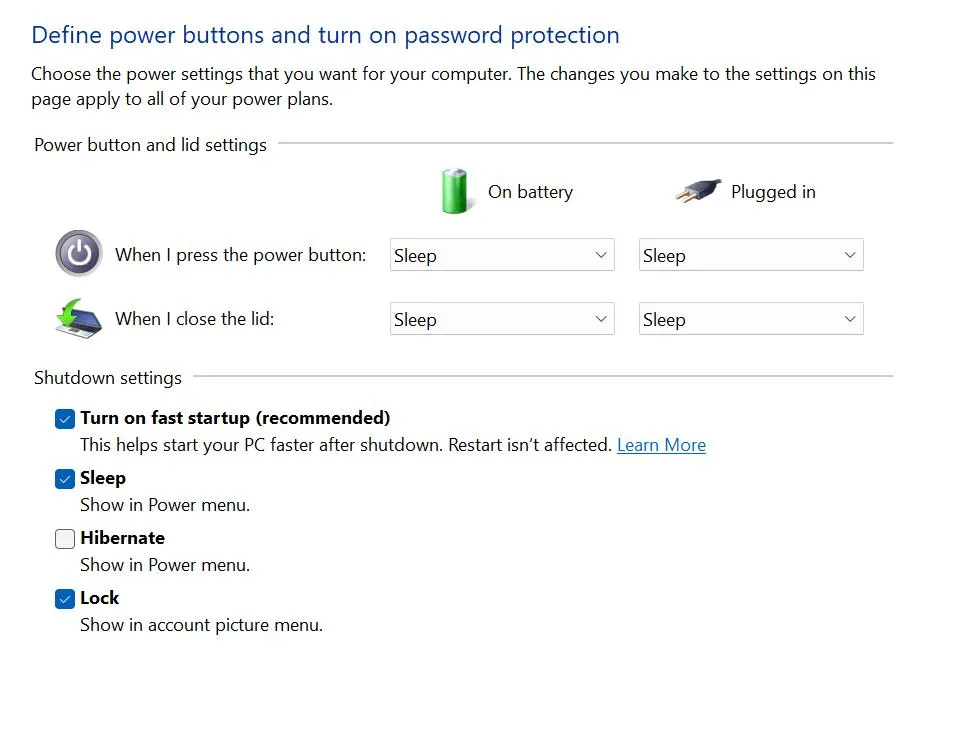
- Click on the Save Changes button and close all open windows.
- Restart the Computer.
Method 12- Scan For Malware.
- Press the Win + S keys and type “ Windows Security.”
- Click on the relevant result under Best Match.
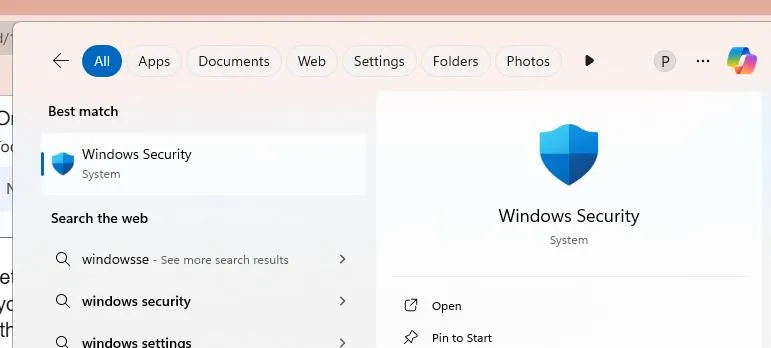
- The Windows Security app will now open. Click on the Virus & Threat Protection box.

- Next, click on Scan Options and select Full Scan.
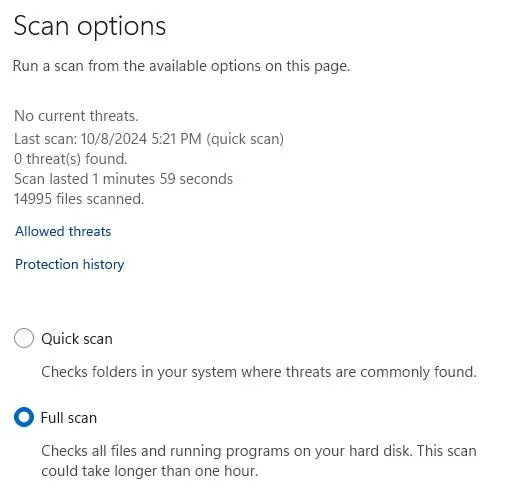
- Finally, click on Scan Now
After the malware scan has been finished, adhere to the steps on the screen to quarantine or remove any infected files and reboot your computer.
Method 13 – Perform A Clean Boot.
- Press Win + R, type msconfig, and press Enter.
- In the System Configuration window, go to the Services tab.
- Check Hide all Microsoft services and click Disable all.
- Go to the Startup tab and click Open Task Manager. Turn off all startup items.
- Exit Task Manager and click OK in the System Configuration window.
- Reboot your PC.
Method 14 – System Restore.
- Press the Win + S keys and type “System Restore”.
- Click on “Create A Restore Point” from the search results.
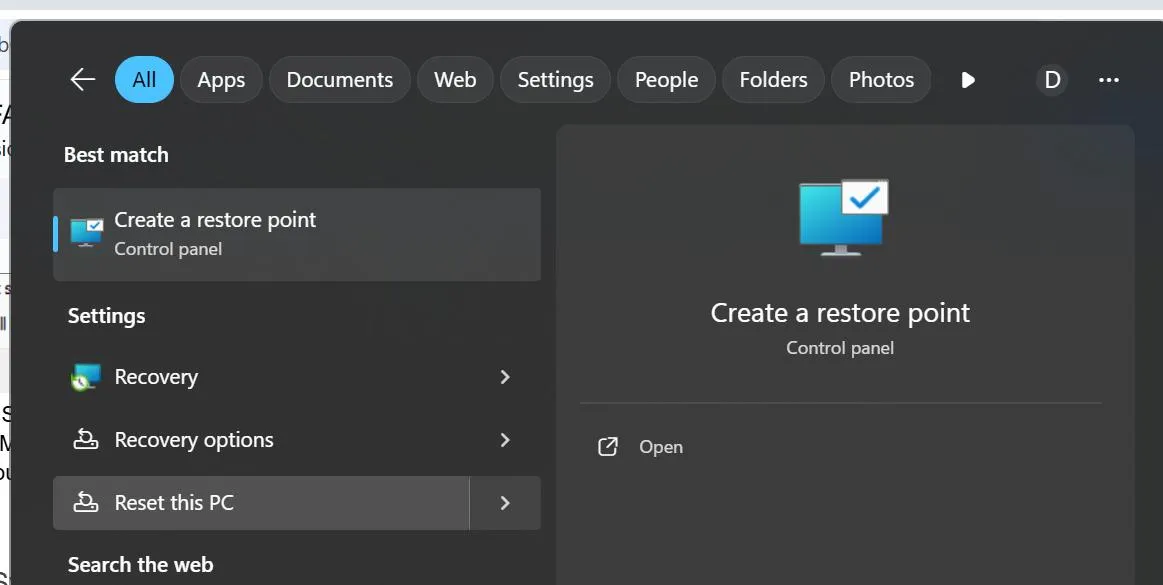
- In the new window, click on the System Restore Button.
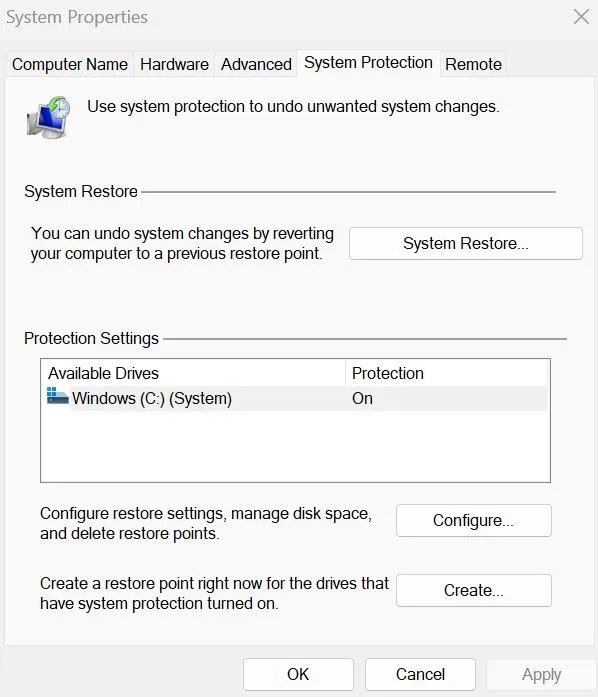
- Click on Next and choose the date you wish to restore your PC.
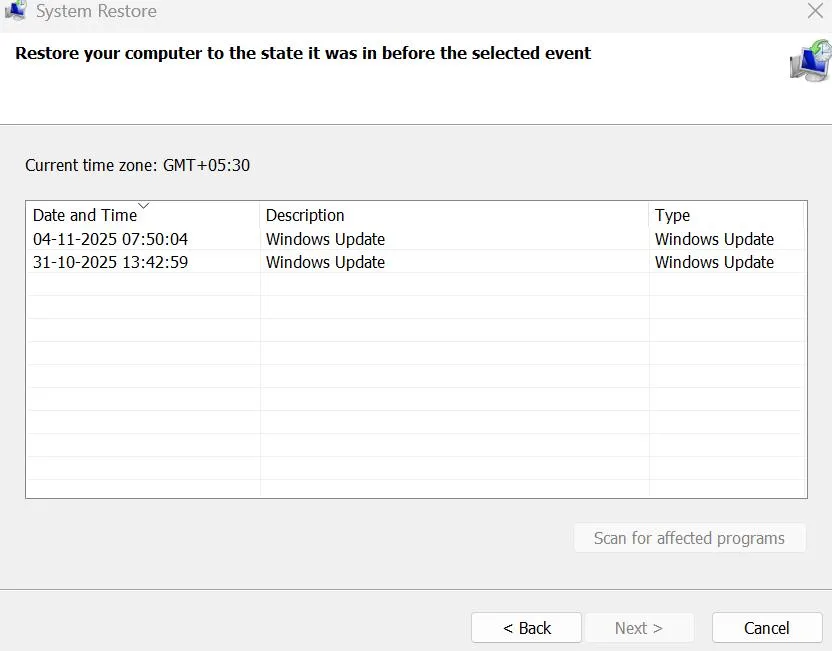
- Click on Next and then finally click on the Finish button.
- The PC will be restored to a previous point in time.
Conclusion – How To Fix VIDEO_DXGKRNL_FATAL_ERROR On Windows 11?
We hope that the above methods have helped resolve the issue. Do write to us in the comments section, which method helped you fix the issue.
Real Also:
Ways To Fix Security Center Failed To Validate Caller in Windows 10


Leave a Reply