Your Apple Watch is packed with features you might not have explored yet. While you’ve likely experimented with the health-related functions, there’s so much more to discover. One often overlooked feature is the ability to take screenshots on your Apple Watch. Just like your iPhone, the Apple Watch lets you capture screenshots quickly and save them directly to your Apple Photos library.
| Can You Take A Screenshot On Apple Watch?
Yes, you can do it using the Digital Crown and side button after this setting is enabled.
|
Also Read – How To Eject Water From Apple Watch Using Water Lock
How Do I Enable Screenshots On Apple Watch Using iPhone?
- Launch the Apple Watch app on your iPhone.
- Locate the My Watch tab and tap once.
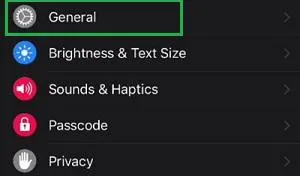
- Next, tap on General.
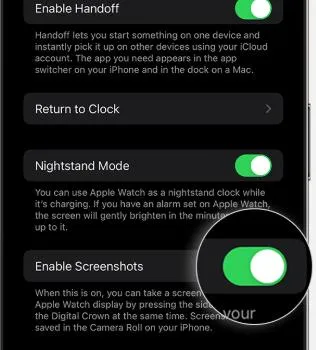
- Scroll down till you reach the Enable Screenshots option and then turn on the toggle switch.
How Do I Enable Screenshots Using Apple Watch?
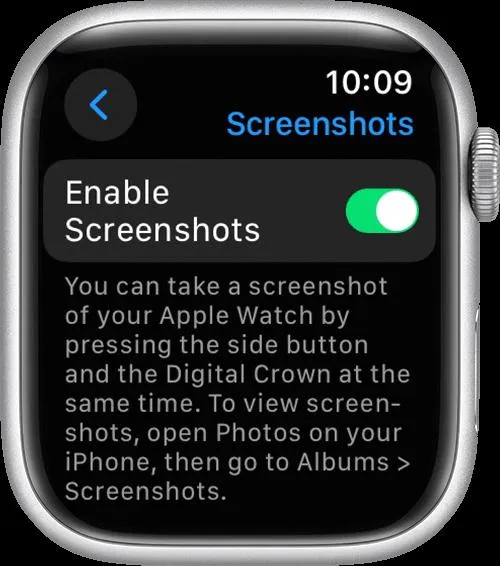
- Tap on the Settings app on the Apple Watch.
- Next, tap on General and then tap on Screenshots.
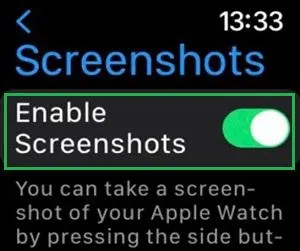
- Locate the Enable Screenshots toggle button and slide it towards the right to enable it.
Also Read – How to Fix Ghost Touch Issue on Apple Watch?
How Can I Take A Screenshot On My Apple Watch?
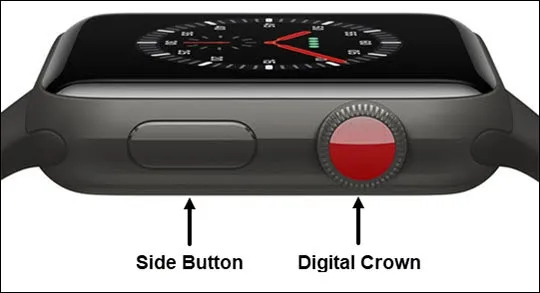
- Simultaneously press the Digital Crown and the side button with two fingers.
- The screen will flash to indicate that a screenshot has been taken.
- To view your screenshot, open the Photos app on your iPhone, tap the Albums tab, and then select Screenshots.
Also Read – How to Back Up Your Apple Watch?
How To View Screenshots On Your Apple Watch?

You can view screenshots on Apple Watch, but only those that are synced with your iPhone. By default, the albums visible on your Apple Watch are Favorites and Memories, though you can change which album is synced and displayed.
- Launch the Apple Watch app on your iPhone.
- Scroll down and tap Photos.
- Make sure Photo Syncing is enabled.
- Tap Sync Album and choose the album you’d like to use.
- You can also select the number of photos to sync by adjusting the Photos Limit, with options ranging from 25 to 500 photos for viewing.
Also Read – How to Automatically Change Apple Watch Faces Based on Time or Location?
How To Enable Screenshots On Apple Watch Of A Family Member?
To enable screenshots on an Apple Watch set up for a family member-
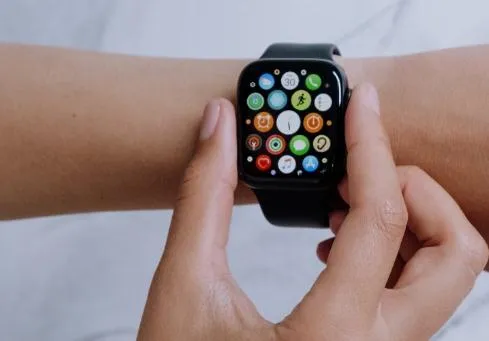
- Open the Settings app on their Apple Watch.
- Tap General, then select Screenshots.
- Toggle on Enable Screenshots.
Note – When your family member takes a screenshot on their Apple Watch, it will be saved in the Photos app on their device and automatically transferred to your iPhone.
Also Read – How to Add Emergency Contacts to Apple Watch?
How To View The Screenshot On Your iPhone?
When your family member captures a screenshot on their Apple Watch, it will be saved to the Photos app on their device and also sent to your iPhone. To view the screenshot on your iPhone, follow these steps:
- Launch the Apple Watch app on your iPhone.
- Tap the All Watches option, select your family member’s Apple Watch, and then tap Done.
- Tap General, then select Diagnostic Logs.
- Tap on a screenshot to view it. To save or share it, tap the Share button and choose your preferred sharing method.
Also Read – Apple Watch Apps Not Installing? Here’s How to Fix It
Conclusion – Take Screenshots With Apple Watch.
As demonstrated, your Apple Watch can easily capture screenshots by pressing the Digital Crown and side buttons. Once taken, you can share your screenshots just like any other photo in your Photos app. This feature is a great way to share things like your activity rings or workouts with friends and family, without the need to snap a photo of your Apple Watch screen.
Suggested Reading –
How To Fix Apple Watch Cellular Not Working
How to Fix An Apple Watch Stuck on the Apple logo?



Leave a Reply